System Configuration
System Configuration
The
To access the Advanced Setup menus, follow these steps:
1.Login to the web interface (see the Logging into the Web Interface section on page 12).
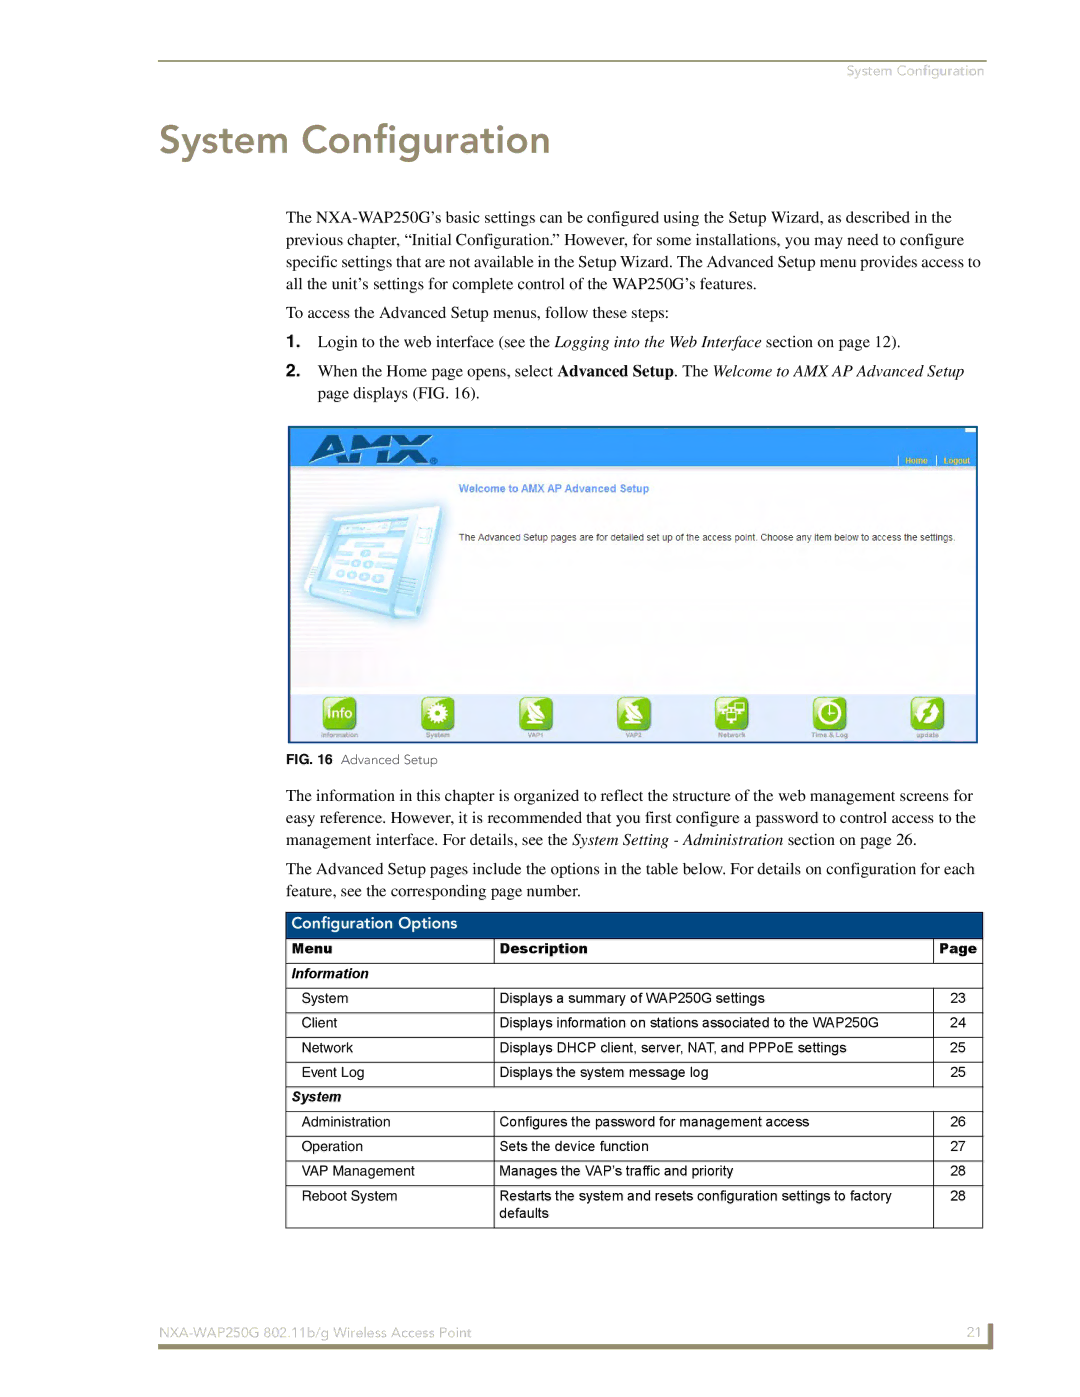
2.When the Home page opens, select Advanced Setup. The Welcome to AMX AP Advanced Setup page displays (FIG. 16).
FIG. 16 Advanced Setup
The information in this chapter is organized to reflect the structure of the web management screens for easy reference. However, it is recommended that you first configure a password to control access to the management interface. For details, see the System Setting - Administration section on page 26.
The Advanced Setup pages include the options in the table below. For details on configuration for each feature, see the corresponding page number.
Configuration Options
MenuDescription
Information
Page
System | Displays a summary of WAP250G settings |
Client | Displays information on stations associated to the WAP250G |
Network | Displays DHCP client, server, NAT, and PPPoE settings |
Event Log | Displays the system message log |
|
|
System
23
24
25
25
Administration | Configures the password for management access | 26 |
|
|
|
Operation | Sets the device function | 27 |
|
|
|
VAP Management | Manages the VAP’s traffic and priority | 28 |
|
|
|
Reboot System | Restarts the system and resets configuration settings to factory | 28 |
| defaults |
|
|
|
|
21 | |
|
|