1
2
3
4
Follow these steps to connect and position the microphone:
Shut down the Macintosh.
Plug the microphone’s connector into the sound input port (X) on the back of the computer.
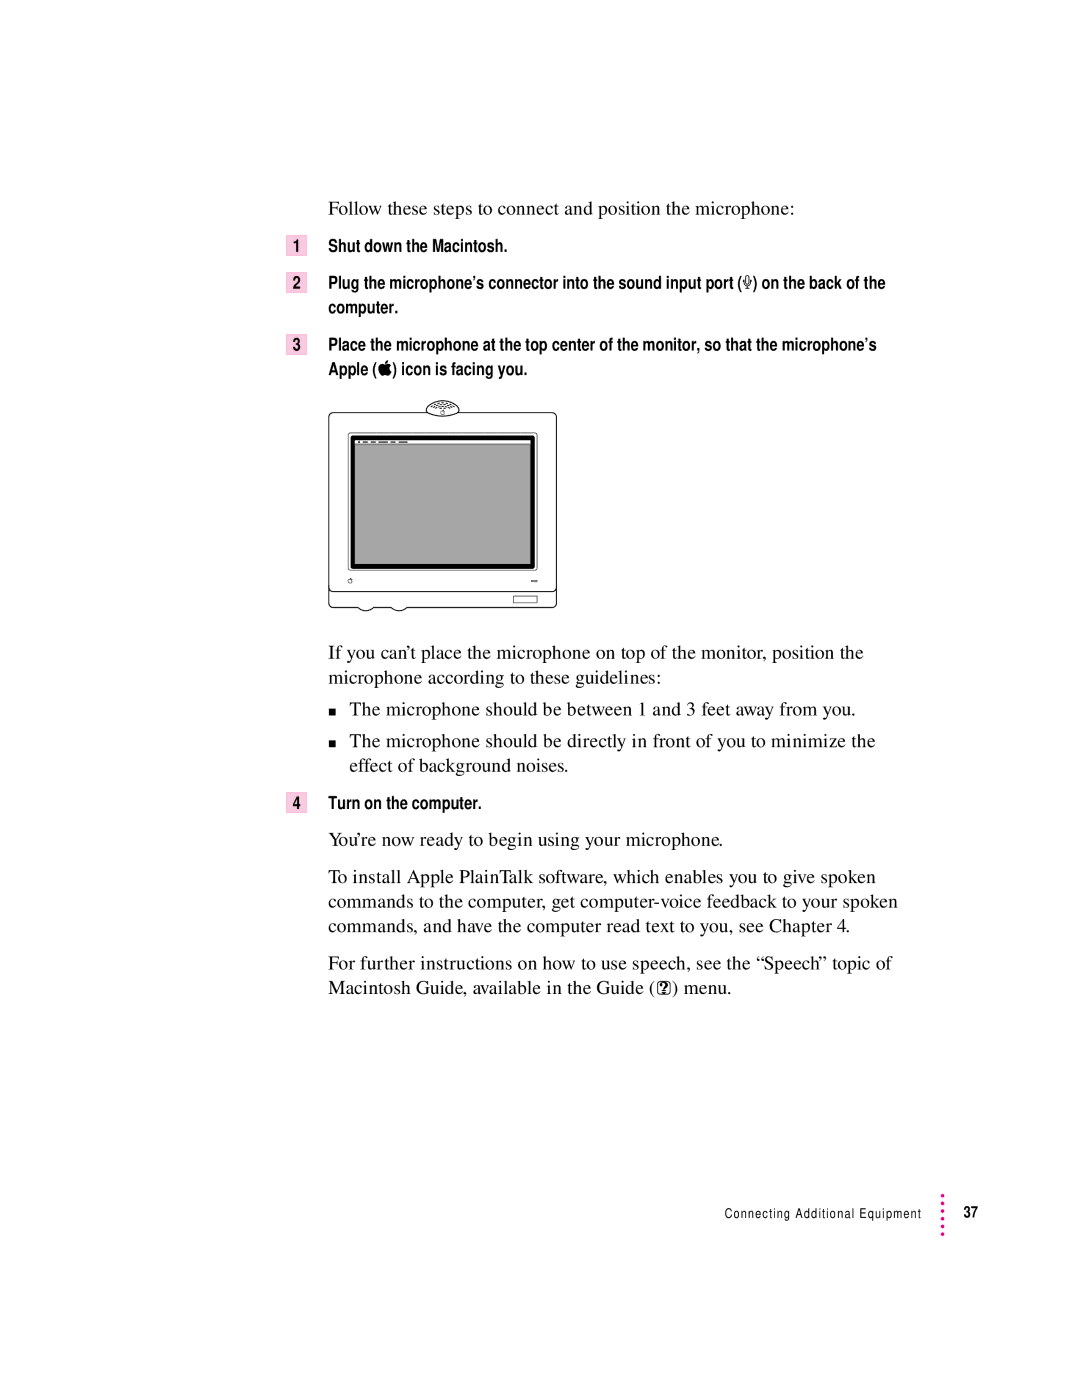
Place the microphone at the top center of the monitor, so that the microphone’s Apple (K) icon is facing you.
If you can’t place the microphone on top of the monitor, position the microphone according to these guidelines:
mThe microphone should be between 1 and 3 feet away from you.
mThe microphone should be directly in front of you to minimize the effect of background noises.
Turn on the computer.
You’re now ready to begin using your microphone.
To install Apple PlainTalk software, which enables you to give spoken commands to the computer, get
For further instructions on how to use speech, see the “Speech” topic of Macintosh Guide, available in the Guide (h) menu.
Connecting Additional Equipment | 37 |