PROGRAMMED PLAYBACK | DISPLAYING JPEG IMAGES |
Press PROG on the remote control to open the ‘Programme’ menu. Playback must be stopped first.
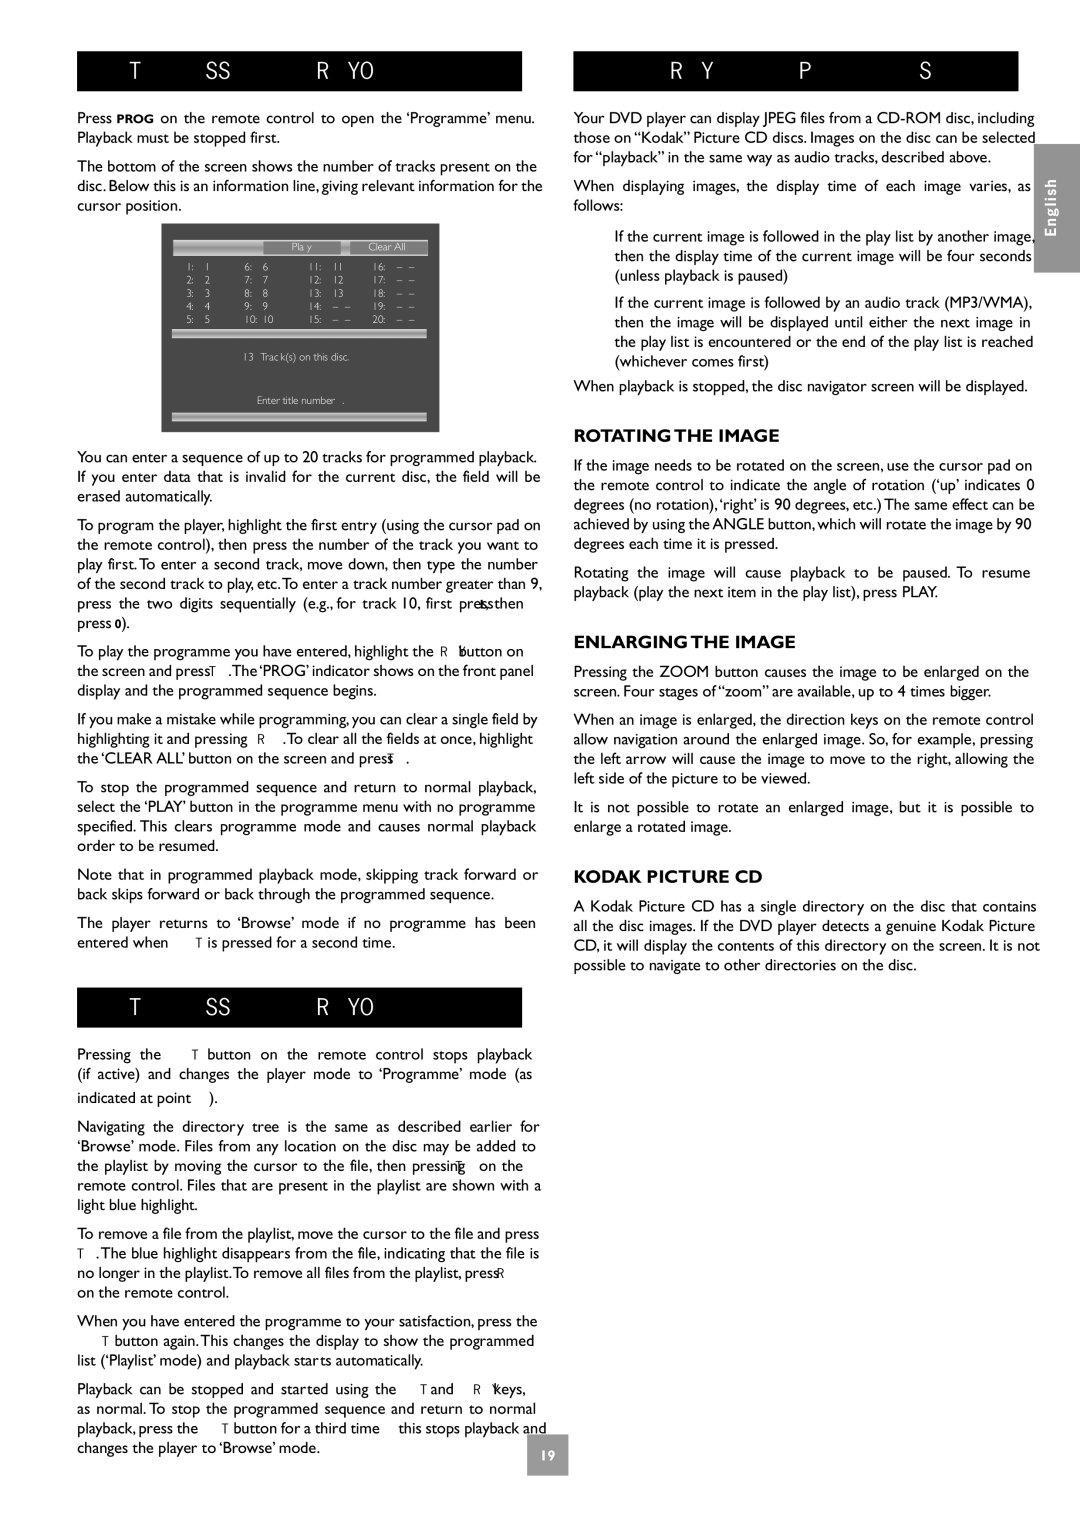
The bottom of the screen shows the number of tracks present on the disc. Below this is an information line, giving relevant information for the cursor position.
|
|
|
| Play |
|
| Clear All | ||
1: | 1 | 6: | 6 | 11: | 11 |
| 16: | – | – |
2: | 2 | 7: | 7 | 12: | 12 |
| 17: | – | – |
3: | 3 | 8: | 8 | 13: | 13 |
| 18: | – | – |
4: | 4 | 9: | 9 | 14: | – | – | 19: | – | – |
5: | 5 | 10: | 10 | 15: | – | – | 20: | – | – |
13Track(s) on this disc.
Enter title number.
Your DVD player can display JPEG files from a
When displaying images, the display time of each image varies, as follows:
If the current image is followed in the play list by another image, then the display time of the current image will be four seconds (unless playback is paused)
If the current image is followed by an audio track (MP3/WMA), then the image will be displayed until either the next image in the play list is encountered or the end of the play list is reached (whichever comes first)
When playback is stopped, the disc navigator screen will be displayed.
English
You can enter a sequence of up to 20 tracks for programmed playback. If you enter data that is invalid for the current disc, the field will be erased automatically.
To program the player, highlight the first entry (using the cursor pad on the remote control), then press the number of the track you want to play first. To enter a second track, move down, then type the number of the second track to play, etc.To enter a track number greater than 9, press the two digits sequentially (e.g., for track 10, first press 1, then press 0).
To play the programme you have entered, highlight the PLAY button on the screen and press OK.The ‘PROG’ indicator shows on the front panel display and the programmed sequence begins.
If you make a mistake while programming, you can clear a single field by highlighting it and pressing CLEAR.To clear all the fields at once, highlight the ‘CLEAR ALL’ button on the screen and press OK.
To stop the programmed sequence and return to normal playback, select the ‘PLAY’ button in the programme menu with no programme specified. This clears programme mode and causes normal playback order to be resumed.
Note that in programmed playback mode, skipping track forward or back skips forward or back through the programmed sequence.
The player returns to ‘Browse’ mode if no programme has been entered when PROG is pressed for a second time.
PROGRAMMED PLAYBACK (CD-ROM)
Pressing the PROG button on the remote control stops playback |
|
(if active) and changes the player mode to ‘Programme’ mode (as |
|
indicated at point 2). |
|
Navigating the directory tree is the same as described earlier for |
|
‘Browse’ mode. Files from any location on the disc may be added to |
|
the playlist by moving the cursor to the file, then pressing OK on the |
|
remote control. Files that are present in the playlist are shown with a |
|
light blue highlight. |
|
To remove a file from the playlist, move the cursor to the file and press |
|
OK.The blue highlight disappears from the file, indicating that the file is |
|
no longer in the playlist.To remove all files from the playlist, press CLEAR |
|
on the remote control. |
|
When you have entered the programme to your satisfaction, press the |
|
PROG button again.This changes the display to show the programmed |
|
list (‘Playlist’ mode) and playback starts automatically. |
|
Playback can be stopped and started using the STOP and PLAY keys, |
|
as normal. To stop the programmed sequence and return to normal |
|
playback, press the PROG button for a third time; this stops playback and |
|
changes the player to ‘Browse’ mode. | 19 |
|
ROTATING THE IMAGE
If the image needs to be rotated on the screen, use the cursor pad on the remote control to indicate the angle of rotation (‘up’ indicates 0 degrees (no rotation),‘right’ is 90 degrees, etc.) The same effect can be achieved by using the ANGLE button, which will rotate the image by 90 degrees each time it is pressed.
Rotating the image will cause playback to be paused. To resume playback (play the next item in the play list), press PLAY.
ENLARGING THE IMAGE
Pressing the ZOOM button causes the image to be enlarged on the screen. Four stages of “zoom” are available, up to 4 times bigger.
When an image is enlarged, the direction keys on the remote control allow navigation around the enlarged image. So, for example, pressing the left arrow will cause the image to move to the right, allowing the left side of the picture to be viewed.
It is not possible to rotate an enlarged image, but it is possible to enlarge a rotated image.
KODAK PICTURE CD
A Kodak Picture CD has a single directory on the disc that contains all the disc images. If the DVD player detects a genuine Kodak Picture CD, it will display the contents of this directory on the screen. It is not possible to navigate to other directories on the disc.