7.0 Modify Storage
Use the ExpressNAV Storage Manager to replace a failed drive, add new drives or redesign RAID configurations.
You may modify various aspects of storage using the Manage Menu found by clicking on the tab on the left hand side of the ExpressNAV Storage Manager. Be cautious when deleting storage or rearranging storage configurations because data could be compromised or lost.
The ExpressNAV Storage Manager takes you step by step through many procedures which allow you to modify your storage and RAID configurations. Read all notes and cautions carefully as you go to ensure the best performance and use of your storage.
When you initially set up the FastStream, replace a failed drive or add new drives to the FastStream, perform drive initialization and verification to these drives.Refer to Ensure Drive Integrity on page 11.
Many of these procedures are only available on unallocated storage which is not currently part of a RAID group, not designated as a Hot Spare (refer to FastStream process: adding or removing Hot Spares on page 34), or was offline when you initially set up RAID configurations.
Preliminary steps
Begin with these steps, then choose the process you wish to use.
Note
An unallocated drive or unallocated storage is storage which is not part of a RAID group, not designated as a Hot Spare or is offline.
1If you are not already in the ExpressNAV Storage Manager, type the IP address of your appliance, click Enter Here. In the box provided, type in your user name and password. Click OK.
2The Health and Status Monitor page appears.
3Click on the Manage button on the left hand side of the ExpressNAV Storage Manager.
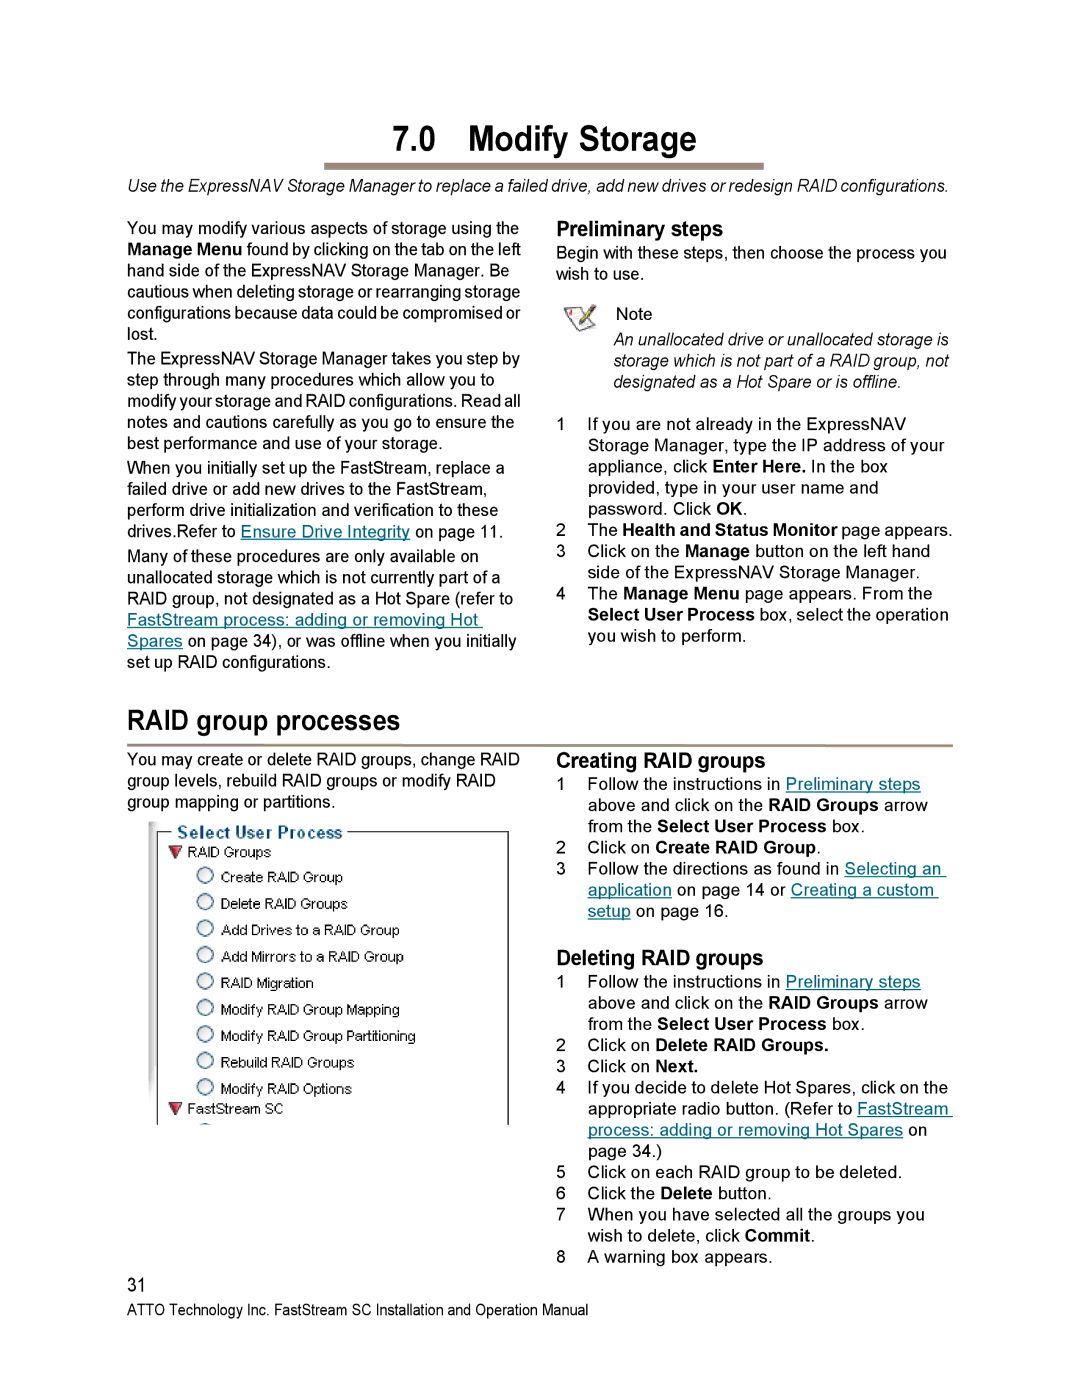
4The Manage Menu page appears. From the Select User Process box, select the operation you wish to perform.
RAID group processes
You may create or delete RAID groups, change RAID group levels, rebuild RAID groups or modify RAID group mapping or partitions.
31
Creating RAID groups
1Follow the instructions in Preliminary steps above and click on the RAID Groups arrow from the Select User Process box.
2Click on Create RAID Group.
3Follow the directions as found in Selecting an application on page 14 or Creating a custom setup on page 16.
Deleting RAID groups
1Follow the instructions in Preliminary steps above and click on the RAID Groups arrow from the Select User Process box.
2Click on Delete RAID Groups.
3Click on Next.
4If you decide to delete Hot Spares, click on the appropriate radio button. (Refer to FastStream process: adding or removing Hot Spares on page 34.)
5Click on each RAID group to be deleted.
6Click the Delete button.
7When you have selected all the groups you wish to delete, click Commit.
8A warning box appears.
ATTO Technology Inc. FastStream SC Installation and Operation Manual
