Random Access Adjustment Mode
Blanking Adjustments
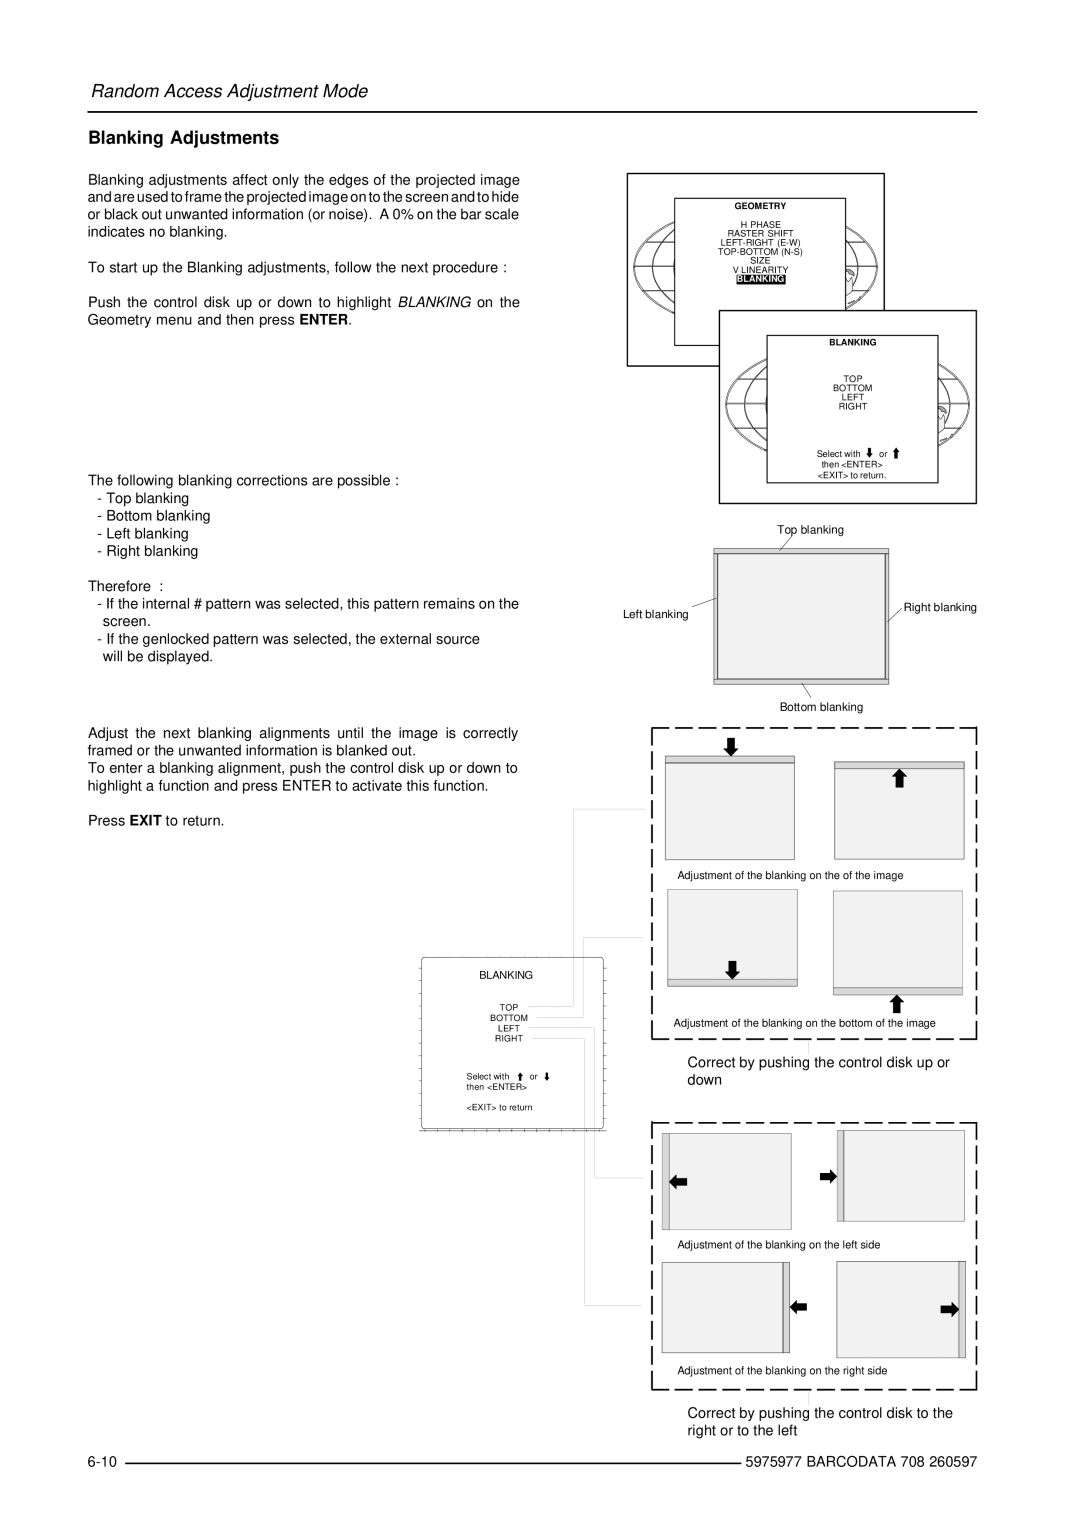
Blanking adjustments affect only the edges of the projected image and are used to frame the projected image on to the screen and to hide or black out unwanted information (or noise). A 0% on the bar scale indicates no blanking.
To start up the Blanking adjustments, follow the next procedure :
Push the control disk up or down to highlight BLANKING on the Geometry menu and then press ENTER.
The following blanking corrections are possible :
-Top blanking
-Bottom blanking
-Left blanking
-Right blanking
Therefore :
GEOMETRY |
|
H PHASE |
|
RASTER SHIFT |
|
| |
| |
SIZE |
|
V LINEARITY |
|
BLANKING |
|
BLANKING |
|
TOP |
|
BOTTOM |
|
LEFT |
|
RIGHT |
|
Select with | or |
then <ENTER> | |
<EXIT> to return. | |
Top blanking
-If the internal # pattern was selected, this pattern remains on the screen.
-If the genlocked pattern was selected, the external source
will be displayed.
Left blanking
Right blanking
Bottom blanking
Adjust the next blanking alignments until the image is correctly framed or the unwanted information is blanked out.
To enter a blanking alignment, push the control disk up or down to highlight a function and press ENTER to activate this function.
Press EXIT to return.
Adjustment of the blanking on the of the image
BLANKING | |
TOP |
|
BOTTOM |
|
LEFT |
|
RIGHT |
|
Select with | or |
then <ENTER> |
|
<EXIT> to return | |
Adjustment of the blanking on the bottom of the image
Correct by pushing the control disk up or down
Adjustment of the blanking on the left side
Adjustment of the blanking on the right side
Correct by pushing the control disk to the right or to the left
| 5975977 BARCODATA 708 260597 | |
|