First-time installation
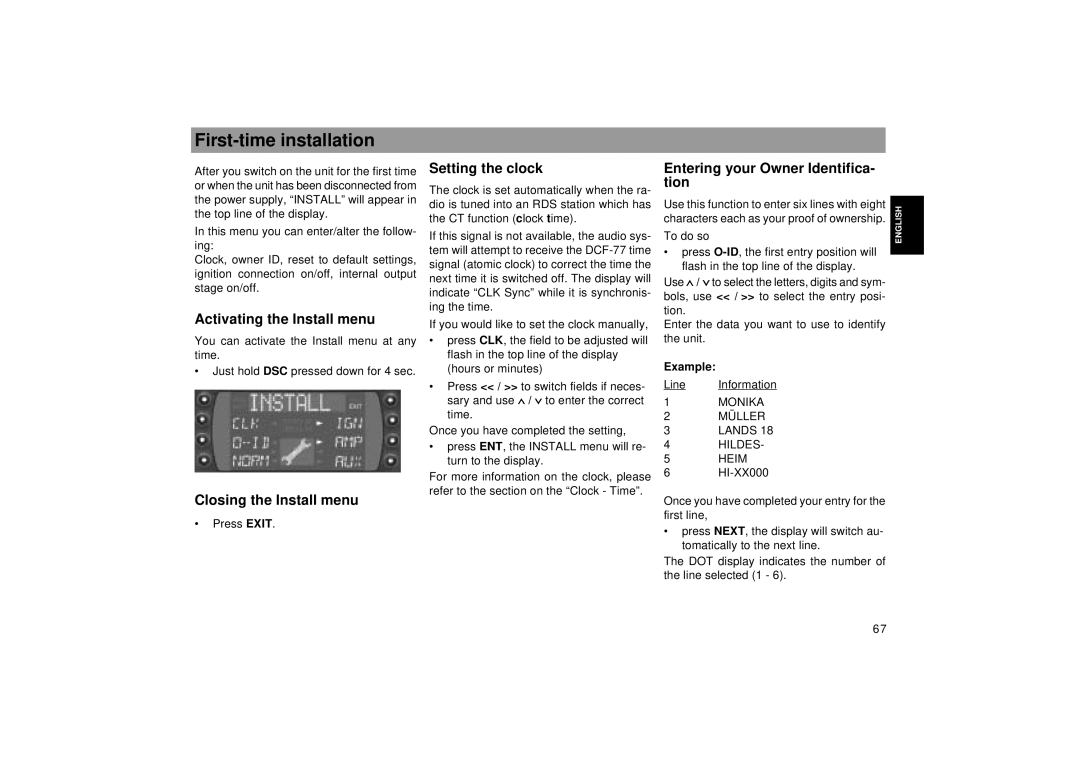
After you switch on the unit for the first time or when the unit has been disconnected from the power supply, “INSTALL” will appear in the top line of the display.
In this menu you can enter/alter the follow- ing:
Clock, owner ID, reset to default settings, ignition connection on/off, internal output stage on/off.
Activating the Install menu
You can activate the Install menu at any time.
•Just hold DSC pressed down for 4 sec.
Closing the Install menu
•Press EXIT.
Setting the clock
The clock is set automatically when the ra- dio is tuned into an RDS station which has the CT function (clock time).
If this signal is not available, the audio sys- tem will attempt to receive the
If you would like to set the clock manually,
•press CLK, the field to be adjusted will flash in the top line of the display (hours or minutes)
•Press << / >> to switch fields if neces- sary and use ![]() /
/ ![]() to enter the correct time.
to enter the correct time.
Once you have completed the setting,
•press ENT, the INSTALL menu will re- turn to the display.
For more information on the clock, please refer to the section on the “Clock - Time”.
Entering your Owner Identifica- tion
Use this function to enter six lines with eight characters each as your proof of ownership.
To do so
•press
Use ![]() /
/ ![]() to select the letters, digits and sym- bols, use << / >> to select the entry posi- tion.
to select the letters, digits and sym- bols, use << / >> to select the entry posi- tion.
Enter the data you want to use to identify the unit.
Example:
Line Information
1MONIKA
2MÜLLER
3LANDS 18
4HILDES-
5HEIM
6
Once you have completed your entry for the first line,
•press NEXT, the display will switch au- tomatically to the next line.
The DOT display indicates the number of the line selected (1 - 6).
DEUTSCH ENGLISH FRANÇAIS ITALIANO NEDERLANDS SVENSKA ESPAÑOL PORTUGUÊS
67
