AutoDome 600 Series Analog PTZ Cam- era
Page
Table of Contents
Keyboard Commands by Number Advanced Features
Bosch Menu locked PTZ Setup unlocked Other Menus
Troubleshooting Guide
User Command Table Appendix FastAddress Conversions Index
Getting Started
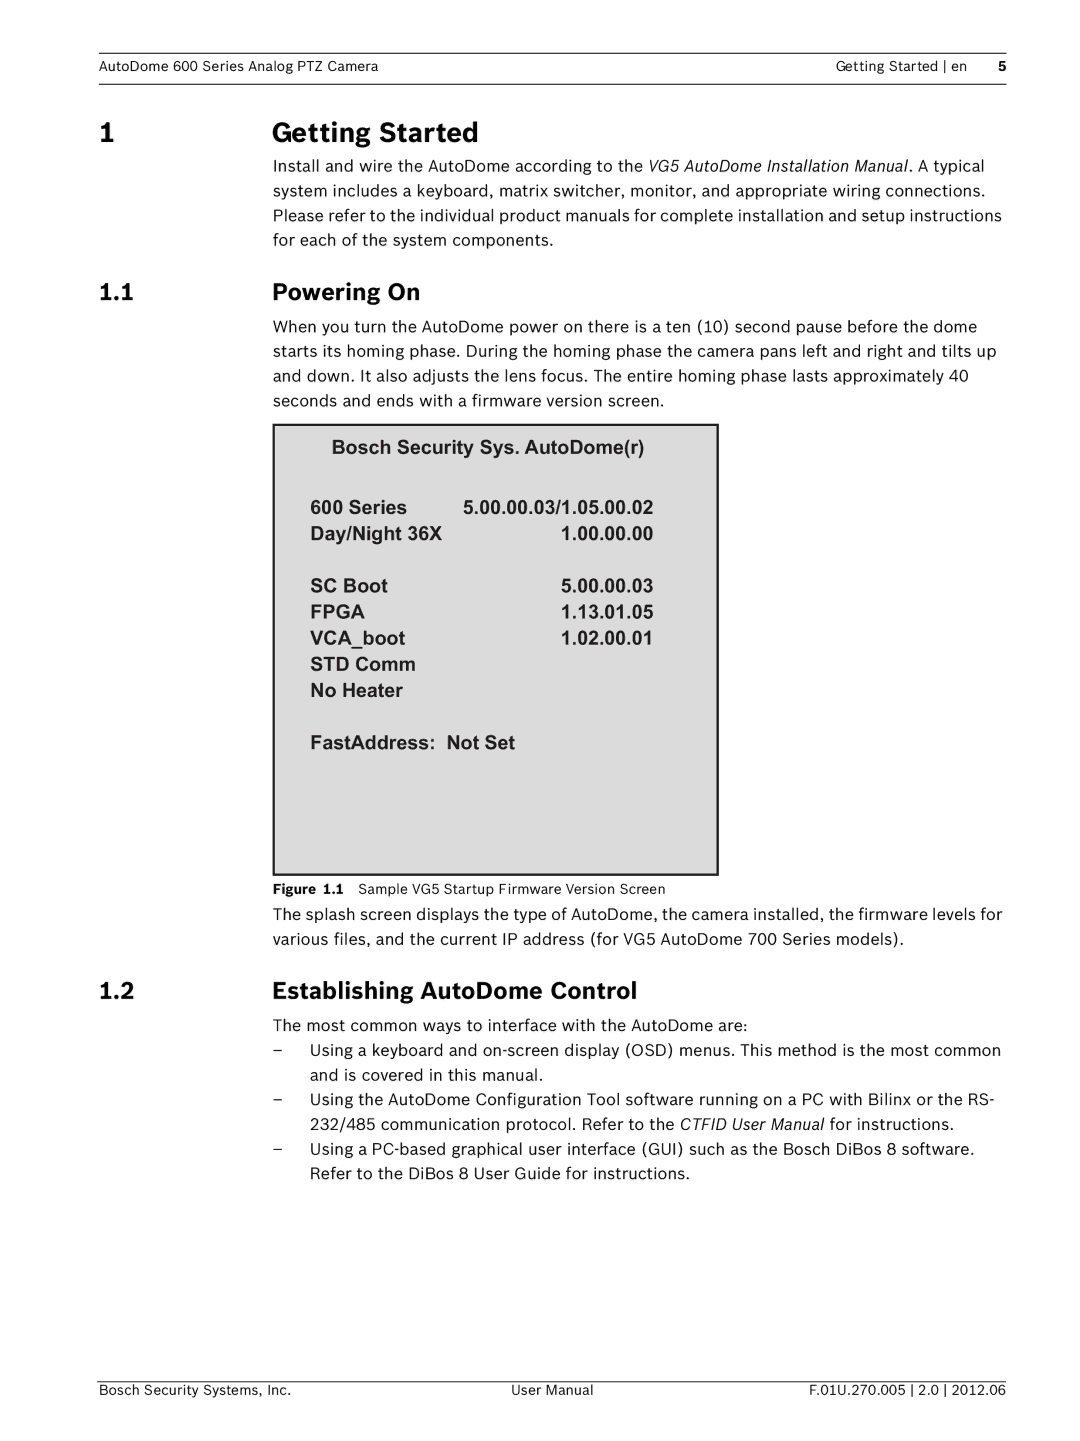
Powering On
Establishing AutoDome Control
For each of the system components
LCD
Keyboard Commands
Basic Keyboard Operation
FastAddress
Setting the Camera Address
To set an address for a camera without an address
To change or clear an address for a camera with an address
Special Passwords
Setting Passwords
Password Security Level
To set or change a password locked command
To open the main Setup Menu locked command
Setup Menu
Setup Menu
On-Screen Display Menu Navigation
Camera Setup Menu
Auto
ATW
Internal
OFF
PAL
Lens Setup
Exit Auto Focus
Auto Iris
Spot
PTZ Setup Menu
Constant
Fast
Normal
Momentary
Display Setup Menu
Sector 1-16 Press Focus/Iris to blank or
Edit Scene Title to access
Privacy Masking
Edit Sector Title
Communication Setup Menu
Alarm I/O Setup Inputs Setup
Alarm I/O Setup
Inputs
None
Outputs Setup
Outputs Setup Menu
Alarm Relay
Outputs
Rule
Rule Setup Menu
Rule Setup
None
Language Menu
Advanced Feature Setup Menu
Advanced Feature Setup
Diagnostics Menu
Bist
11.1 Alarm Status Submenu
2Setting Preset Shots
Common AutoDome User Commands unlocked
Setting AutoPan Mode
Specifying a Shot or a Sector Title
4Configuring Preposition Tours
To start Preposition Tour
To stop a Preposition Tour
6Recording Tours
5Programming the Inactivity Operation
Alternative Control Protocols
Setting FastAddress with Alternative Protocols
Using an American Dynamics Controller
Enter FastAddress
Exit Command Lock
FastAddress
Setting FastAddress with a Pelco Keyboard
2Using a Pelco Controller
New Fast Address Saved Setup Menu
Hardware Configuration
Pelco Protocol Mode
Keyboard Command User Action Description Pattern
Pelco Keyboard Commands
Aux On / Aux Off
Aux On
Preset Command Description
Special Preset Commands
Preset
Initiates Preset Tour
Pelco On-Screen Menus
Bosch Menu locked
Command Lock locked
Pelco menu Bosch menu Setup Menu
Camera Setup unlocked
PTZ Setup unlocked
Pelco Camera Setup Menu provides access to camera settings
Outdoor
Other Menus
Keyboard Commands by Number
Zone Title Menu Enters Zone Title menu. Refer to
Refer to .8 Azimuth, Elevation, Compass Directions,
Locked Function Comm Command Description Key
Alarm Rules
Advanced Features
Controlling Alarm Rules
Alarm Rule Examples
Example 2 Advanced Alarm Rule
Click the Online Config button and then expand Alarm
Example 3 Advanced Alarm Rule using AutoTrack
Click Output Option
Select Shot from the Type drop-down list
Output Option 6 Configuration
AutoTrack Operation
AutoTrack Settings and Recommendations
Mount/Mounting Surface Stability
AutoTrack Optimization
Field of View
Unwanted Motion
Virtual Masking
Setting AutoTrack Optimization Parameters
Privacy Masking
Consistent Light Conditions
Motion Detection with Region of Interest
Preset positions 90 through
Image Stabilization
7Pre-position Tour
Azimuth Range Compass Direction
Setting the Azimuth Zero Point
8Azimuth, Elevation, and Compass Directions
Function Command Description Key Number
AutoHome Recalibration Commands and Settings
Displaying Azimuth, Elevation, and Compass Headings
Readings and the compass heading in the following way
Preset or Recorded Tour
Using the AutoHome Recalibration
Setting Values
AutoHome Recalibration Operation
If O.K., then If using a non-Bosch power supply
Troubleshooting Guide
If O.K., then If there is power to the AutoDome, then
VG5 AutoDome Operation and Control
Cannot access user
If amber LED does not light when given PTZ commands, then
Settings
No camera control
Does not switch If O.K., then Automatically when
Setting FastAddress
With an American
Dynamics Keyboard
On monitor display
Inside of Outdoor
Low Voltage flashing
Audio Connections with an VG5 600 Series AutoDome
2VG5 Series AutoDome Audio
Problem Solution No Audio
Poor Audio
Problem Solution If O.K., then
User Command Table
AutoDome 600 Series Analog PTZ Camera User Command Table en
Group
Appendix FastAddress Conversions
Block
Numerics
Index
Command lock 36 Command Lock menu 37 commands
Setup
Custom tour
PTZ
En Index AutoDome 600 Series Analog PTZ Camera
Page
Page
Page
Bosch Security Systems, Inc

