![]() BM 2610012089
BM 2610012089
Assembly
Assembling Dust Elbow And Dust Bag
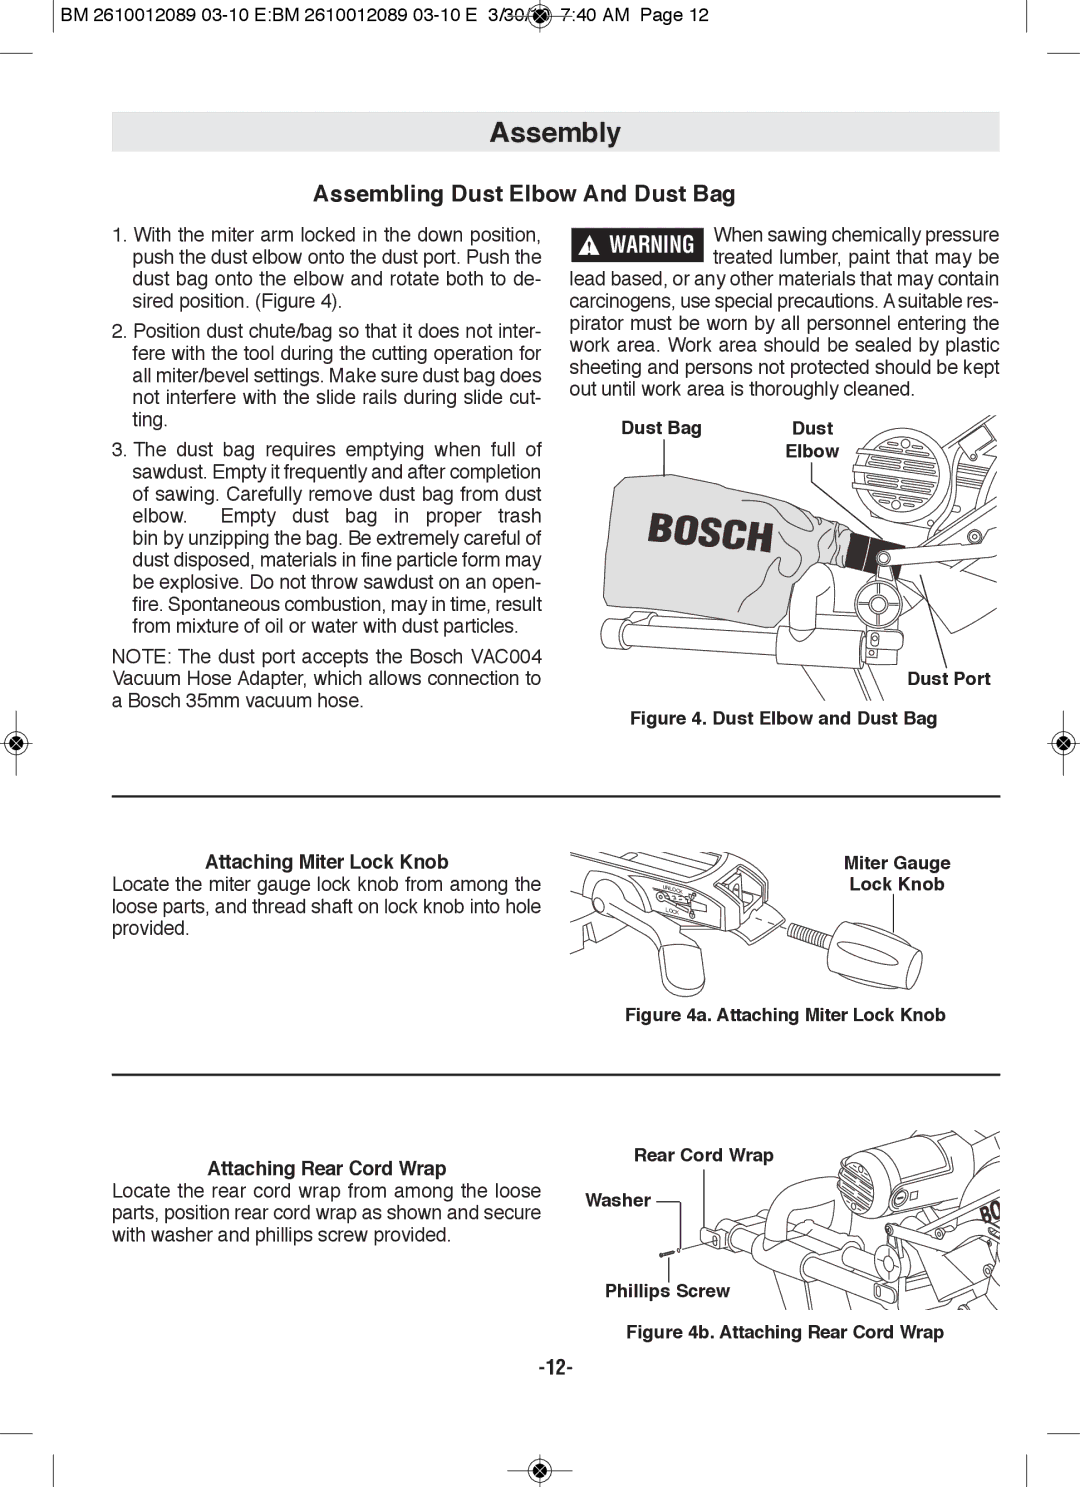
1.With the miter arm locked in the down position, push the dust elbow onto the dust port. Push the dust bag onto the elbow and rotate both to de- sired position. (Figure 4).
2.Position dust chute/bag so that it does not inter- fere with the tool during the cutting operation for all miter/bevel settings. Make sure dust bag does not interfere with the slide rails during slide cut- ting.
3.The dust bag requires emptying when full of sawdust. Empty it frequently and after completion of sawing. Carefully remove dust bag from dust elbow. Empty dust bag in proper trash bin by unzipping the bag. Be extremely careful of dust disposed, materials in fine particle form may be explosive. Do not throw sawdust on an open- fire. Spontaneous combustion, may in time, result from mixture of oil or water with dust particles.
NOTE: The dust port accepts the Bosch VAC004 Vacuum Hose Adapter, which allows connection to a Bosch 35mm vacuum hose.
When sawing chemically pressure treated lumber, paint that may be lead based, or any other materials that may contain
carcinogens, use special precautions. A suitable res- pirator must be worn by all personnel entering the work area. Work area should be sealed by plastic sheeting and persons not protected should be kept out until work area is thoroughly cleaned.
Dust Bag | Dust |
| Elbow |
Dust port
figure 4. Dust Elbow and Dust Bag
Attaching Miter lock Knob
Locate the miter gauge lock knob from among the loose parts, and thread shaft on lock knob into hole provided.
| Miter Gauge |
UNLOCK | lock Knob |
LOCK |
|
figure 4a. Attaching Miter lock Knob
Attaching Rear Cord Wrap
Locate the rear cord wrap from among the loose parts, position rear cord wrap as shown and secure with washer and phillips screw provided.