BM 2610012089
 03-10 E:BM 2610012089 03-10 E 3/30/10 7:42 AM Page 37
Maintenance and lubrication
Service
!WARNING Preventive maintenance per- formed by unauthorized personnel
may result in misplacing of internal wires and com- ponents which could cause serious hazard. We rec- ommend that all tool service be performed by a Bosch Factory Service Center or Authorized Bosch Service Station.
Carbon Brushes
The brushes and commutator in your tool have been engineered for many hours of dependable service. To maintain peak efficiency of the motor, we recom- mend every two to six months the brushes be ex- amined. Only genuine Bosch replacement brushes specially designed for your tool should be used.
Motor Brush Replacement
To Inspect or Replace Brushes:
1. Unplug the saw.
! WARNING | The brush cap is spring loaded by |
| the brush assembly. |
|
2.Remove the brush cap on the motor using a wide flat blade screwdriver.
3.Pull out the brush (Figure 43). Repeat for the op- posite side.
NOTE: If installing the existing brush or brushes, make sure the brush goes in the same way it came out. Otherwise a
4.Inspect brushes for wear. On the wide flat side of brush is a wear limit line. If the brush contact face is at or beyond (no line visible) the limit replace brushes as a set.
5.Install new brush. The two (2) tabs on the brush terminal go in the same hole the carbon part fits into.
6.Tighten the brush cap but do not overtighten.
Brush
Brush
Terminal
figure 43. Motor Brush
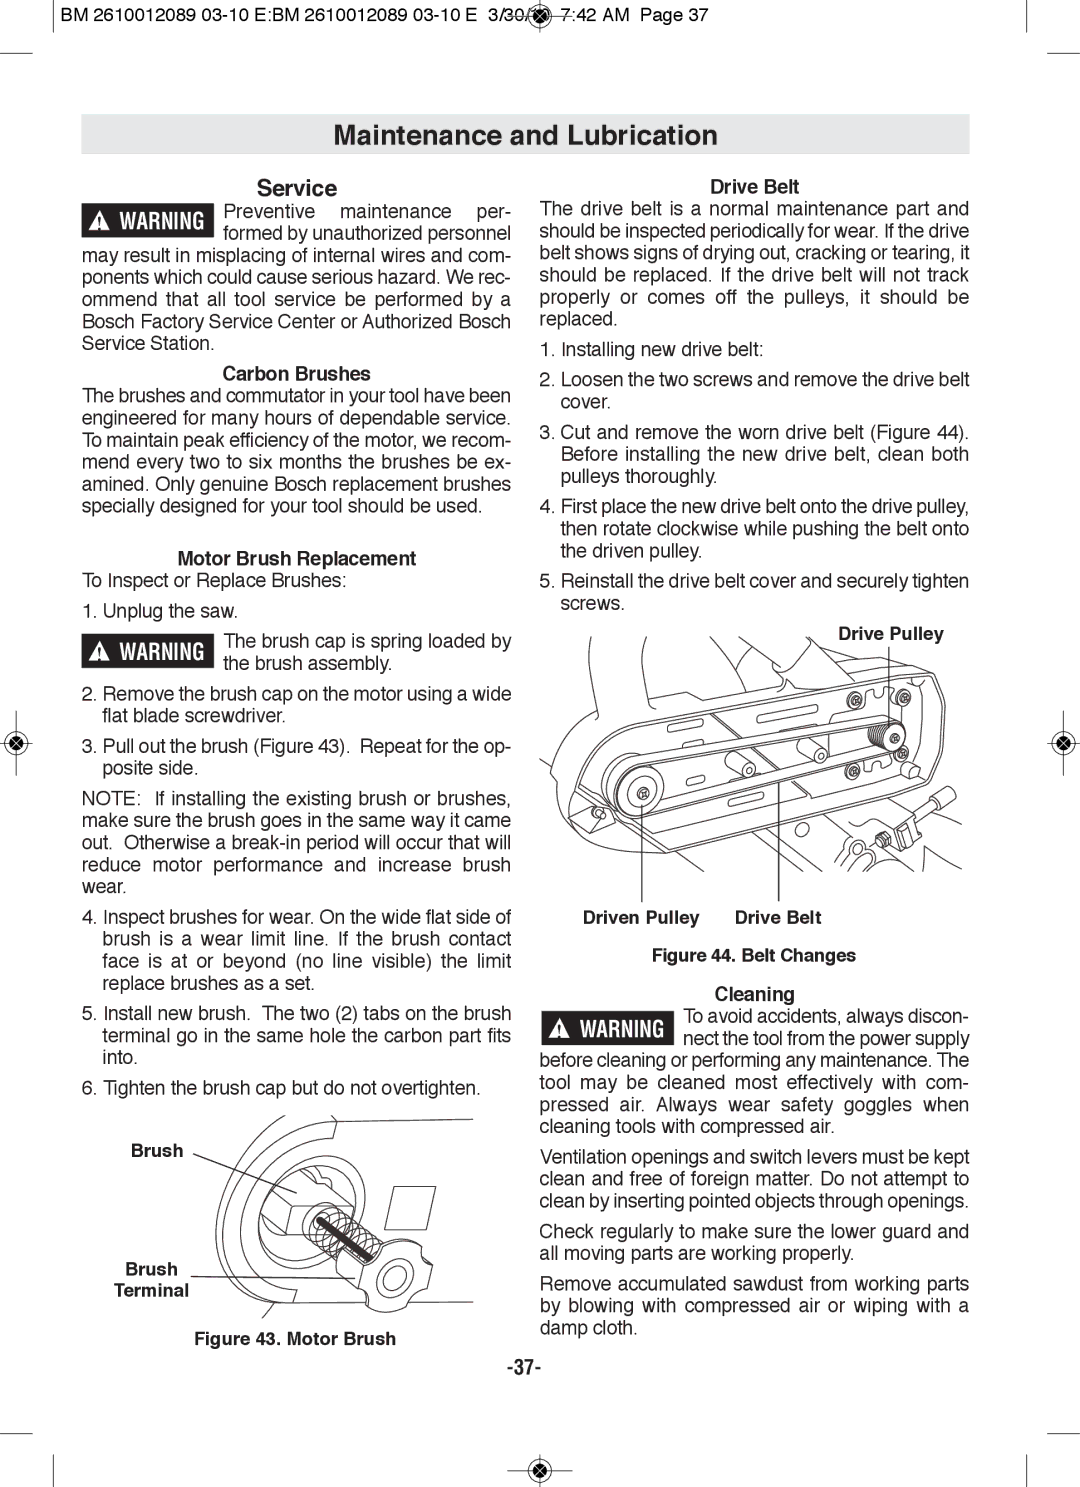
Drive Belt
The drive belt is a normal maintenance part and should be inspected periodically for wear. If the drive belt shows signs of drying out, cracking or tearing, it should be replaced. If the drive belt will not track properly or comes off the pulleys, it should be replaced.
1.Installing new drive belt:
2.Loosen the two screws and remove the drive belt cover.
3.Cut and remove the worn drive belt (Figure 44). Before installing the new drive belt, clean both pulleys thoroughly.
4.First place the new drive belt onto the drive pulley, then rotate clockwise while pushing the belt onto the driven pulley.
5.Reinstall the drive belt cover and securely tighten screws.
Drive pulley
Driven pulley | Drive Belt |
figure 44. Belt Changes
Cleaning
To avoid accidents, always discon- ! WARNING nect the tool from the power supply
before cleaning or performing any maintenance. The tool may be cleaned most effectively with com- pressed air. Always wear safety goggles when cleaning tools with compressed air.
Ventilation openings and switch levers must be kept clean and free of foreign matter. Do not attempt to clean by inserting pointed objects through openings.
Check regularly to make sure the lower guard and all moving parts are working properly.
Remove accumulated sawdust from working parts by blowing with compressed air or wiping with a damp cloth.