Inserting the Cards
Inserting the Cards
To insert a Cisco IGX module:
Step 1 Attach an
Note The IGX 8410 cabinet has an attached wrist strap both at the front and back.
Step 2 Using the
Step 3 Be sure that you are inserting the module into the correct slot.
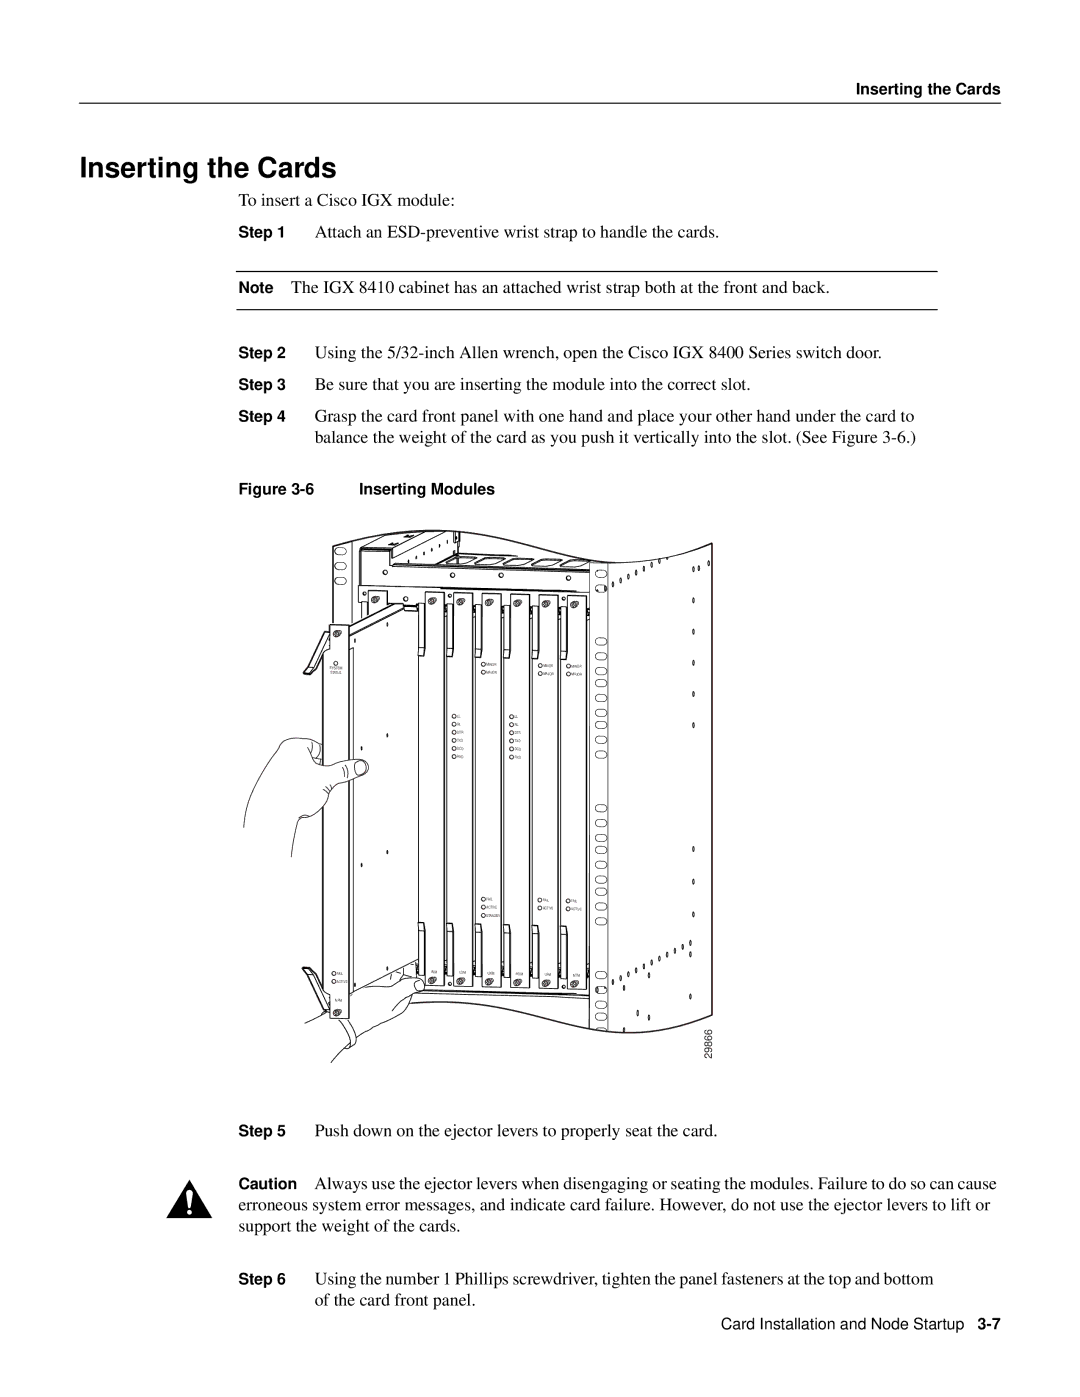
Step 4 Grasp the card front panel with one hand and place your other hand under the card to balance the weight of the card as you push it vertically into the slot. (See Figure
Figure 3-6 Inserting Modules
SYSTEM
STATUS
![]() FAIL
FAIL ![]() ACTIVE
ACTIVE
NPM
| MINOR | MINOR | MINOR |
| MAJOR | MAJOR | MAJOR |
LL |
| LL |
|
RL |
| RL |
|
DTR |
| DTR |
|
TXD |
| TXD |
|
DCD |
| DCD |
|
RXD |
| RXD |
|
|
| FAIL |
| FAIL | FAIL |
|
| ACTIVE |
| ACTIVE | ACTIVE |
|
|
|
| ||
|
| STANDBY |
|
|
|
ALM | LDM | UXM | HDM | UFM | NTM |
|
|
|
29866
Step 5 Push down on the ejector levers to properly seat the card.
Caution Always use the ejector levers when disengaging or seating the modules. Failure to do so can cause erroneous system error messages, and indicate card failure. However, do not use the ejector levers to lift or support the weight of the cards.
Step 6 Using the number 1 Phillips screwdriver, tighten the panel fasteners at the top and bottom of the card front panel.
Card Installation and Node Startup