Paper Handling
3
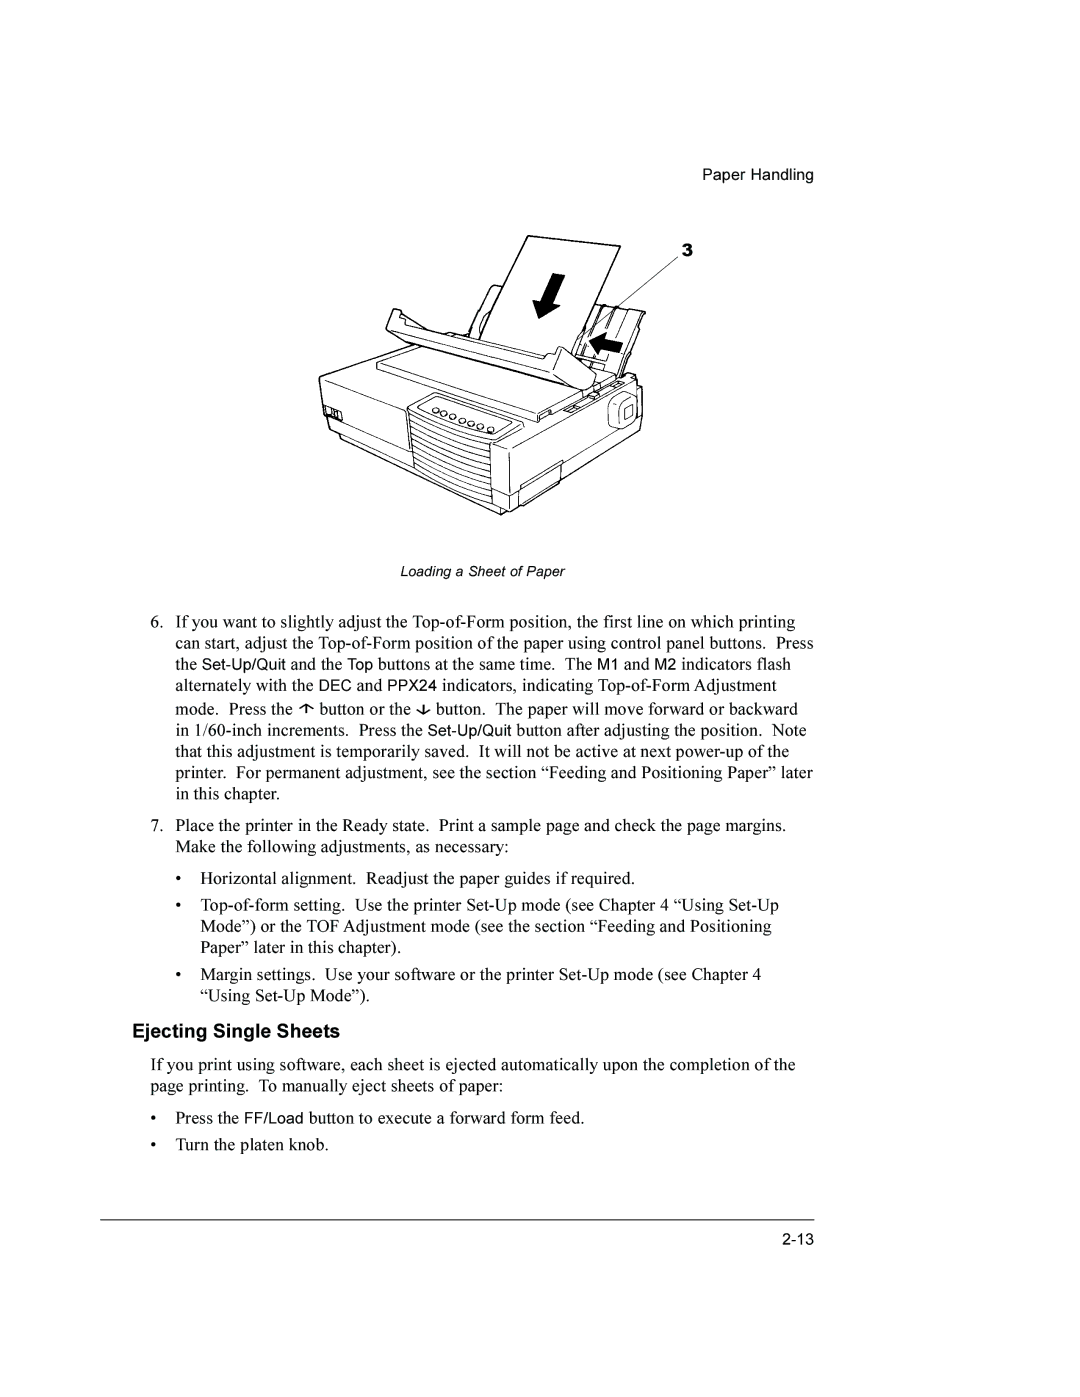
Loading a Sheet of Paper
6.If you want to slightly adjust the Top-of-Form position, the first line on which printing can start, adjust the Top-of-Form position of the paper using control panel buttons. Press the Set-Up/Quitand the Top buttons at the same time. The M1 and M2 indicators flash alternately with the DEC and PPX24 indicators, indicating Top-of-Form Adjustment
mode. Press the  button or the
  button. The paper will move forward or backward in 1/60-inch increments. Press the Set-Up/Quitbutton after adjusting the position. Note that this adjustment is temporarily saved. It will not be active at next power-up of the printer. For permanent adjustment, see the section “Feeding and Positioning Paper” later in this chapter.
7.Place the printer in the Ready state. Print a sample page and check the page margins. Make the following adjustments, as necessary:
•Horizontal alignment. Readjust the paper guides if required.
•Top-of-form setting. Use the printer Set-Up mode (see Chapter 4 “Using Set-Up Mode”) or the TOF Adjustment mode (see the section “Feeding and Positioning Paper” later in this chapter).
•Margin settings. Use your software or the printer Set-Up mode (see Chapter 4 “Using Set-Up Mode”).
Ejecting Single Sheets
If you print using software, each sheet is ejected automatically upon the completion of the page printing. To manually eject sheets of paper:
•Press the FF/Load button to execute a forward form feed.
•Turn the platen knob.

![]() button or the
button or the ![]() button. The paper will move forward or backward in
button. The paper will move forward or backward in 