Command Line Interface
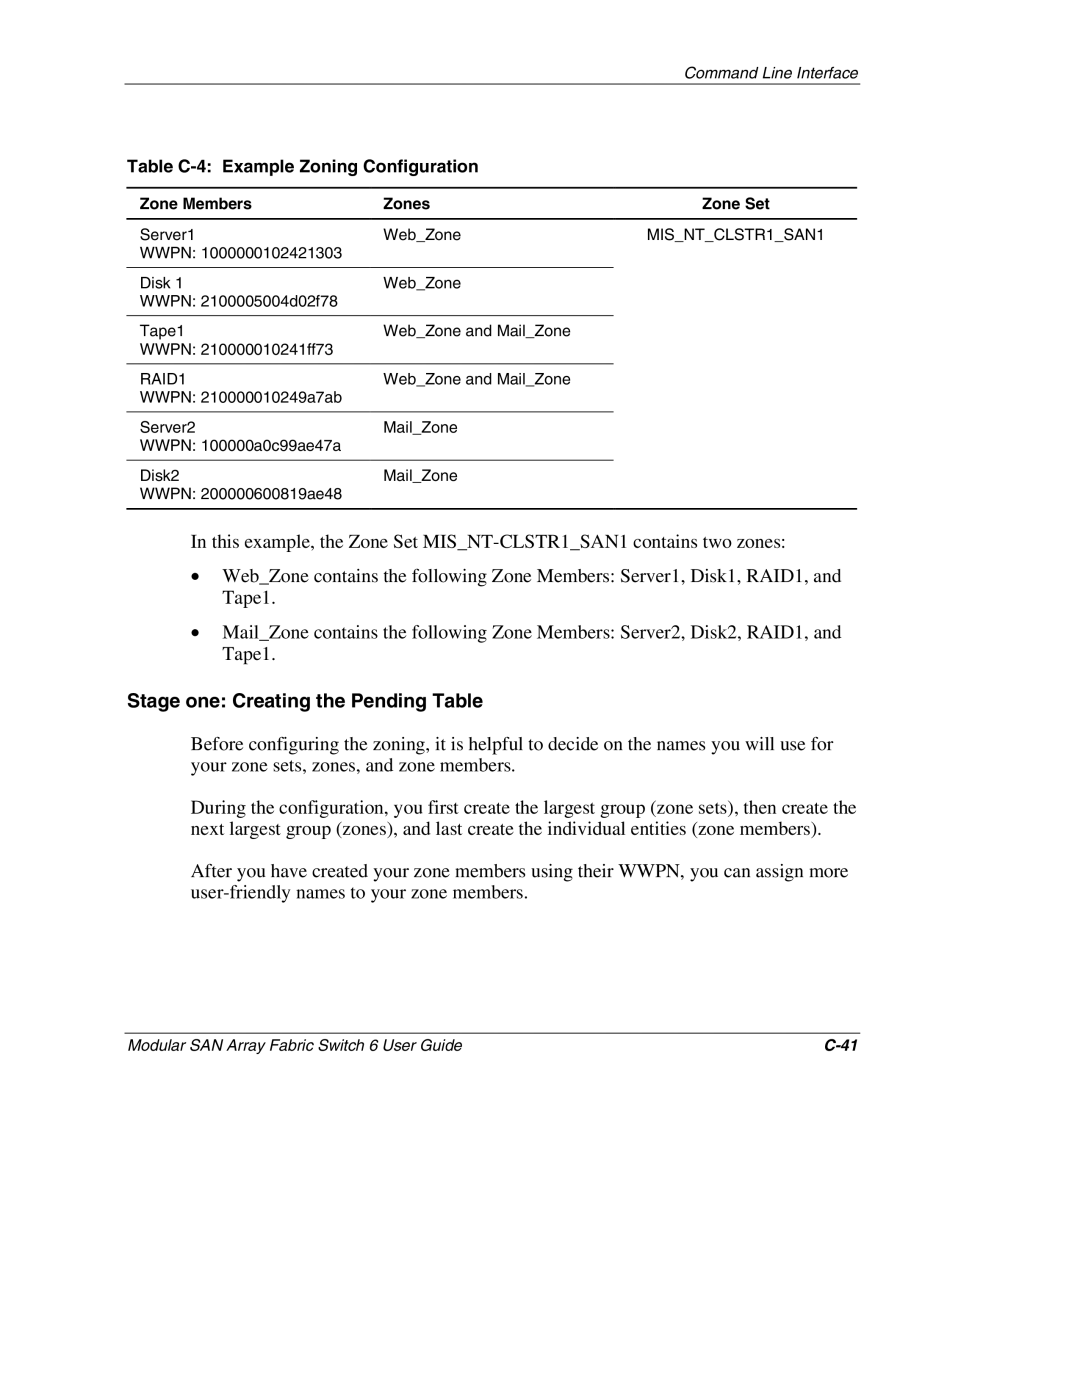
Table C-4: Example Zoning Configuration
Zone Members | Zones | Zone Set |
Server1 | Web_Zone | MIS_NT_CLSTR1_SAN1 |
WWPN: 1000000102421303 |
|
|
|
|
|
Disk 1 | Web_Zone |
|
WWPN: 2100005004d02f78 |
|
|
|
|
|
Tape1 | Web_Zone and Mail_Zone |
|
WWPN: 210000010241ff73 |
|
|
|
|
|
RAID1 | Web_Zone and Mail_Zone |
|
WWPN: 210000010249a7ab |
|
|
|
|
|
Server2 | Mail_Zone |
|
WWPN: 100000a0c99ae47a |
|
|
|
|
|
Disk2 | Mail_Zone |
|
WWPN: 200000600819ae48 |
|
|
|
|
|
In this example, the Zone Set
•Web_Zone contains the following Zone Members: Server1, Disk1, RAID1, and Tape1.
•Mail_Zone contains the following Zone Members: Server2, Disk2, RAID1, and Tape1.
Stage one: Creating the Pending Table
Before configuring the zoning, it is helpful to decide on the names you will use for your zone sets, zones, and zone members.
During the configuration, you first create the largest group (zone sets), then create the next largest group (zones), and last create the individual entities (zone members).
After you have created your zone members using their WWPN, you can assign more
Modular SAN Array Fabric Switch 6 User Guide |
