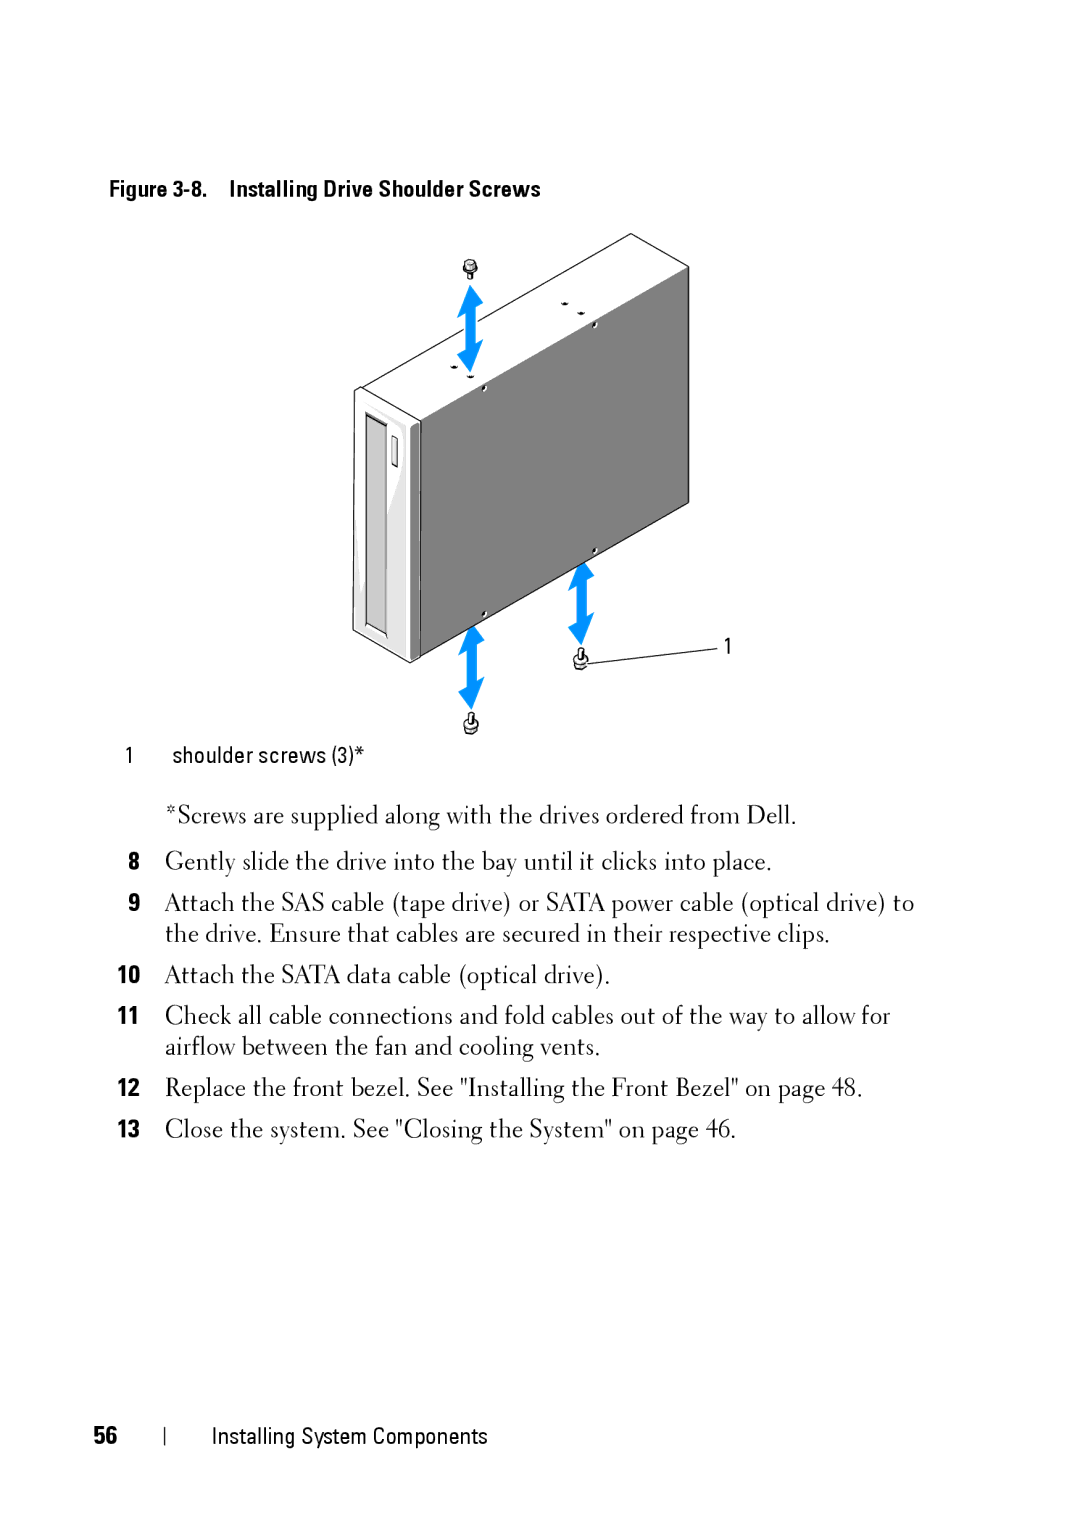
Figure 3-8. Installing Drive Shoulder Screws
1
1 shoulder screws (3)*
*Screws are supplied along with the drives ordered from Dell.
8Gently slide the drive into the bay until it clicks into place.
9Attach the SAS cable (tape drive) or SATA power cable (optical drive) to the drive. Ensure that cables are secured in their respective clips.
10Attach the SATA data cable (optical drive).
11Check all cable connections and fold cables out of the way to allow for airflow between the fan and cooling vents.
12Replace the front bezel. See "Installing the Front Bezel" on page 48.
13Close the system. See "Closing the System" on page 46.
56
Installing System Components