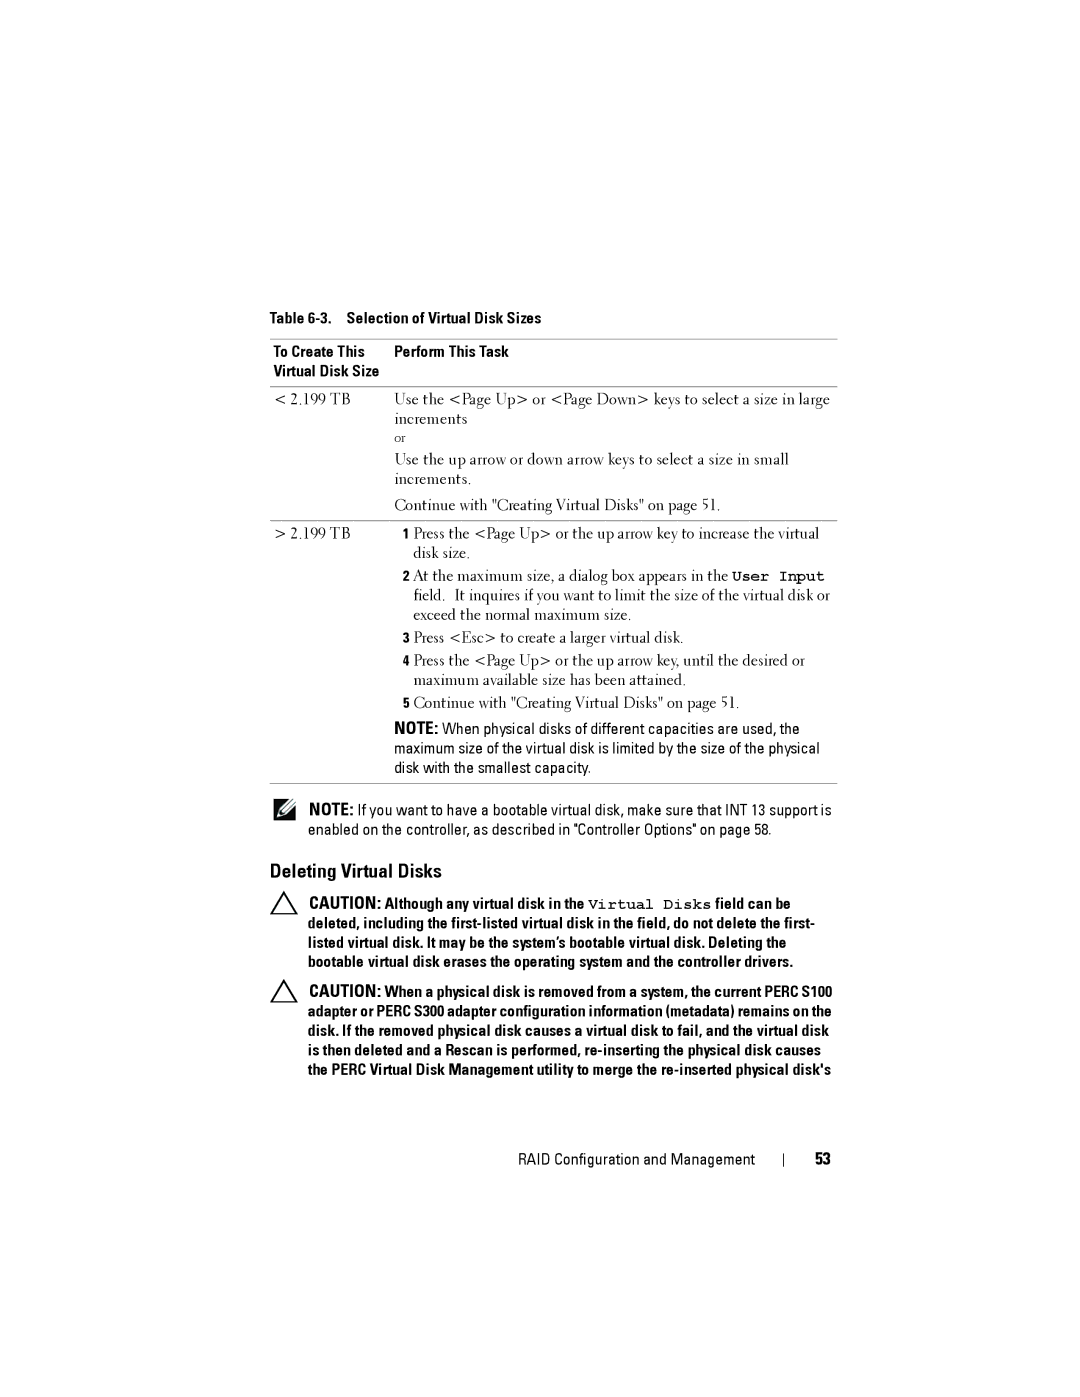
Table
To Create This | Perform This Task | |
Virtual Disk Size |
|
|
|
| |
< 2.199 TB | Use the <Page Up> or <Page Down> keys to select a size in large | |
| increments | |
| or |
|
| Use the up arrow or down arrow keys to select a size in small | |
| increments. | |
| Continue with "Creating Virtual Disks" on page 51. | |
|
| |
> 2.199 TB | 1 Press the <Page Up> or the up arrow key to increase the virtual | |
|
| disk size. |
| 2 | At the maximum size, a dialog box appears in the User Input |
|
| field. It inquires if you want to limit the size of the virtual disk or |
|
| exceed the normal maximum size. |
| 3 | Press <Esc> to create a larger virtual disk. |
| 4 | Press the <Page Up> or the up arrow key, until the desired or |
|
| maximum available size has been attained. |
| 5 | Continue with "Creating Virtual Disks" on page 51. |
NOTE: When physical disks of different capacities are used, the maximum size of the virtual disk is limited by the size of the physical disk with the smallest capacity.
NOTE: If you want to have a bootable virtual disk, make sure that INT 13 support is enabled on the controller, as described in "Controller Options" on page 58.
Deleting Virtual Disks
CAUTION: Although any virtual disk in the Virtual Disks field can be deleted, including the
CAUTION: When a physical disk is removed from a system, the current PERC S100 adapter or PERC S300 adapter configuration information (metadata) remains on the disk. If the removed physical disk causes a virtual disk to fail, and the virtual disk is then deleted and a Rescan is performed,
RAID Configuration and Management
53
