2.Equipment connection and network setting
2.5Configuring and controlling the projector via a web browser (Continued)
2.5.6 Schedule Setting (Continued)
To add additional functions and events click the [Add] button and set the following items.
Item
Description
Time | Configures the time to execute commands. | |
Command | Configures the commands to be executed. | |
| Power Parameter | Configures the parameters for power control. |
| Input Source | Configures the parameters for input switching. |
| Parameter | |
|
| |
| Display Image | Configures the parameters for display of transfer image data. |
| Parameter | |
|
| |
Click the [Register] button to add new commands to the Schedule List. Click the [Delete] button to delete commands from the Schedule List.
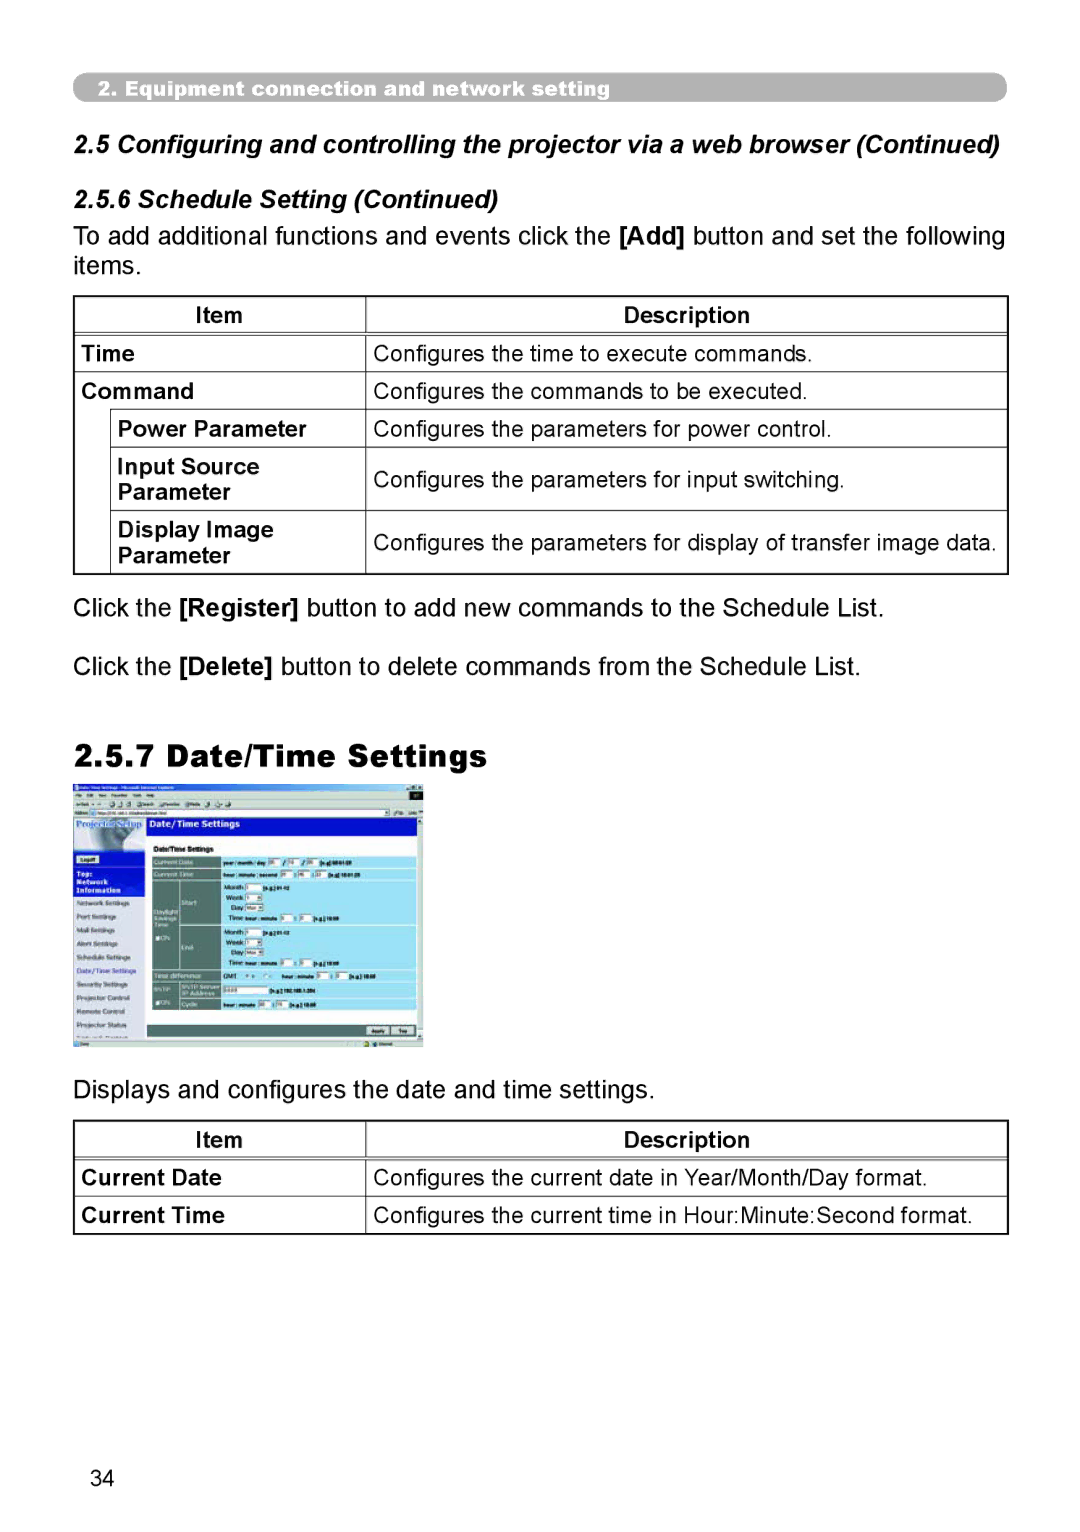
2.5.7 Date/Time Settings
Displays and configures the date and time settings.
Item
Description
Current Date | Configures the current date in Year/Month/Day format. |
Current Time | Configures the current time in Hour:Minute:Second format. |
34