Communications Interface
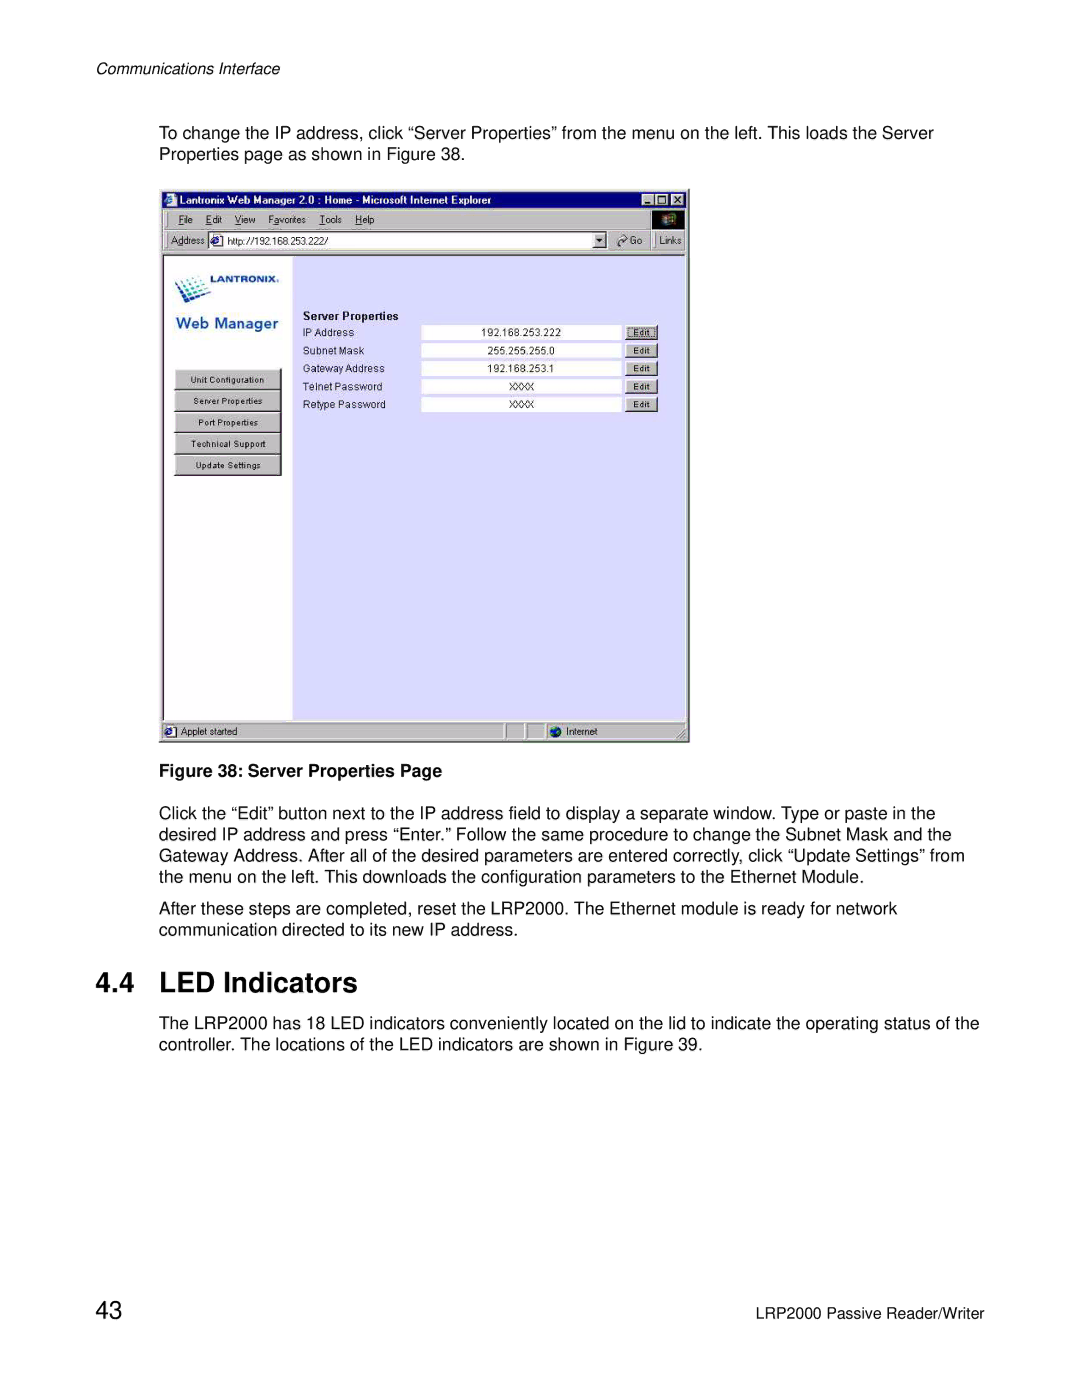
To change the IP address, click “Server Properties” from the menu on the left. This loads the Server Properties page as shown in Figure 38.
Figure 38: Server Properties Page
Click the “Edit” button next to the IP address field to display a separate window. Type or paste in the desired IP address and press “Enter.” Follow the same procedure to change the Subnet Mask and the Gateway Address. After all of the desired parameters are entered correctly, click “Update Settings” from the menu on the left. This downloads the configuration parameters to the Ethernet Module.
After these steps are completed, reset the LRP2000. The Ethernet module is ready for network communication directed to its new IP address.
4.4 LED Indicators
The LRP2000 has 18 LED indicators conveniently located on the lid to indicate the operating status of the controller. The locations of the LED indicators are shown in Figure 39.
43 | LRP2000 Passive Reader/Writer |