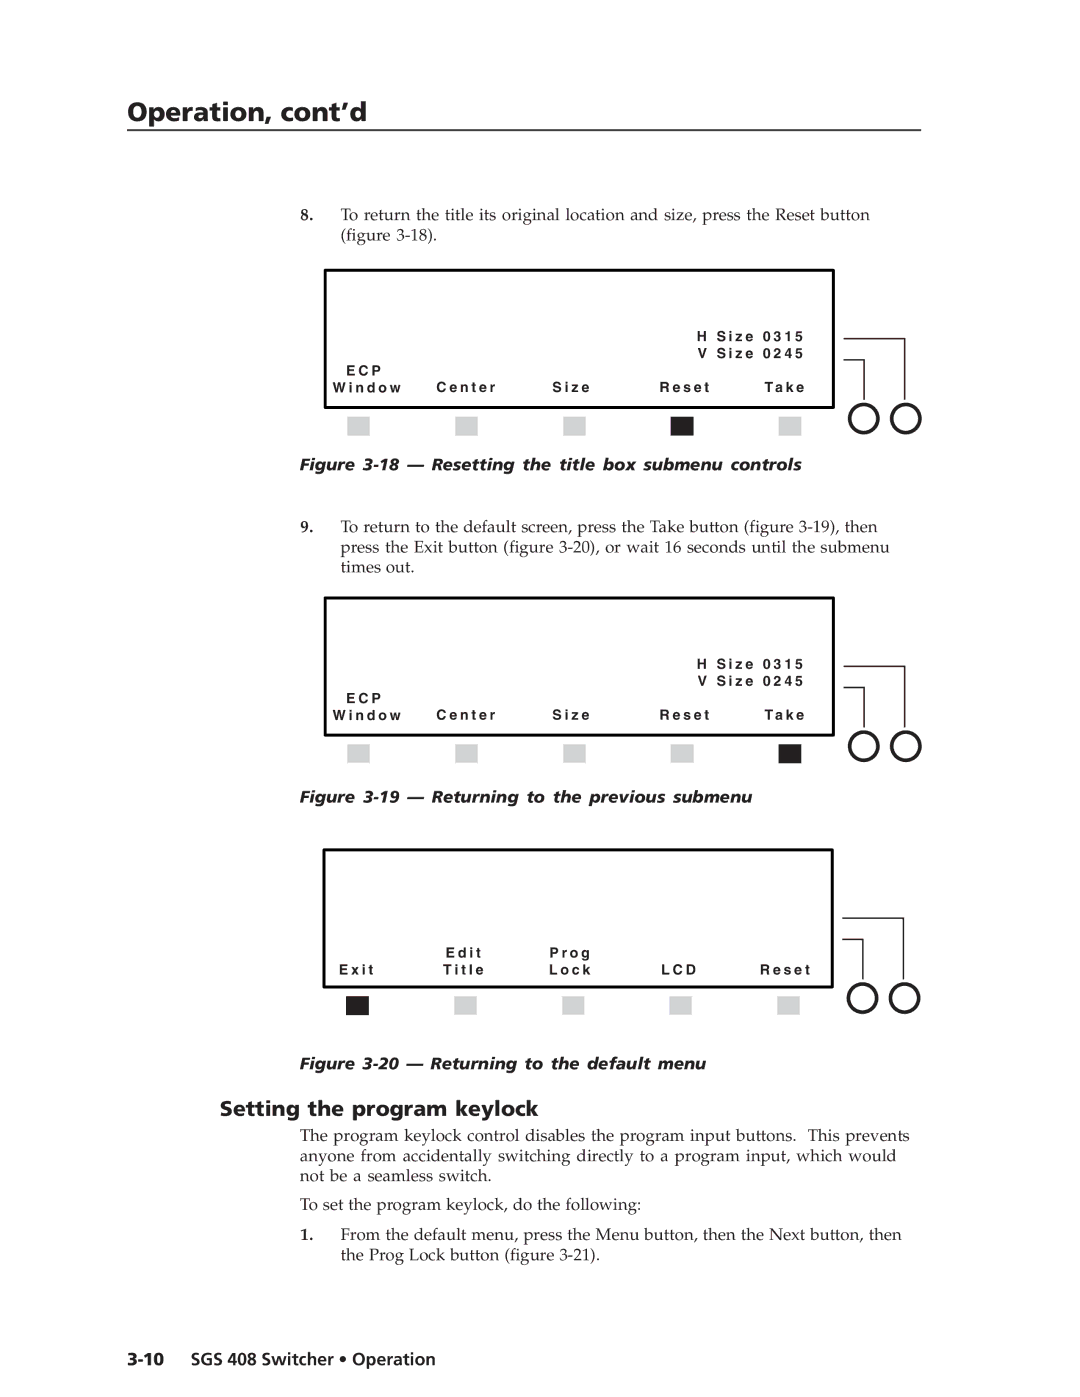
Eight Input, High Resolution, Seamless Graphic Switcher
68-520-01 Rev. C
Precautions
Safety Instructions English
Consignes de Sécurité Français
Sicherheitsanleitungen Deutsch
Installation
Quick Start - SGS
SGS 408 Quick Start QS-1
Step
Adjusting an Image
Configuring the Switcher
Setting Up an Effect
Right adjustment knob
Table of Contents
SGS 408 Switcher Table of Contents
Table of Contents, cont’d
ii SGS 408 Switcher Table of Contents
SGS 408 Switcher
About the SGS Features
Chapter1One
Introduction
Features
1-2 SGS 408 Switcher Introduction
Introductiontroduction, cont’d
About the SGS
SGS 408 Switcher Introduction
1-4 SGS 408 Switcher Introduction
Introduction, cont’d
Installation
Rear Panel Connectors Installation Cable Pinouts
Chapter2Two
SGS 408 Switcher
Installationstallation, cont’d
Rear Panel Connectors
Installation
Front panel features are shown on page
Mounting the switcher
Figure 2-2 - Mounting the switcher
SGS 408 Switcher Installation
Rack mounting
Installation, cont’d
2-4 SGS 408 Switcher Installation
Cabling
Tabletop/desktop mounting
Genlocking Video Inputs for Accu-RATE Frame Lock
Figure 2-5 - Typical SGS 408 application
Figure 2-6 - SGS 408 genlocking connections
SGS 408 Switcher Installation
Up to three SGS 408 switchers can be connected to an ECP
2-6 SGS 408 Switcher Installation
Attaching an RCP
Attaching an ECP
Signal
Figure 2-9 - XLR connector
Cable Pinouts
XLR cable pinouts
Figure 2-10 - DVI connector
2-8 SGS 408 Switcher Installation
DVI cable pinouts
Making an RCP comm cable
Front Panel Controls Default Screen Configuring the SGS
Using the Image Controls Selecting an Input Optimizing the Image
Chapter3Three
Operation
Rear panel features are shown on page
3-2 SGS 408 Switcher Operation
Operationeration, cont’d
Front Panel Controls
Figure 3-2 - LCD default screen
Default Screen
SGS 408 Switcher Operation
Configuring the SGS
Figure 3-3 - The default LCD menu
3-4 SGS 408 Switcher Operation
Operation, cont’d
Selecting the input configuration
Figure 3-6 - Selecting the input configuration menu
Figure 3-7 - Input configuration menu
Figure 3-8 - Input configuration menu
3-6 SGS 408 Switcher Operation
Selecting the output rate
Selecting the output sync format and polarity
Figure 3-9 - Selecting the output rate
Selecting a test pattern
Figure 3-10 - Selecting the output sync format
Figure 3-11 - Selecting the test pattern
SGS 408 Switcher Operation
Changing the title settings
3-8 SGS 408 Switcher Operation
Figure 3-12 - Test patterns
Figure 3-13 - Selecting the Edit Title button
Figure 3-15 - ECP control
Figure 3-16 - Centering the title box
Figure 3-17 - Sizing the title box
SGS 408 Switcher Operation
Setting the program keylock
Figure 3-18 - Resetting the title box submenu controls
Figure 3-20 - Returning to the default menu
3-10 SGS 408 Switcher Operation
Setting the LCD appearance
Performing a reset
Figure 3-21 - Setting the program keylock
Figure 3-22 - Setting the LCD appearance
Figure 3-23 - Performing a reset
Figure 3-24 - Selecting the reset type
Figure 3-25 - Selecting the system reset
3-12 SGS 408 Switcher Operation
Using the Image Controls
Centering an image
Sizing an image
Figure 3-26 - Centering an image
Adjusting contrast and brightness
Figure 3-29 - Adjusting contrast and brightness
3-14 SGS 408 Switcher Operation
Filtering an image
Freezing an input
Selecting an Input
SGS 408 Switcher Operation
Using the Black button
3-16 SGS 408 Switcher Operation
Applying a cut
Applying other effects
Figure 3-32 - Standard wipe transitions
Figure 3-33 - Curtain wipe effects
Figure 3-34 - Plus wipe effects
SGS 408 Switcher Operation
3-18 SGS 408 Switcher Operation
Figure 3-35 - Square wipe effects
Figure 3-36 - ECP window title effect
Operation, cont’d
Figure 3-37 - ECP key title effect
Setting up a new effect
SGS 408 Switcher Operation
Figure 3-38 - Setting up the Dissolve effect
Figure 3-39 - Setting up the S wipe effect
Figure 3-40 - Setting up the H wipe effect
3-20 SGS 408 Switcher Operation
Figure 3-41 - Setting up the S curtains effect
Figure 3-42 - Setting up the H curtains effect
Figure 3-43 - Setting up the Plus wipe effect
SGS 408 Switcher Operation
Figure 3-44 - Setting up the Square wipe effect
Figure 3-45 - Setting up the Title effect
Up to this point, you can cancel an effect by pressing the Esc button
3-22 SGS 408 Switcher Operation
Using executive mode
Implementing a title
Figure 3-46 - Enabling executive mode
SGS 408 Switcher Operation
Optimizing the Image
3-24 SGS 408 Switcher Operation
Operation, cont’d
Chapter4Four
Serial Communication
RS-232 Programmer’s Guide Control Software for Windows
SGS 408 Switcher
Figure 4-1 - Switcher RS-232 to host connection
Signal
4-2 SGS 408 Switcher Serial Communication
SerialCommunicationunication, c t’d
Using the command/response table
SGS error responses
SGS 408 Switcher Serial Communication
Command/response table
Symbol Definitions
4-4 SGS 408 Switcher Serial Communication
Serial Communication, cont’d
COMMAND
Recall memory preset
ASCII RESPONSE
DESCRIPTION
4-6 SGS 408 Switcher Serial Communication
ASCII
Horizontal Size
RESPONSE DESCRIPTION
Installing the software
Control Software for Windows
Advanced Instructions
RESPONSE
Using the software
4-8 SGS 408 Switcher Serial Communication
Figure 4-2 - SGS 408 Control Program window
Serial Communication, cont’d
Chapter5Five
Troubleshooting
SGS 408 Switcher
Troubleshootingubleshooting, cont’d
If the switcher does not respond to controls
5-2 SGS 408 Switcher Troubleshooting
If the image does not appear
AAppendix A
Specifications
SGS 408 Switcher
Specificationsecifications, cont’d
Control/remote - switcher
A-2 SGS 408 Switcher Specifications
Video
Specifications are subject to change without notice
SGS 408 Switcher Specifications
General
All nominal levels are at ±10%
Specifications, cont’d
A-4 SGS 408 Switcher Specifications
Upgrades and Repairs Part Numbers
AppendixBB
Reference Information
SGS 408 Switcher
Upgrades and Repairs
Internal access
Installing the DVI connector option
B-2 SGS 408 Switcher Reference Information
SGS 408 Switcher Reference Information
Figure B-2 - Installing the DVI connector option
Replacing the AC fuse
Installing a firmware update
B-4 SGS 408 Switcher Reference Information
Reference Information, cont’d
Figure B-3 - Replacing the fuse viewed from the side
Figure B-4 - Locating and replacing ICs
SGS 408 Switcher Reference Information
B-6 SGS 408 Switcher Reference Information
Part Numbers
Related part numbers
Extron Part
Extron’s Warranty
FCC Class A Notice
USA, Canada, South America
Europe, Africa, and the Middle East
Extron Electronics, USA
Extron Electronics, Europe
Extron Electronics, Asia
Extron Electronics, Japan