Fluke 90100 manual Using the AIR Density Button, Using the Gain Select Button Normal Mode

Models: 90100

1 60
Download 60 pages 32.95 Kb
Page 22
Image 22

Model 90100

Operators Manual

2.4.6 Using the AIR DENSITY Button

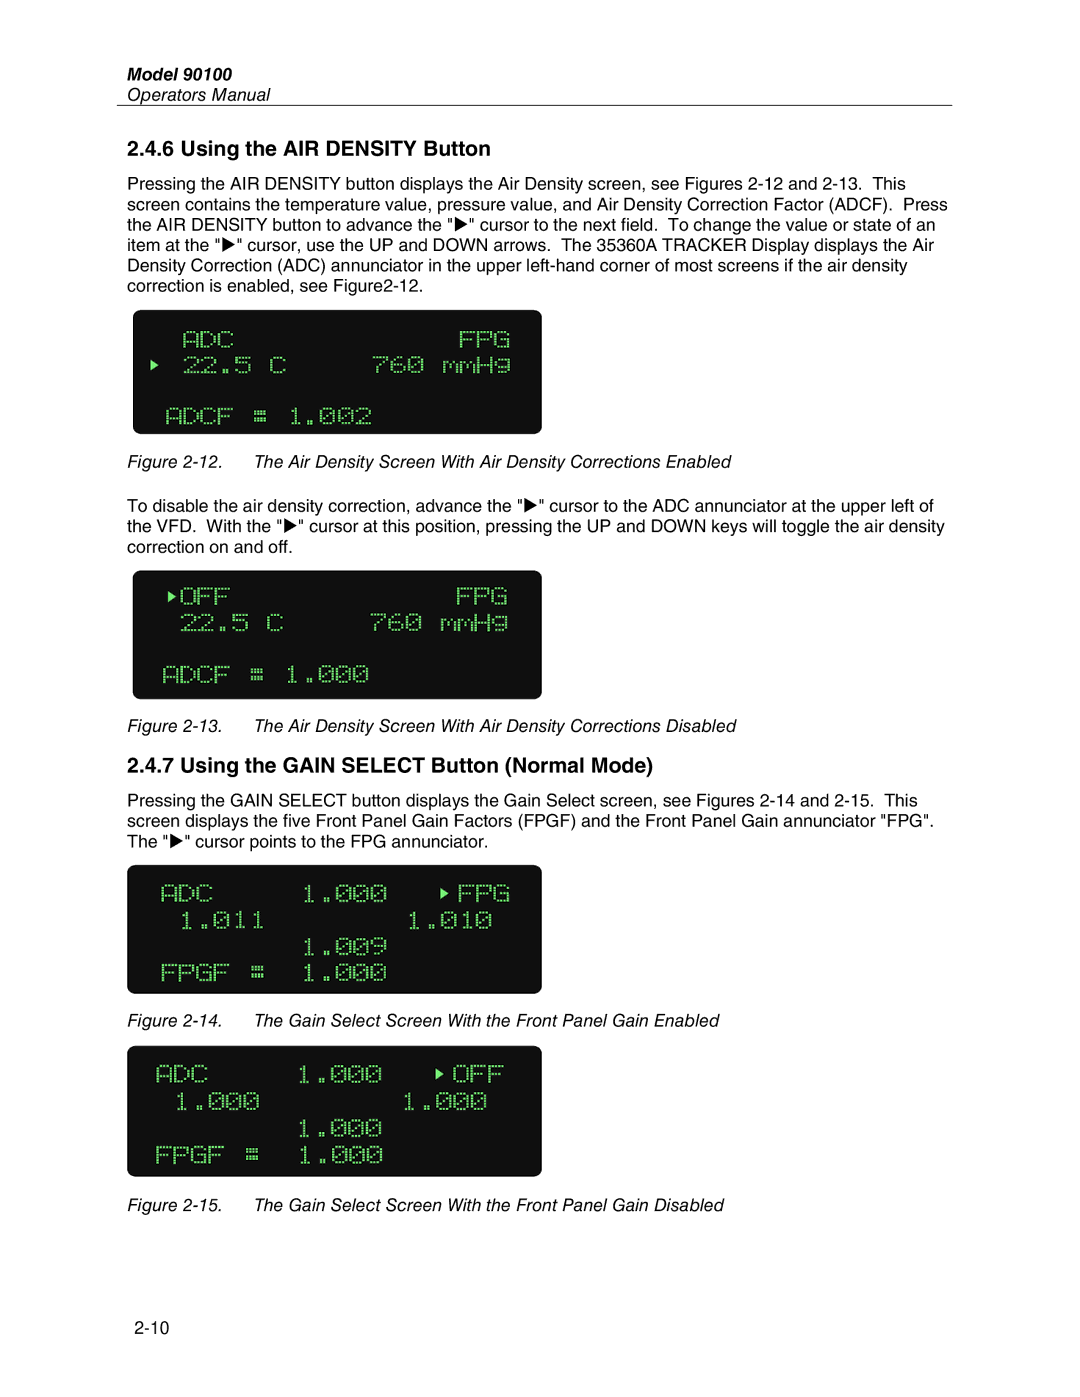
Pressing the AIR DENSITY button displays the Air Density screen, see Figures 2-12 and 2-13. This screen contains the temperature value, pressure value, and Air Density Correction Factor (ADCF). Press the AIR DENSITY button to advance the "X" cursor to the next field. To change the value or state of an item at the "X" cursor, use the UP and DOWN arrows. The 35360A TRACKER Display displays the Air Density Correction (ADC) annunciator in the upper left-hand corner of most screens if the air density correction is enabled, see Figure2-12.

Figure 2-12. The Air Density Screen With Air Density Corrections Enabled

To disable the air density correction, advance the "X" cursor to the ADC annunciator at the upper left of the VFD. With the "X" cursor at this position, pressing the UP and DOWN keys will toggle the air density correction on and off.

Figure 2-13. The Air Density Screen With Air Density Corrections Disabled

2.4.7 Using the GAIN SELECT Button (Normal Mode)

Pressing the GAIN SELECT button displays the Gain Select screen, see Figures 2-14 and 2-15. This screen displays the five Front Panel Gain Factors (FPGF) and the Front Panel Gain annunciator "FPG". The "X" cursor points to the FPG annunciator.

Figure 2-14. The Gain Select Screen With the Front Panel Gain Enabled

Figure 2-15. The Gain Select Screen With the Front Panel Gain Disabled

2-10

Page 22
Image 22
Fluke 90100 manual Using the AIR Density Button, Using the Gain Select Button Normal Mode