The memory upgrade module is not something you should routinely remove from your notebook. Once it is installed, you should leave it in place unless you want to increase system memory capacity.
REMOVING A MEMORY UPGRADE MODULE
1.Perform steps 1 through 5 of Installing a Memory Upgrade Module.
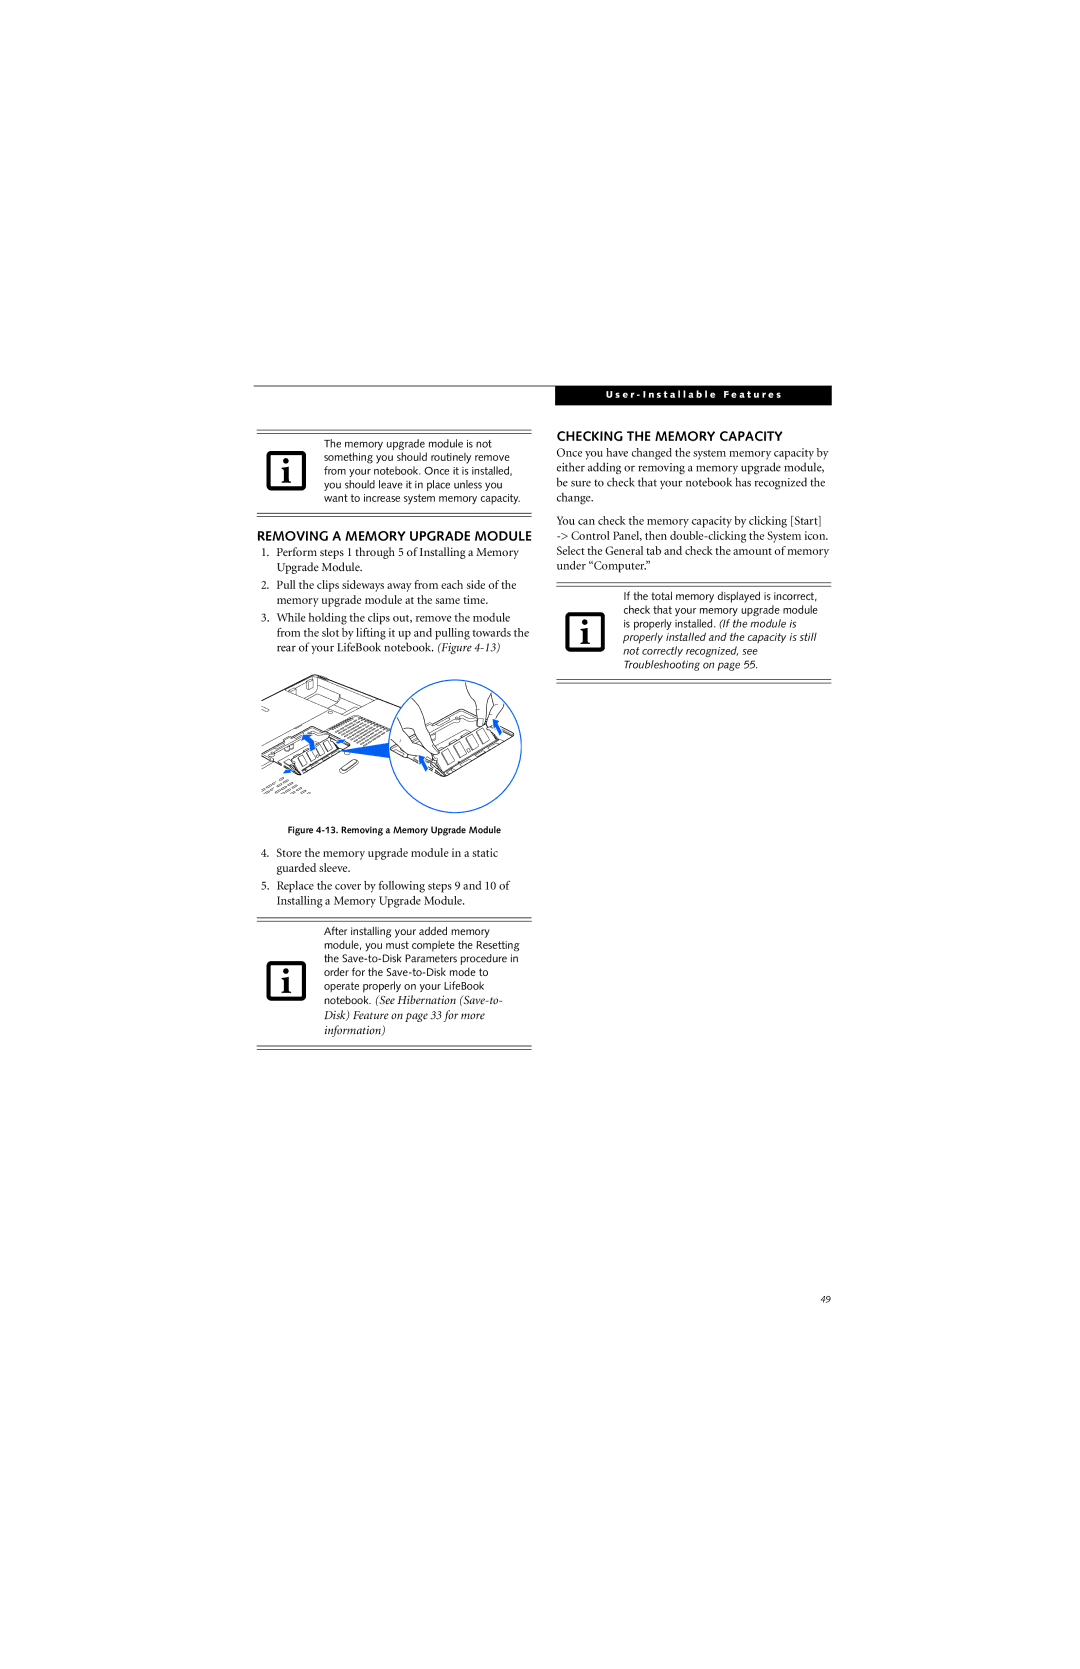
2.Pull the clips sideways away from each side of the memory upgrade module at the same time.
3.While holding the clips out, remove the module from the slot by lifting it up and pulling towards the rear of your LifeBook notebook. (Figure
U s e r - I n s t a l l a b l e F e a t u r e s
CHECKING THE MEMORY CAPACITY
Once you have changed the system memory capacity by either adding or removing a memory upgrade module, be sure to check that your notebook has recognized the change.
You can check the memory capacity by clicking [Start]
If the total memory displayed is incorrect, check that your memory upgrade module is properly installed. (If the module is properly installed and the capacity is still not correctly recognized, see Troubleshooting on page 55.
Figure 4-13. Removing a Memory Upgrade Module
4.Store the memory upgrade module in a static guarded sleeve.
5.Replace the cover by following steps 9 and 10 of Installing a Memory Upgrade Module.
After installing your added memory module, you must complete the Resetting the
Disk) Feature on page 33 for more information)
49