Repair
Power Supply Removal and Replacement
•Inspect the gun handle power supply cavity for dirt or moisture. Clean with a clean, dry rag.
•Do not expose gasket (5) to solvents.
1.See Prepare the Gun for Service, page 39.
2.See Gun Barrel Removal, page 43.
(EE)make contact with the handle. On Smart models, align the connector of the
NOTICE
Be careful when handling the power supply
(11)to avoid damaging it.
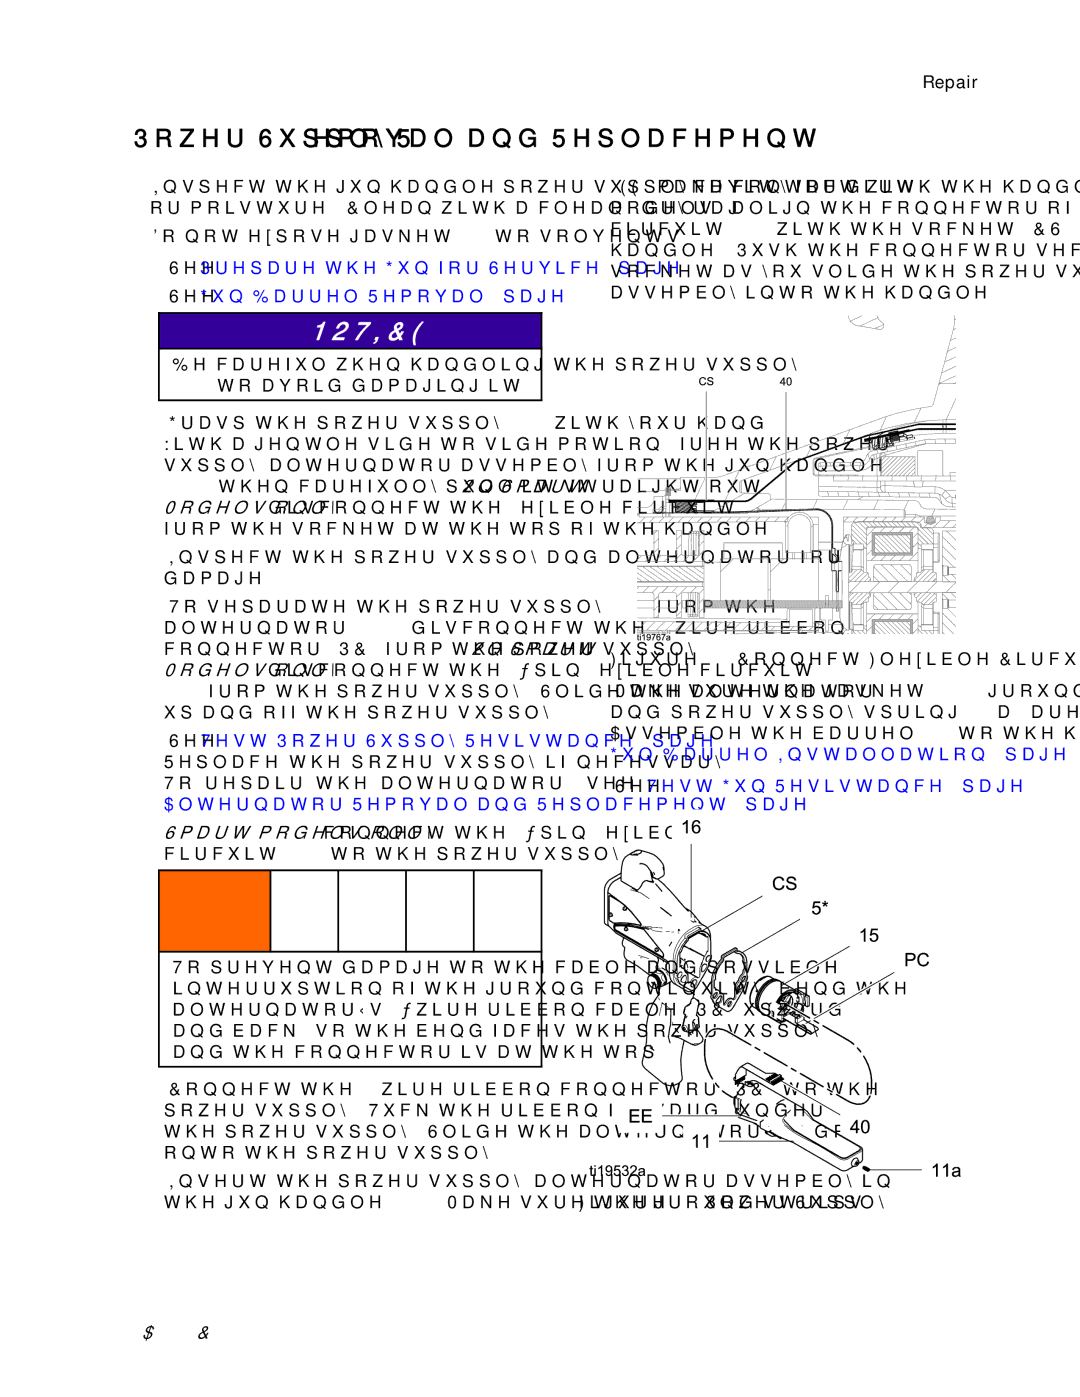
3.Grasp the power supply (11) with your hand. With a gentle side to side motion, free the power supply/alternator assembly from the gun handle (16), then carefully pull it straight out. On Smart Models only, disconnect the flexible circuit (40) from the socket at the top of the handle.
4.Inspect the power supply and alternator for damage.
5.To separate the power supply (11) from the alternator (15), disconnect the
(40)from the power supply. Slide the alternator up and off the power supply.
6.See Test Power Supply Resistance, page 33. Replace the power supply if necessary.
To repair the alternator, see
Alternator Removal and Replacement, page 46.
7.Smart models only: connect the
To prevent damage to the cable and possible interruption of the ground continuity, bend the alternator’s
8.Connect the
9.Insert the power supply/alternator assembly in the gun handle (16). Make sure the ground strips
Figure 32 Connect Flexible Circuit
10.Make sure the gasket (5*), ground spring (37a), and power supply spring (11a) are in place. Assemble the barrel (1) to the handle (16). See Gun Barrel Installation, page 43.
11.See Test Gun Resistance, page 32.
Figure 33 Power Supply
3A2495C | 45 |