workpiece lubricants
3.Brush one of the lubricants from Figure 18 or an equivalent onto the punch, die, and both sides of the workpiece.
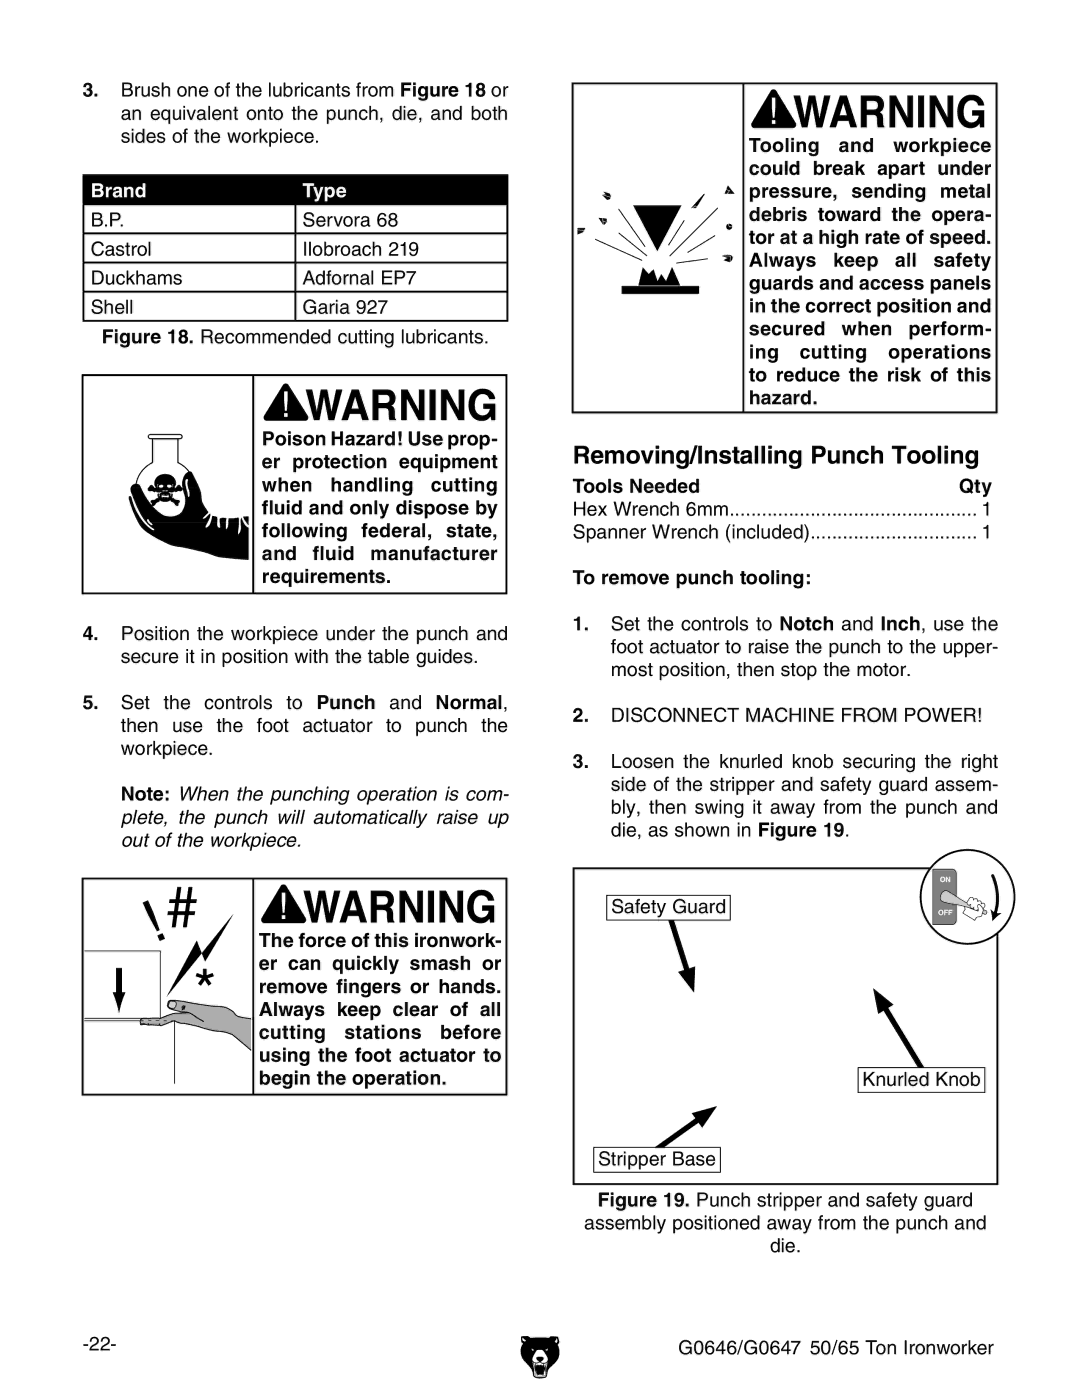
Brand | Type |
B.P. | Servora 68 |
|
|
Castrol | Ilobroach 219 |
|
|
Duckhams | Adfornal EP7 |
|
|
Shell | Garia 927 |
|
|
Figure 18. Recommended cutting lubricants.
Poison Hazard! Use prop- er protection equipment when handling cutting fluid and only dispose by following federal, state, and fluid manufacturer requirements.
4.Position the workpiece under the punch and secure it in position with the table guides.
5.Set the controls to Punch and Normal, then use the foot actuator to punch the workpiece.
Note: When the punching operation is com- plete, the punch will automatically raise up out of the workpiece.
The force of this ironwork- er can quickly smash or remove fingers or hands. Always keep clear of all cutting stations before using the foot actuator to begin the operation.
Tooling and workpiece could break apart under pressure, sending metal debris toward the opera- tor at a high rate of speed. Always keep all safety guards and access panels in the correct position and secured when perform- ing cutting operations to reduce the risk of this hazard.
Removing/Installing Punch Tooling
Tools Needed | Qty |
Hex Wrench 6mm | 1 |
Spanner Wrench (included) | 1 |
To remove punch tooling: |
|
1.Set the controls to Notch and Inch, use the foot actuator to raise the punch to the upper- most position, then stop the motor.
2.DISCONNECT MACHINE FROM POWER!
3.Loosen the knurled knob securing the right side of the stripper and safety guard assem- bly, then swing it away from the punch and die, as shown in Figure 19.
Safety Guard
Knurled Knob
Stripper Base