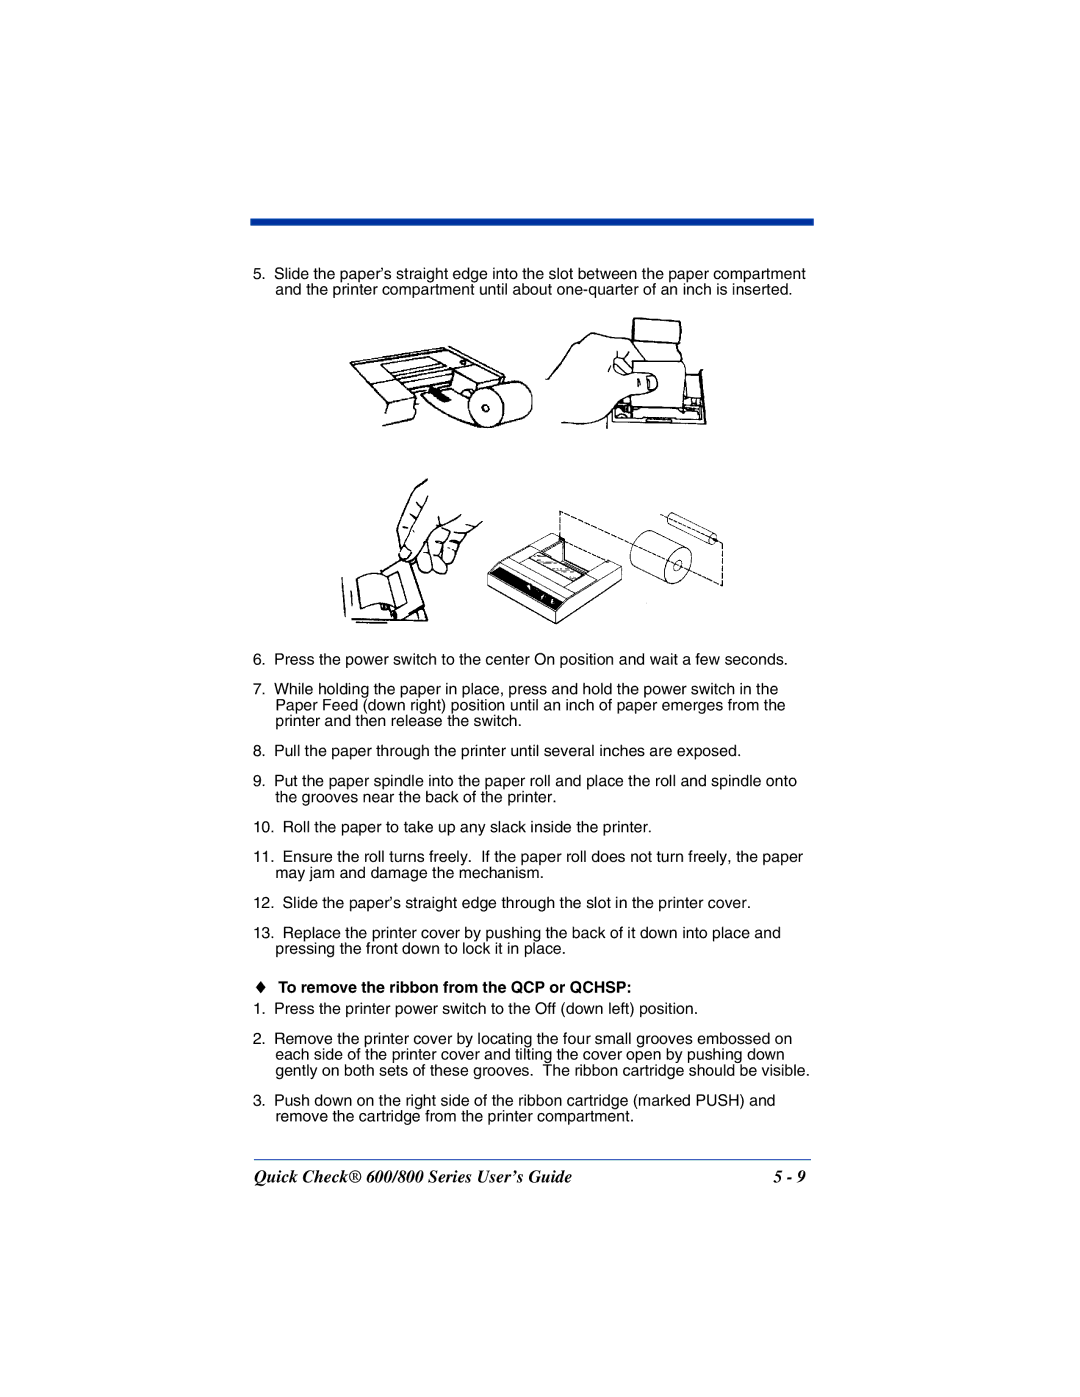
5.Slide the paper’s straight edge into the slot between the paper compartment and the printer compartment until about
6.Press the power switch to the center On position and wait a few seconds.
7.While holding the paper in place, press and hold the power switch in the Paper Feed (down right) position until an inch of paper emerges from the printer and then release the switch.
8.Pull the paper through the printer until several inches are exposed.
9.Put the paper spindle into the paper roll and place the roll and spindle onto the grooves near the back of the printer.
10.Roll the paper to take up any slack inside the printer.
11.Ensure the roll turns freely. If the paper roll does not turn freely, the paper may jam and damage the mechanism.
12.Slide the paper’s straight edge through the slot in the printer cover.
13.Replace the printer cover by pushing the back of it down into place and pressing the front down to lock it in place.
♦To remove the ribbon from the QCP or QCHSP:
1.Press the printer power switch to the Off (down left) position.
2.Remove the printer cover by locating the four small grooves embossed on each side of the printer cover and tilting the cover open by pushing down gently on both sets of these grooves. The ribbon cartridge should be visible.
3.Push down on the right side of the ribbon cartridge (marked PUSH) and remove the cartridge from the printer compartment.
Quick Check® 600/800 Series User’s Guide | 5 - 9 |
