29510_AVR745_Engelsk 30/10/06 9:31 Side 22
System Configuration
Once the speakers have been placed in the room and connected, the remaining steps are to program the system configuration memories.
Although it is necessary to assign input/output settings and surround mode choices manually, we recommend that you take advantage of the power and precision of EzSet/EQ II to automati- cally select and enter the settings for all other audio parameters. This will not only save you time; it will ensure that your room is calibrated and equalized with an accuracy not possible when these settings are made manually. You are now ready to power up the AVR 745 to begin these final adjustments.
First Turn On
You are now ready to power up the AVR to begin these final adjustments.
1.Make certain that the AC power cord is firmly inserted in to the AC Power cord Recepticle
and plug the cord into an unswitched AC out- let. To maintian the unit's safety rating,
DO NOT substitute the power cord for one with lower current capacity.
2.Press the Main Power Switch 1 in until it latches and the word “OFF” on the top of the switch disappears inside the front panel. Note that the Power Indicator 3 will turn orange, indicating that the unit is in the Standby mode.
3.Remove the protective plastic film from the main
4.Turn the AVR on either by pressing the System Power Control 2 or the Input Source Selector % on the front panel, or via the remote by pressing the the Devices Button 4 on the TC 30 and then pressing the Screen Button 6 at the top of the left side of the remote, next to the screen message AV RECEIVER. The Power Indicator 3 will turn blue to confirm that the unit is on, and the Main Information Display ˜ will also light up.
Using the On-Screen Display
When making the following adjustments, you may find them easier to make via the unit’s on- screen display system. These
To view the
IMPORTANT NOTE: When viewing the
The AVR has two
Making Configuration Adjustments
To activate and configure the AVR 745 using the
With the TC 30:
•Press the Devices Button 4.
•When the images on the LCD screen change, press the Screen Button 6 at the top of the left side of the remote, next to the screen message AV RECEIVER.
•Press the Menu Button A to activate the OSD menu system.
•When the MASTER MENU or any subse- quent menu is on the screen, use the ⁄/¤ Navigation Buttons D to move through the menus or submenus. Press the OK/Enter Button E, when appropriate, to enter a selection.
•To scroll through the options available for a specific menu, press the ‹/› Navigation Button D. In most cases, you may simply select the option and then use the ⁄/¤ Navigation Buttons D to move to the next line, while in some cases you may need to press the OK/Enter Button E first. The detailed instructions for each menu will tell you which buttons to press.
•Press the Menu Button A to remove the menus from the screen and return to normal operation.
With the ZR 10:
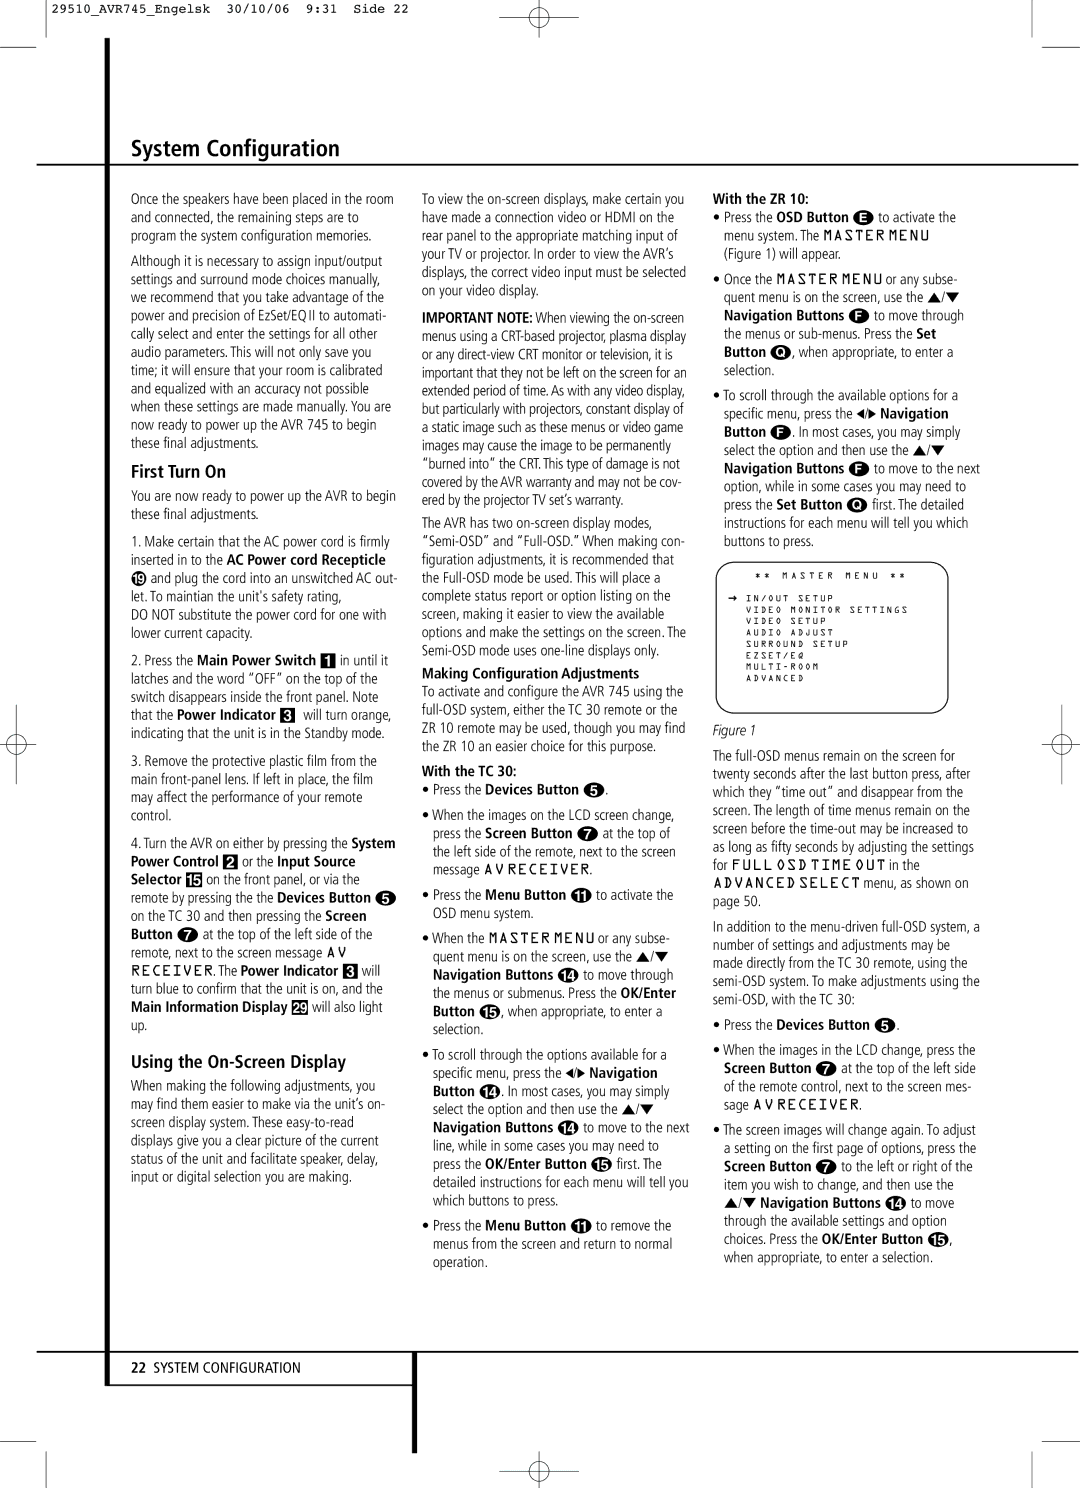
•Press the OSD Button E to activate the menu system. The MASTER MENU (Figure 1) will appear.
•Once the MASTER MENU or any subse- quent menu is on the screen, use the ⁄/¤ Navigation Buttons F to move through the menus or
•To scroll through the available options for a specific menu, press the ‹/› Navigation Button F. In most cases, you may simply select the option and then use the ⁄/¤ Navigation Buttons F to move to the next option, while in some cases you may need to press the Set Button Q first. The detailed instructions for each menu will tell you which buttons to press.
* * M A S T E R M E N U * *
→ I N / O U T S E T U P
V I D E O M O N I T O R S E T T I N G S V I D E O S E T U P
A U D I O A D J U S T
S U R R O U N D S E T U P E Z S E T / E Q
M U L T I - R O O M A D V A N C E D
Figure 1
The
In addition to the
•Press the Devices Button 4.
•When the images in the LCD change, press the Screen Button 6 at the top of the left side of the remote control, next to the screen mes- sage AV RECEIVER.
•The screen images will change again. To adjust a setting on the first page of options, press the Screen Button 6 to the left or right of the item you wish to change, and then use the
⁄/¤ Navigation Buttons D to move through the available settings and option choices. Press the OK/Enter Button E, when appropriate, to enter a selection.
22SYSTEM CONFIGURATION