29510_AVR745_Engelsk 30/10/06 9:32 Side 35
System Configuration
•If the tests were successful, the message will show the number of subwoofers, as shown in Figure 21. You may either press the OK/Enter Button E on the TC 30 or the Set Button Q on the ZR 10 remote to continue to the next step and conclude the EzSet Design process, or press the ⁄/¤ Navigation Button DF and then the OK/Enter Button E on the TC 30 or the Set Button Q on the ZR 10 remote to either repeat the subwoofer test or return to the main EzSet/EQ menu. In most cases you should select “Continue.”
•If the tests were not successful, a message sim- ilar to Figure 21 will appear, except that the top line will flash DESIGN STEP 3/4 ERROR. Follow the suggestions in the mes- sage to verify that the subwoofer(s) is properly connected and that the microphone is in the proper position, and increase the volume level by 5dB. Then, press the OK/Enter Button E on the TC 30 or the Set Button Q on the ZR 10 remote to repeat the test as often as needed until a successful result is achieved.
Step 5: When all measurements are successfully completed, the final step in the EzSet Design process is to save the settings into the AVR 745’s memory. You may program up to three different EQ settings to accommodate differences in place- ment of the microphone to reflect alternate lis- tening positions, but we recommend that you create two settings and leave one memory in the “bypass” mode so that you have the ability to compare the two equalized settings against a “straight through” setting that has no equaliza- tion applied.
At the conclusion of the measurements for an EQ Design, make certain that the EZSET/EQ DESIGN DONE menu (Figure 22) is on your screen. It will appear when you are done with the Subwoofer design, or when you “skip” through the Near Field and/or Subwoofer steps.
* E Z S E T | D E S I G N D O N E * | ||
T o t e s t | d r i v e | y o u r | |
D e s i g n , | p l e a s e c o n n e c t | ||
a u d i o | s o u r c e , | a d j u s t | |
v o l u m e a n d p l a y .
→C O N T I N U E
B A C K T O E Z S E T / E Q M A I N
Figure 22
The “test drive” feature allows you to listen to the source that was playing before the EzSet/EQ Design process was initiated, and it is a good way to make sure that you are pleased with the results. The “Warning” refers to the fact that the volume level may have been raised during the Design process, so it is always a good idea to lower the volume a bit. You may always raise it once the playback starts.
With the cursor pointing to CONTINUE, press the OK/Enter Button E on the TC 30 or the Set Button Q on the ZR 10 remote, and play- back will resume while the
* | D E S I G N P R E V I E W | * | |
| E Q d e s i g n h a s | b e e n |
|
| c o m p l e t e d . |
|
|
| D o y o u l i k e y o u r | c u r r e n t | |
l i s t e n i n g e x p e r i e n c e ?
→Y E S N O
Figure 23
•If you are pleased with the sound, press the OK/Enter Button E on the TC 30 or the Set Button Q on the ZR 10 remote to move to the next screen and store the settings.
•If the sound is not to your liking, press the
⁄/¤ Navigation Button DF so that the cursor is next to NO and then the OK/Enter Button E on the TC 30 or the Set Button Q on the ZR 10 remote. Follow the
•If this is your first attempt at running EzSet/EQ II, we recommend that you save the settings, even if you are not sure whether you like them, then rerun the EQ Design process again. Since the AVR 745 is able to store multi- ple EQ Design settings, this will give you the opportunity to compare two different designs to the bypass mode with no equalization applied. You may then select the preset you like best.
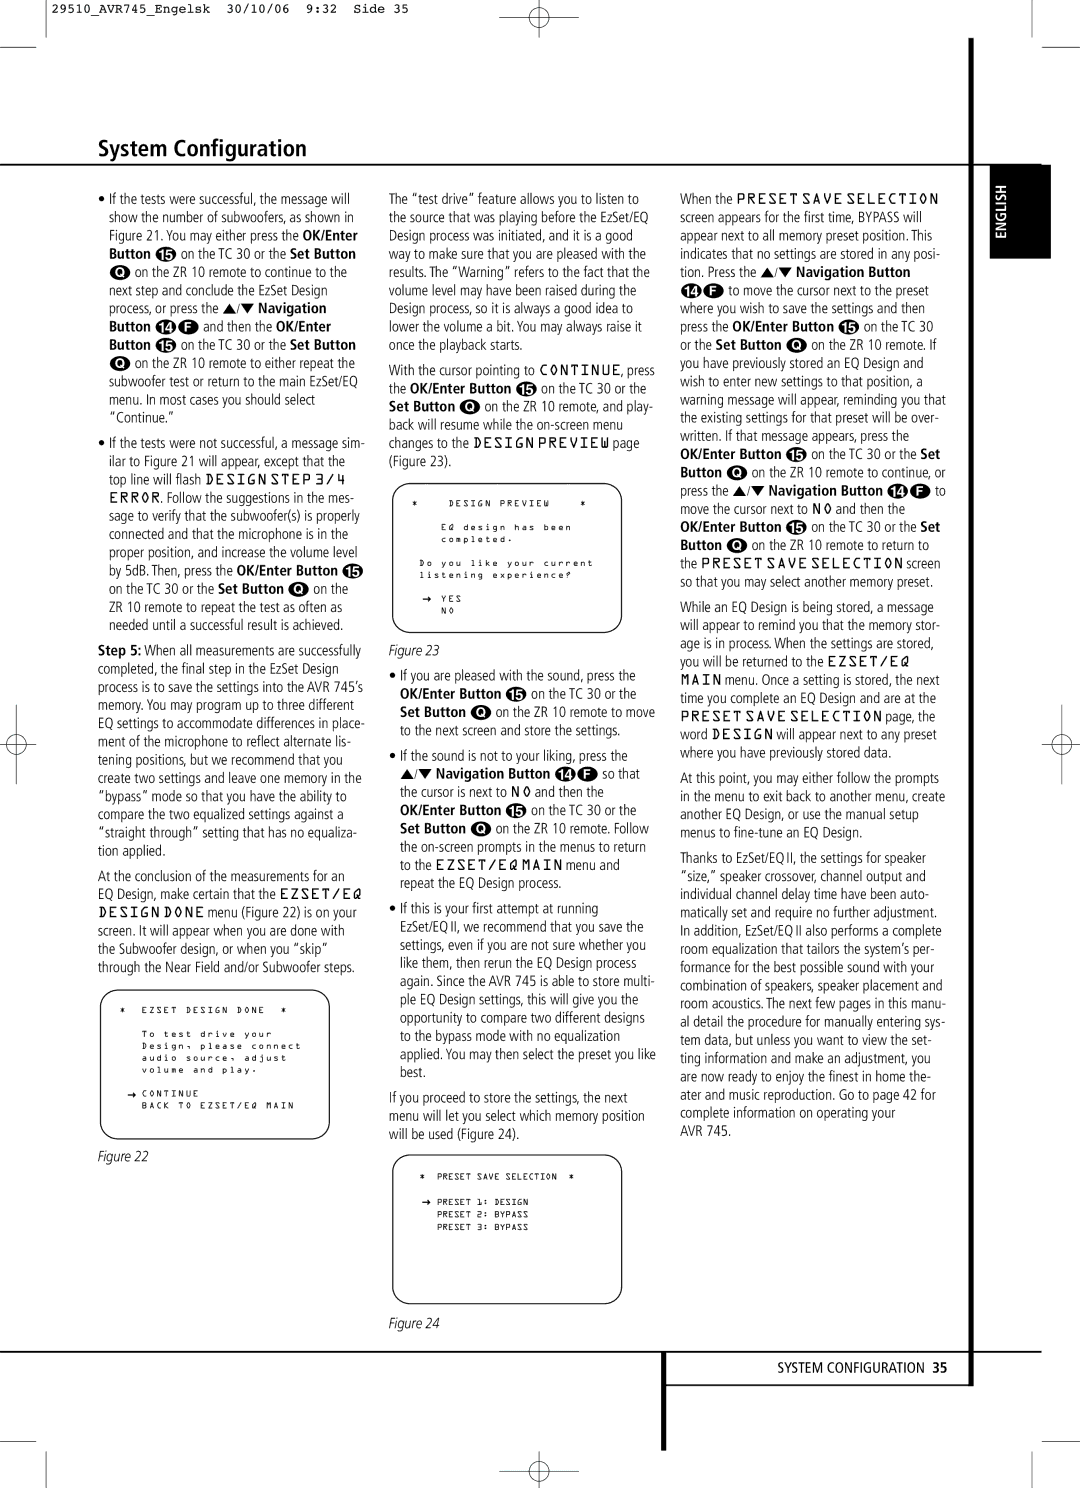
If you proceed to store the settings, the next menu will let you select which memory position will be used (Figure 24).
* PRESET SAVE SELECTION *
→PRESET 1: DESIGN
PRESET 2: BYPASS
PRESET 3: BYPASS
When the PRESET SAVE SELECTION screen appears for the first time, BYPASS will appear next to all memory preset position. This indicates that no settings are stored in any posi- tion. Press the ⁄/¤ Navigation Button DF to move the cursor next to the preset where you wish to save the settings and then press the OK/Enter Button E on the TC 30 or the Set Button Q on the ZR 10 remote. If you have previously stored an EQ Design and wish to enter new settings to that position, a warning message will appear, reminding you that the existing settings for that preset will be over- written. If that message appears, press the OK/Enter Button E on the TC 30 or the Set Button Q on the ZR 10 remote to continue, or press the ⁄/¤ Navigation Button DF to move the cursor next to NO and then the OK/Enter Button E on the TC 30 or the Set Button Q on the ZR 10 remote to return to the PRESET SAVE SELECTION screen so that you may select another memory preset.
While an EQ Design is being stored, a message will appear to remind you that the memory stor- age is in process. When the settings are stored, you will be returned to the EZSET/EQ MAIN menu. Once a setting is stored, the next time you complete an EQ Design and are at the PRESET SAVE SELECTION page, the word DESIGN will appear next to any preset where you have previously stored data.
At this point, you may either follow the prompts in the menu to exit back to another menu, create another EQ Design, or use the manual setup menus to
Thanks to EzSet/EQ II, the settings for speaker “size,” speaker crossover, channel output and individual channel delay time have been auto- matically set and require no further adjustment. In addition, EzSet/EQ II also performs a complete room equalization that tailors the system’s per- formance for the best possible sound with your combination of speakers, speaker placement and room acoustics. The next few pages in this manu- al detail the procedure for manually entering sys- tem data, but unless you want to view the set- ting information and make an adjustment, you are now ready to enjoy the finest in home the- ater and music reproduction. Go to page 42 for complete information on operating your
AVR 745.
ENGLISH
Figure 24
SYSTEM CONFIGURATION 35