F. Install Metal Roof Flashing
•See minimum vent heights for various pitched roofs (Figure 10.11) to determine the length of pipe to extend through the roof.
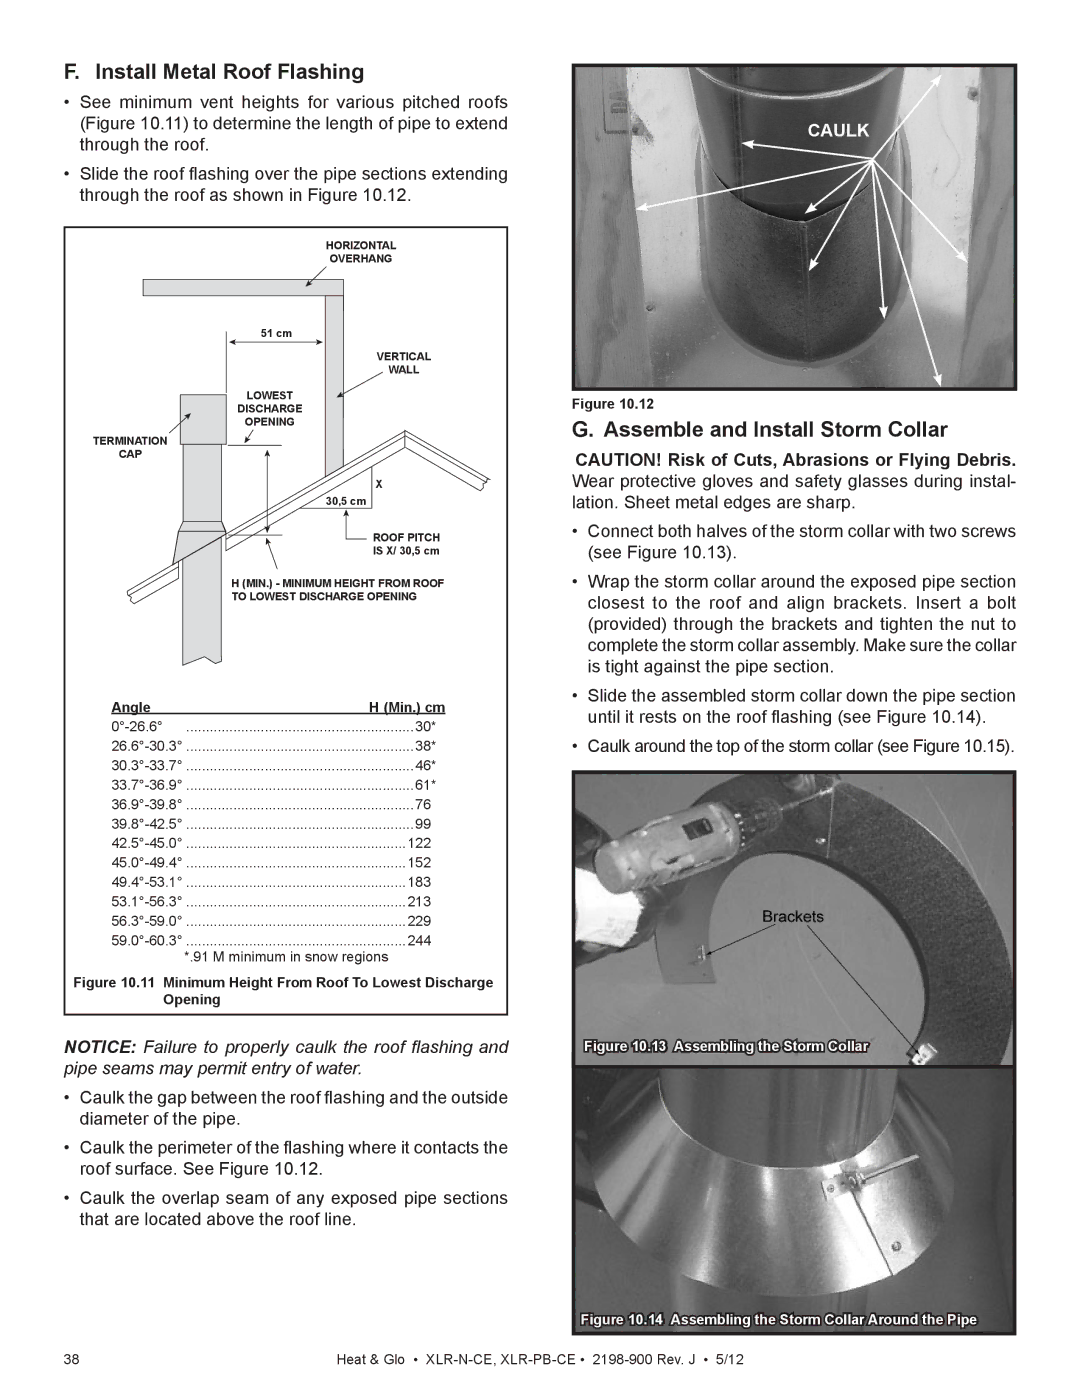
•Slide the roof flashing over the pipe sections extending through the roof as shown in Figure 10.12.
CAULK
TERMINATION
CAP
HORIZONTAL
OVERHANG
51 cm
VERTICAL
WALL
LOWEST
DISCHARGE
OPENING
X
30,5 cm
![]() ROOF PITCH
ROOF PITCH
IS X/ 30,5 cm
H (MIN.) - MINIMUM HEIGHT FROM ROOF TO LOWEST DISCHARGE OPENING
Figure 10.12
G. Assemble and Install Storm Collar
CAUTION! Risk of Cuts, Abrasions or Flying Debris. Wear protective gloves and safety glasses during instal- lation. Sheet metal edges are sharp.
• | Connect both halves of the storm collar with two screws |
| (see Figure 10.13). |
• | Wrap the storm collar around the exposed pipe section |
| closest to the roof and align brackets. Insert a bolt |
| (provided) through the brackets and tighten the nut to |
| complete the storm collar assembly. Make sure the collar |
| is tight against the pipe section. |
• | Slide the assembled storm collar down the pipe section |
Angle | H (Min.) cm |
............................................................30* | |
............................................................38* | |
............................................................46* | |
............................................................61* | |
...........................................................76. | |
............................................................99 | |
.........................................................122. | |
.........................................................152. | |
.........................................................183. | |
.........................................................213. | |
.........................................................229. | |
.........................................................244. |
*.91 M minimum in snow regions
Figure 10.11 Minimum Height From Roof To Lowest Discharge Opening
NOTICE: Failure to properly caulk the roof flashing and pipe seams may permit entry of water.
•Caulk the gap between the roof flashing and the outside diameter of the pipe.
•Caulk the perimeter of the flashing where it contacts the roof surface. See Figure 10.12.
•Caulk the overlap seam of any exposed pipe sections that are located above the roof line.
until it rests on the roof flashing (see Figure 10.14). |
• Caulk around the top of the storm collar (see Figure 10.15). |
Figure 10.13 Assembling the Storm Collar
Figure 10.14 Assembling the Storm Collar Around the Pipe
38 | Heat & Glo • |