|
|
| Mounting and Wiring the Control | |
|
|
|
|
|
| Installing a 5800TM | • Use this module only if you are using one or more wireless | ||
| Module | keyfobs with a wireless Receiver; 5800TM is not necessary if using a Transceiver (e.g., | ||
|
|
| 5883). |
|
|
|
| • The 5800TM must be set to address 28 (cut | |
|
|
| • The 5800TM can be used in partition 1 only. | |
|
|
| • For additional information regarding the 5800TM, refer to the 5800TM’s instructions. | |
|
|
| 1. Mount the 5800TM next to the RF receiver (between one and two feet from the | |
|
|
| receiver’s antennas) using its accompanying mounting bracket. Do not install within | |
|
|
| the control cabinet. | |
|
|
| 2. Connect the 5800TM to the control panel’s keypad connection terminals as shown on | |
|
|
| the Summary of Connections diagram and set to address 28. | |
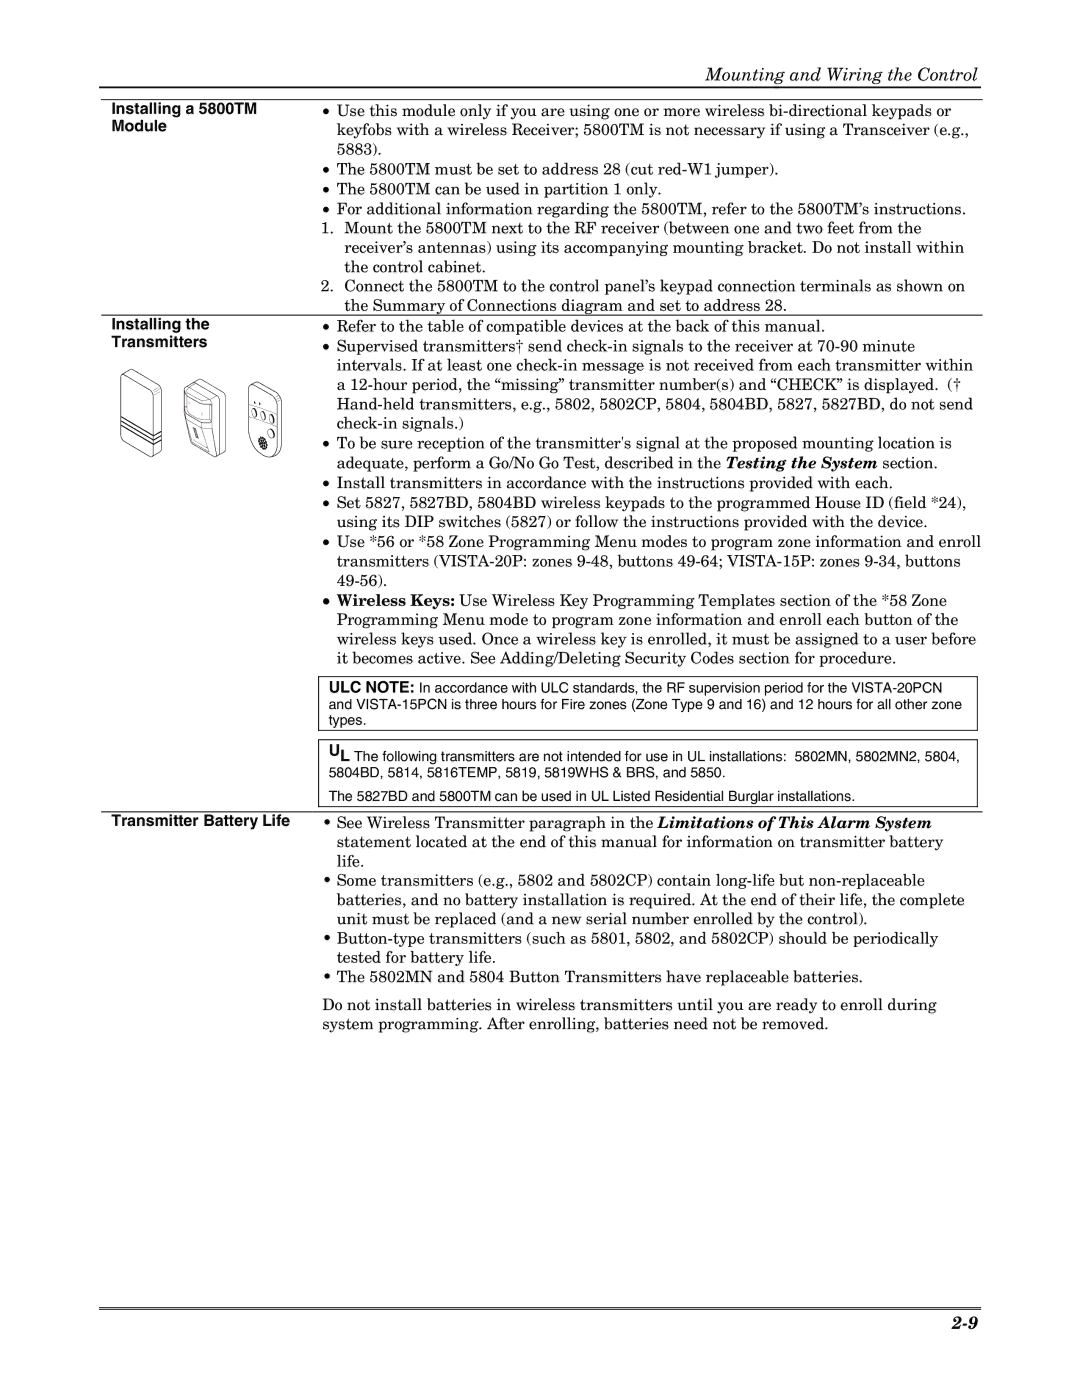
| Installing the | • Refer to the table of compatible devices at the back of this manual. | ||
| Transmitters | • Supervised transmitters† send | ||
|
|
| intervals. If at least one | |
|
|
| a | |
|
|
| ||
|
|
| ||
|
|
| ||
|
|
| ||
|
|
| • To be sure reception of the transmitter's signal at the proposed mounting location is | |
|
|
| adequate, perform a Go/No Go Test, described in the Testing the System section. | |
|
|
| • Install transmitters in accordance with the instructions provided with each. | |
|
|
| • Set 5827, 5827BD, 5804BD wireless keypads to the programmed House ID (field *24), | |
|
|
| using its DIP switches (5827) or follow the instructions provided with the device. | |
|
|
| • Use *56 or *58 Zone Programming Menu modes to program zone information and enroll | |
|
|
| transmitters | |
|
|
|
| |
|
|
| • Wireless Keys: Use Wireless Key Programming Templates section of the *58 Zone | |
|
|
| Programming Menu mode to program zone information and enroll each button of the | |
|
|
| wireless keys used. Once a wireless key is enrolled, it must be assigned to a user before | |
|
|
| it becomes active. See Adding/Deleting Security Codes section for procedure. | |
|
|
|
|
|
|
|
| ULC NOTE: In accordance with ULC standards, the RF supervision period for the |
|
|
|
| and |
|
|
|
| types. |
|
|
|
|
| |
|
|
| UL The following transmitters are not intended for use in UL installations: 5802MN, 5802MN2, 5804, |
|
|
|
| 5804BD, 5814, 5816TEMP, 5819, 5819WHS & BRS, and 5850. |
|
|
|
| The 5827BD and 5800TM can be used in UL Listed Residential Burglar installations. |
|
|
|
| ||
| Transmitter Battery Life | • See Wireless Transmitter paragraph in the Limitations of This Alarm System | ||
|
|
| statement located at the end of this manual for information on transmitter battery | |
|
|
| life. | |
|
|
| • Some transmitters (e.g., 5802 and 5802CP) contain | |
|
|
| batteries, and no battery installation is required. At the end of their life, the complete | |
|
|
| unit must be replaced (and a new serial number enrolled by the control). | |
|
|
| • | |
|
|
| tested for battery life. | |
|
|
| • The 5802MN and 5804 Button Transmitters have replaceable batteries. | |
|
|
| Do not install batteries in wireless transmitters until you are ready to enroll during | |
|
|
| system programming. After enrolling, batteries need not be removed. | |
