Installation and Setup Guide
SUMMARY OF ARMING MODES
Arming Mode |
| Features for Each Arming Mode |
| |
| Exit Delay | Entry Delay | Perimeter Armed | Interior Armed |
AWAY | Yes | Yes | Yes | Yes |
|
|
|
|
|
STAY | Yes | Yes | Yes | No |
Yes | Yes | Yes | only those zones | |
|
|
|
| listed in Night- |
|
|
|
| Stay zone list |
INSTANT | Yes | No | Yes | No |
|
|
|
|
|
MAXIMUM | Yes | No | Yes | Yes |
Panic Keys
There are three Panic keys (A, B, and C) that, if programmed, can be used to manually initiate alarms and send a report to the central station.
Each key can be programmed for
The Panic keys are identified by the system as follows:
Keys | Displayed as Zone |
[A] (∗/1) | 95 |
[B] (∗/#) | 99 |
[C] (3/#) | 96 |
IMPORTANT: For a Silent panic function (if programmed) to be of practical value, you must program a report code for the zone and the system must be connected to a central station.
Setting the Real-Time Clock
Set the time and date by doing the following:
1.![]()
![]()
![]()
![]()
![]()
![]()
![]()
![]() +[#] + [6] [3]
+[#] + [6] [3]
(Security Code)
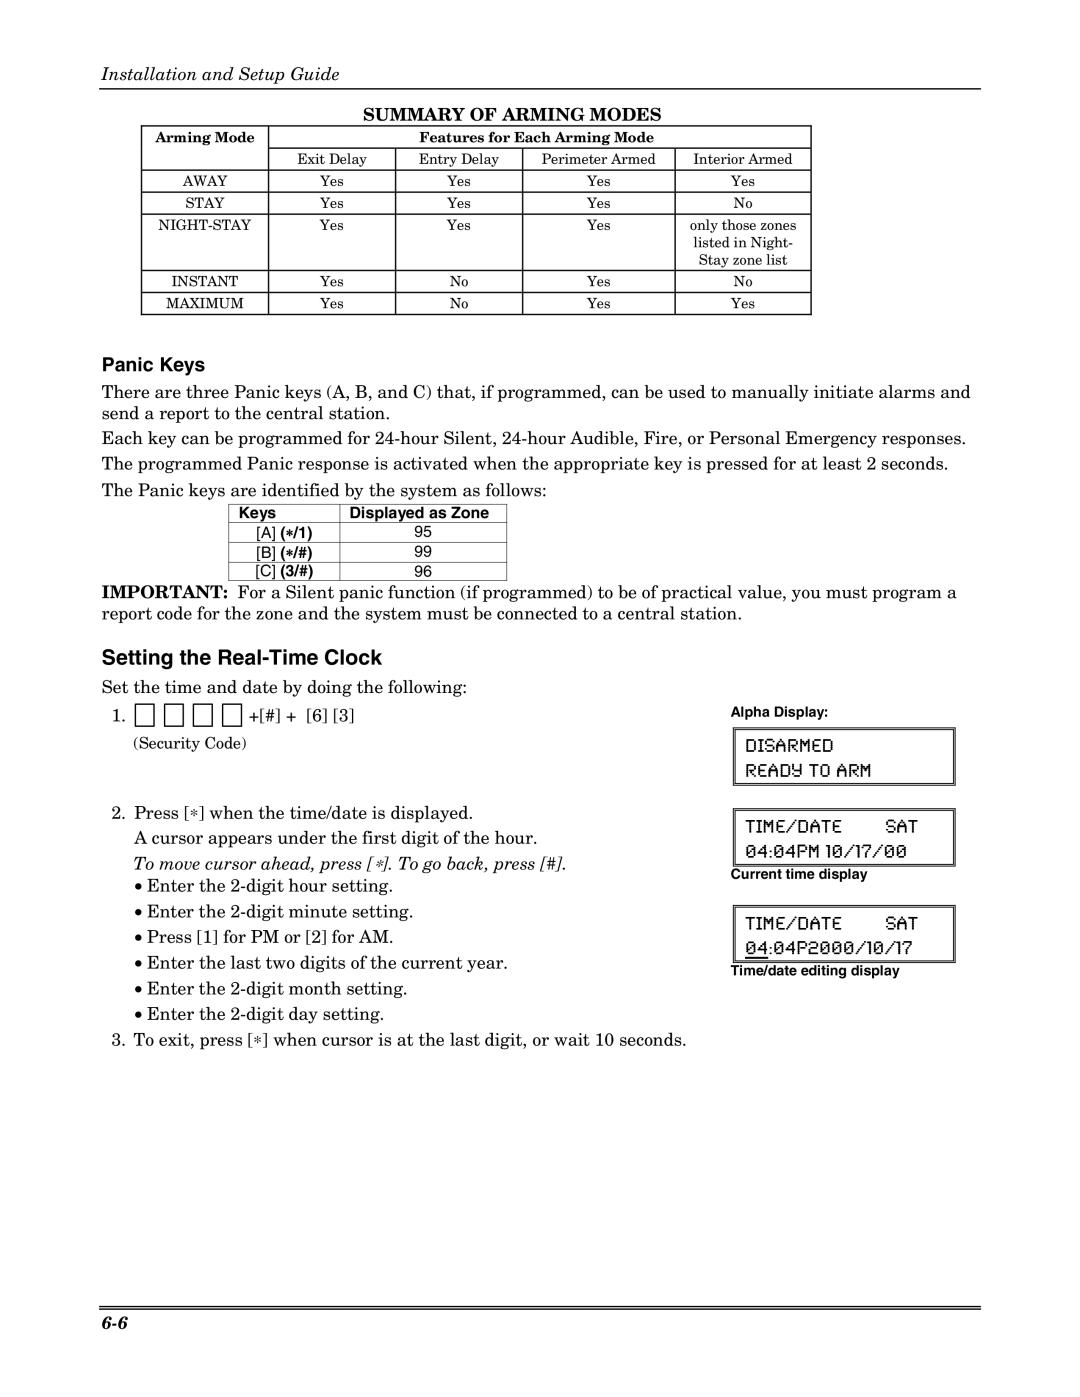
2.Press [∗] when the time/date is displayed.
A cursor appears under the first digit of the hour. To move cursor ahead, press [∗]. To go back, press [#].
•Enter the
•Enter the
•Press [1] for PM or [2] for AM.
•Enter the last two digits of the current year.
•Enter the
•Enter the
3.To exit, press [∗] when cursor is at the last digit, or wait 10 seconds.
Alpha Display:
DISARMED
READY TO ARM
TIME/DATE SAT 04:04PM 10/17/00
Current time display
TIME/DATE SAT 04:04P2000/10/17
Time/date editing display
