Menu Mode Programming
|
|
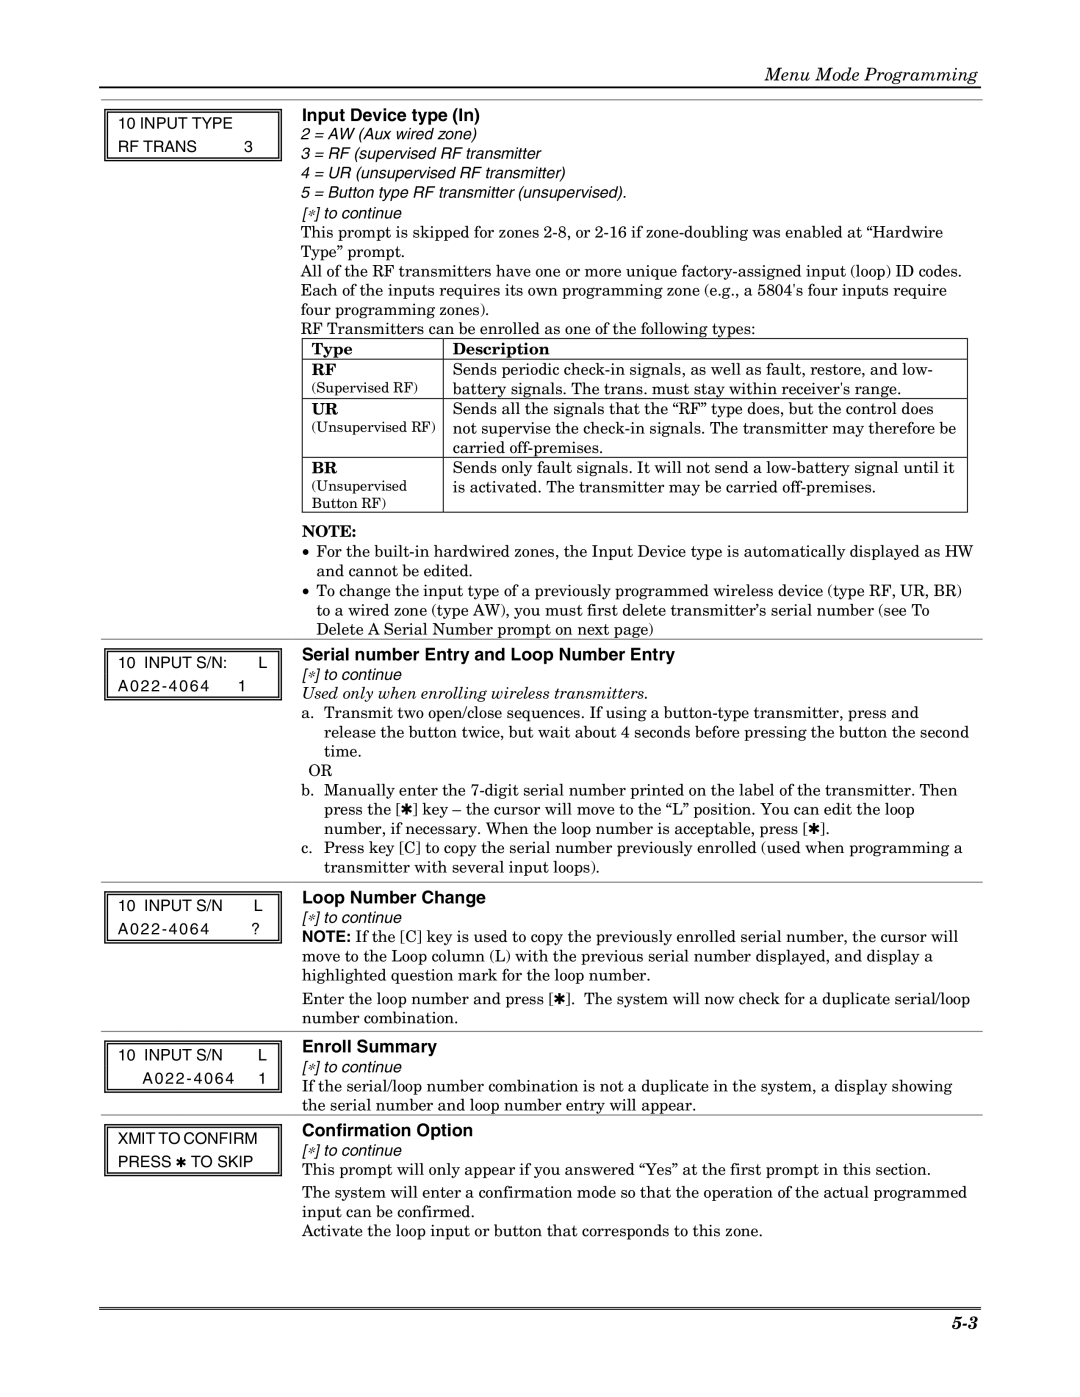
| Input Device type (In) | ||
10 INPUT TYPE |
| ||||
| 2 = AW (Aux wired zone) | ||||
RF TRANS | 3 | ||||
3 = RF (supervised RF transmitter | |||||
|
| ||||
|
| 4 = UR (unsupervised RF transmitter) | |||
|
| 5 = Button type RF transmitter (unsupervised). | |||
|
|
| [∗] to continue |
| |
|
| This prompt is skipped for zones | |||
|
| Type” prompt. |
| ||
|
| All of the RF transmitters have one or more unique | |||
|
| Each of the inputs requires its own programming zone (e.g., a 5804's four inputs require | |||
|
| four programming zones). | |||
|
| RF Transmitters can be enrolled as one of the following types: | |||
|
|
| Type | Description | |
|
|
| RF | Sends periodic | |
|
|
| (Supervised RF) | battery signals. The trans. must stay within receiver's range. | |
|
|
| UR | Sends all the signals that the “RF” type does, but the control does | |
|
|
| (Unsupervised RF) | not supervise the | |
|
|
|
| carried | |
|
|
| BR | Sends only fault signals. It will not send a | |
|
|
| (Unsupervised | is activated. The transmitter may be carried | |
|
|
| Button RF) |
| |
NOTE:
•For the
•To change the input type of a previously programmed wireless device (type RF, UR, BR) to a wired zone (type AW), you must first delete transmitter’s serial number (see To Delete A Serial Number prompt on next page)
|
|
| Serial number Entry and Loop Number Entry |
10 INPUT S/N: |
| L | |
| [∗] to continue | ||
A022 - 4064 | 1 |
| |
| Used only when enrolling wireless transmitters. | ||
|
|
| |
|
|
| a. Transmit two open/close sequences. If using a |
release the button twice, but wait about 4 seconds before pressing the button the second time.
OR
b.Manually enter the
c.Press key [C] to copy the serial number previously enrolled (used when programming a transmitter with several input loops).
|
|
| Loop Number Change |
| 10 INPUT S/N | L | |
| [∗] to continue | ||
| A022 - 4064 | ? | |
| NOTE: If the [C] key is used to copy the previously enrolled serial number, the cursor will | ||
|
|
| |
|
|
| move to the Loop column (L) with the previous serial number displayed, and display a |
|
|
| highlighted question mark for the loop number. |
|
|
| Enter the loop number and press [✱]. The system will now check for a duplicate serial/loop |
|
|
| number combination. |
|
|
|
|
|
|
| Enroll Summary |
| 10 INPUT S/N | L | |
| [∗] to continue | ||
| A022 - 4064 | 1 | |
| If the serial/loop number combination is not a duplicate in the system, a display showing | ||
|
|
| |
|
|
| the serial number and loop number entry will appear. |
XMIT TO CONFIRM PRESS ✱ TO SKIP
Confirmation Option
[∗] to continue
This prompt will only appear if you answered “Yes” at the first prompt in this section. The system will enter a confirmation mode so that the operation of the actual programmed input can be confirmed.
Activate the loop input or button that corresponds to this zone.
