Presario 1700 Series
Models: XL260, XL261, XL262, XL264, XL265, XL266, XL274, XL275, XL360, XL361, XL362, XL363, XL364, XL365, XL366, XL367, XL368, XL369, XL370, XL371, XL372, XL373, XL374, XL375, XL376, XL377, and XL378
Solving Display Problems
This section lists some common causes and solutions for computer display and external monitor problems.
You can perform a monitor
1.Turn off the monitor.
2.Turn off the Notebook.
3.Disconnect the monitor signal cable from the Notebook.
4.Turn on the monitor and allow it to warm up for one minute.
The display should be white. A narrow black border may also appear on the left and right sides of the display. Either of these displays indicates that the monitor is working properly.
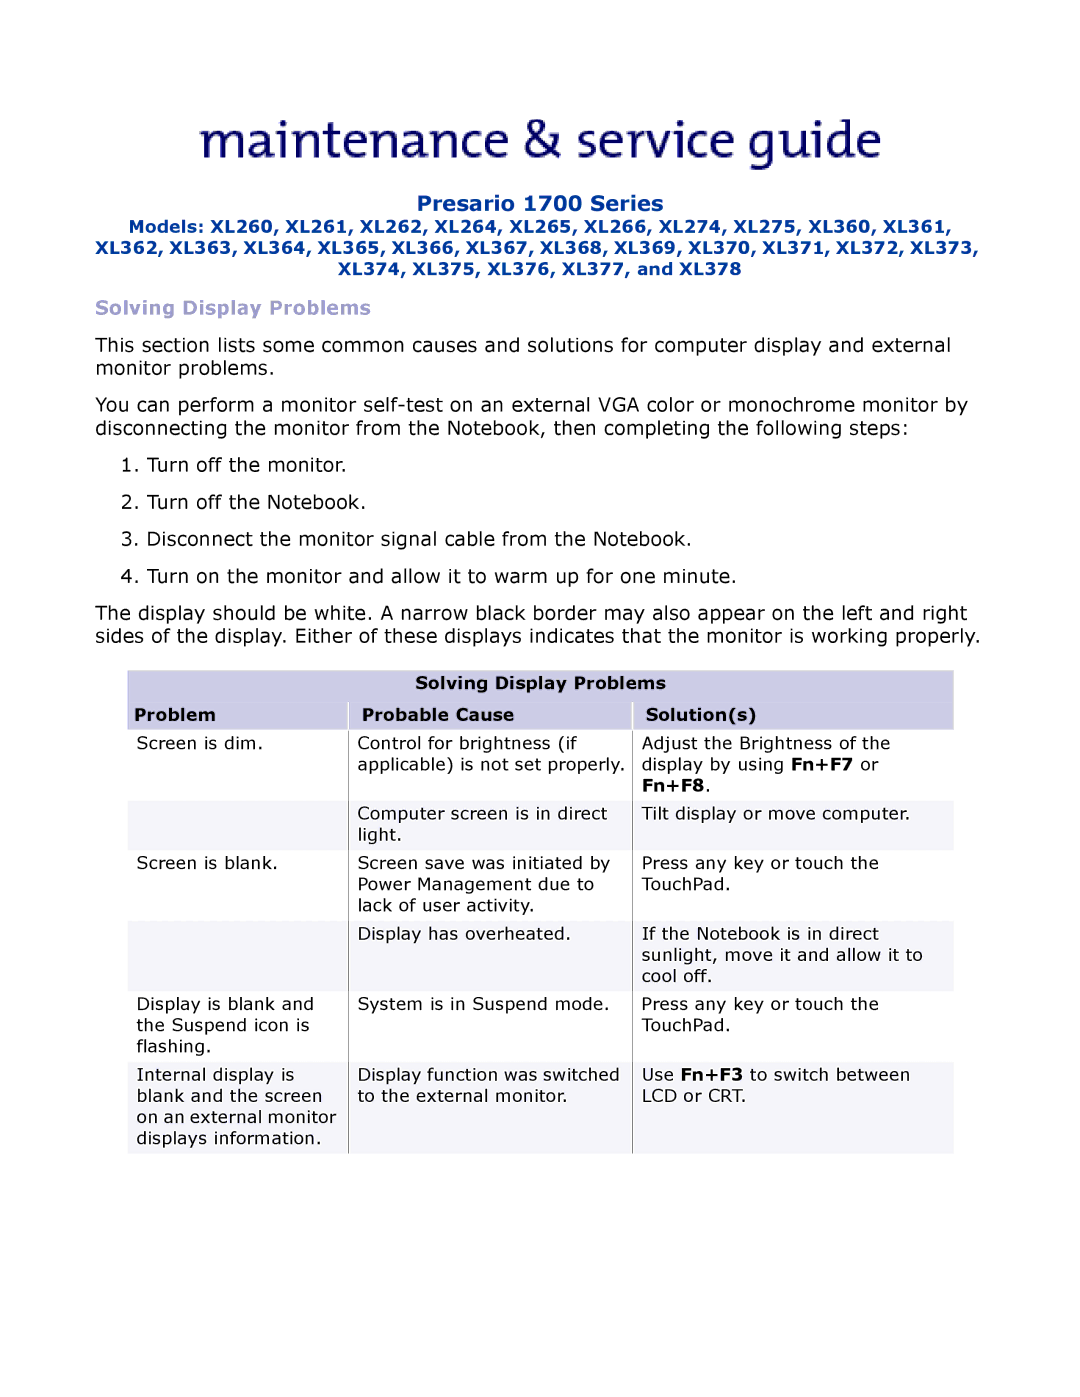
Solving Display Problems
Problem |
| Probable Cause |
| Solution(s) |
Screen is dim. |
| Control for brightness (if |
| Adjust the Brightness of the |
|
| applicable) is not set properly. |
| display by using Fn+F7 or |
|
|
|
| Fn+F8. |
|
|
|
|
|
|
| Computer screen is in direct |
| Tilt display or move computer. |
|
| light. |
|
|
|
|
|
|
|
Screen is blank. |
| Screen save was initiated by |
| Press any key or touch the |
|
| Power Management due to |
| TouchPad. |
|
| lack of user activity. |
|
|
|
|
|
|
|
|
| Display has overheated. |
| If the Notebook is in direct |
|
|
|
| sunlight, move it and allow it to |
|
|
|
| cool off. |
|
|
|
|
|
Display is blank and |
| System is in Suspend mode. |
| Press any key or touch the |
the Suspend icon is |
|
|
| TouchPad. |
flashing. |
|
|
|
|
|
|
|
|
|
Internal display is |
| Display function was switched |
| Use Fn+F3 to switch between |
blank and the screen |
| to the external monitor. |
| LCD or CRT. |
on an external monitor |
|
|
|
|
displays information. |
|
|
|
|
|
|
|
|
|
