Insert or replace the print cartridges (continued)
Insert the cartridges
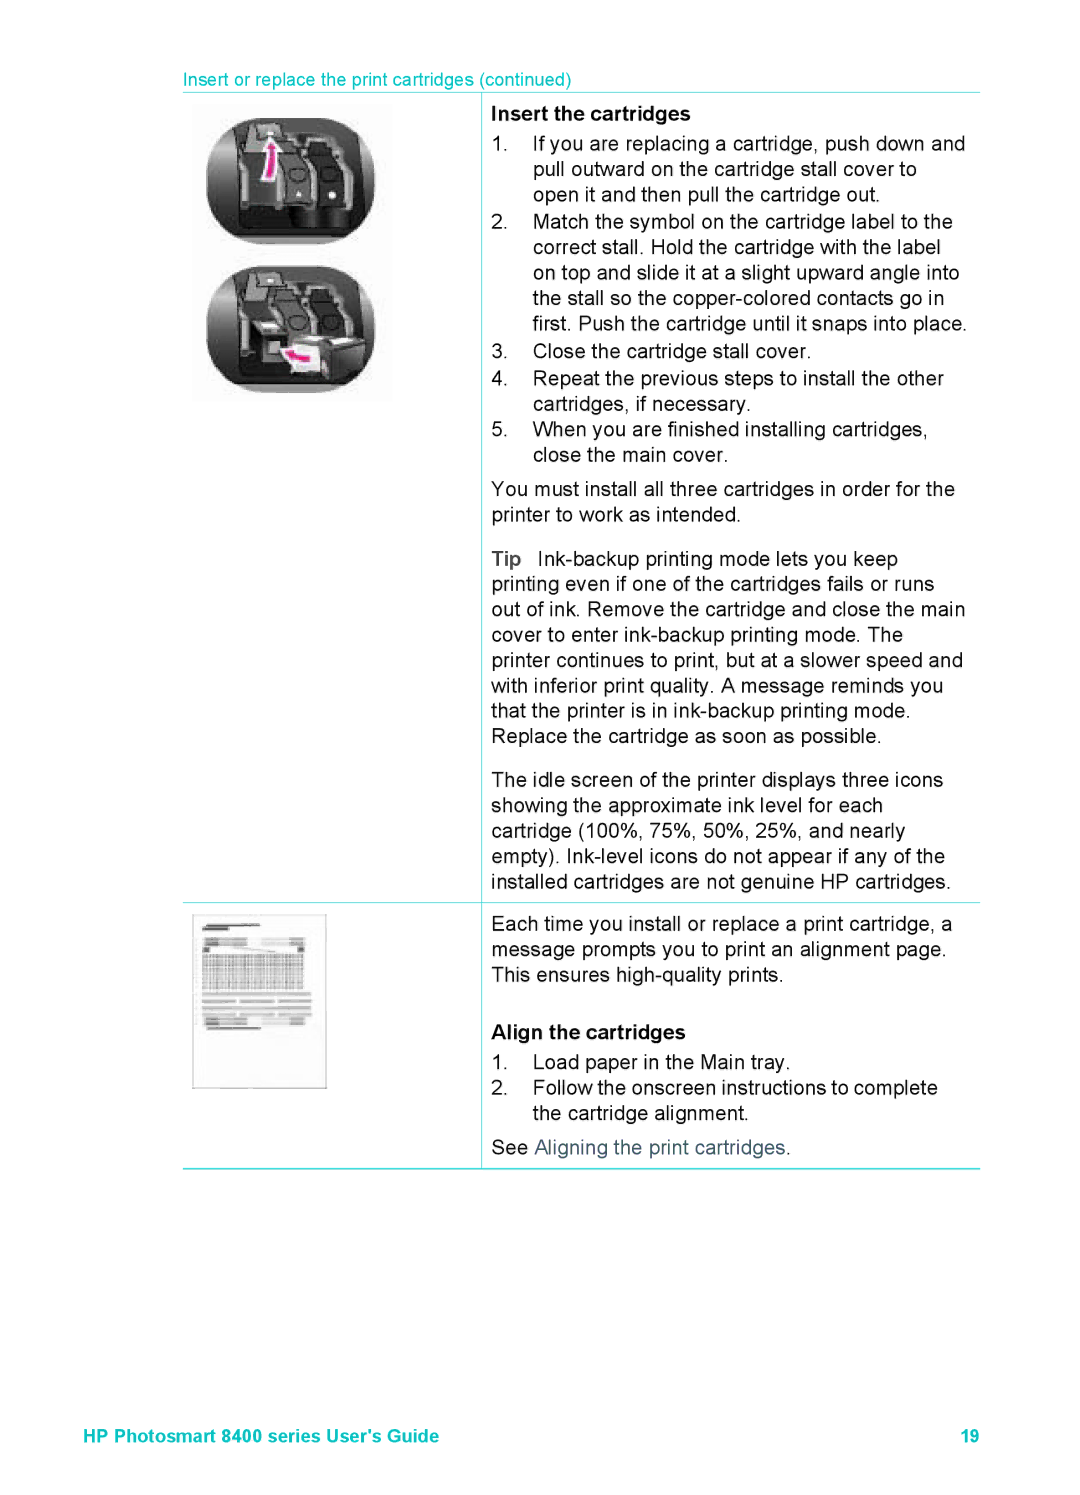
1.If you are replacing a cartridge, push down and pull outward on the cartridge stall cover to open it and then pull the cartridge out.
2.Match the symbol on the cartridge label to the correct stall. Hold the cartridge with the label on top and slide it at a slight upward angle into the stall so the
3.Close the cartridge stall cover.
4.Repeat the previous steps to install the other cartridges, if necessary.
5.When you are finished installing cartridges, close the main cover.
You must install all three cartridges in order for the printer to work as intended.
Tip
The idle screen of the printer displays three icons showing the approximate ink level for each cartridge (100%, 75%, 50%, 25%, and nearly empty).
Each time you install or replace a print cartridge, a message prompts you to print an alignment page. This ensures
Align the cartridges
1.Load paper in the Main tray.
2.Follow the onscreen instructions to complete the cartridge alignment.
See Aligning the print cartridges.
HP Photosmart 8400 series User's Guide | 19 |