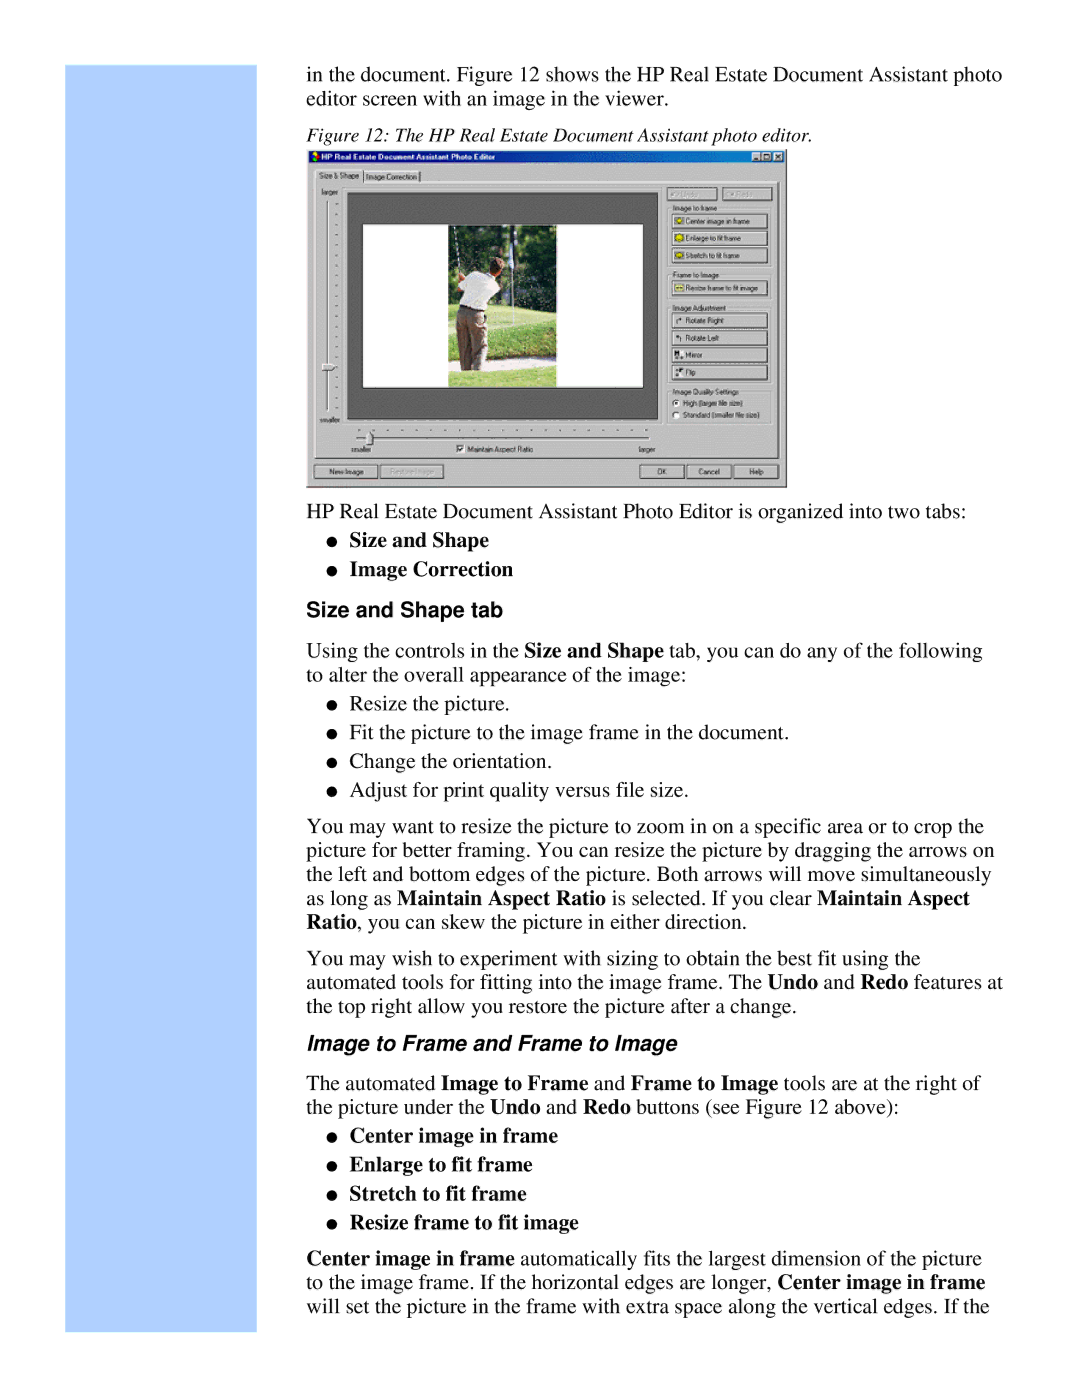
in the document. Figure 12 shows the HP Real Estate Document Assistant photo editor screen with an image in the viewer.
Figure 12: The HP Real Estate Document Assistant photo editor.
HP Real Estate Document Assistant Photo Editor is organized into two tabs:
●Size and Shape
●Image Correction
Size and Shape tab
Using the controls in the Size and Shape tab, you can do any of the following to alter the overall appearance of the image:
●Resize the picture.
●Fit the picture to the image frame in the document.
●Change the orientation.
●Adjust for print quality versus file size.
You may want to resize the picture to zoom in on a specific area or to crop the picture for better framing. You can resize the picture by dragging the arrows on the left and bottom edges of the picture. Both arrows will move simultaneously as long as Maintain Aspect Ratio is selected. If you clear Maintain Aspect Ratio, you can skew the picture in either direction.
You may wish to experiment with sizing to obtain the best fit using the automated tools for fitting into the image frame. The Undo and Redo features at the top right allow you restore the picture after a change.
Image to Frame and Frame to Image
The automated Image to Frame and Frame to Image tools are at the right of the picture under the Undo and Redo buttons (see Figure 12 above):
●Center image in frame
●Enlarge to fit frame
●Stretch to fit frame
●Resize frame to fit image
Center image in frame automatically fits the largest dimension of the picture to the image frame. If the horizontal edges are longer, Center image in frame will set the picture in the frame with extra space along the vertical edges. If the
