vertical edges are longer, extra space will appear along the horizontal edges. This is useful if you want all of the picture to remain intact for the document.
Enlarge to fit frame automatically cuts off the edges of the largest dimension to make the picture fit into the frame. This is useful if you want the picture to fit but maintain the integrity of the picture.
Stretch to fit frame automatically distorts the picture to fit into the frame. This is useful if you want keep the picture complete but still fit into the frame.
As mentioned earlier, you may want to experiment with sizing in conjunction with the automatic settings to find the best possible fit for the document.
Image Correction
The Image Correction buttons (Figure 12, above) alter the orientation of the image:
●Rotate Right turns the image 90 degrees to the right. This function is useful, for instance, when a picture is taken sideways for a portrait view.
●Rotate Left turns the picture 90 degrees to the left.
●Mirror changes the picture into a mirror image of itself. This function is useful, for instance, to correct for a picture transparency scanned
●Flip turns the picture 180 degrees.
Image Quality
The Image Quality buttons (Figure 12, above) allow you to adjust the file size of your pictures if your storage space is limited, or if you want to optimize uploading and downloading time.
If you have ample storage space available on your hard drive, use the High image quality setting.
If space is an issue, or if you wish to use the photo on the Internet, you may wish to use the Standard image quality setting.
NOTE: Remember that the Image Quality setting only affects the image in the HP Real Estate Document Assistant photo editor window.
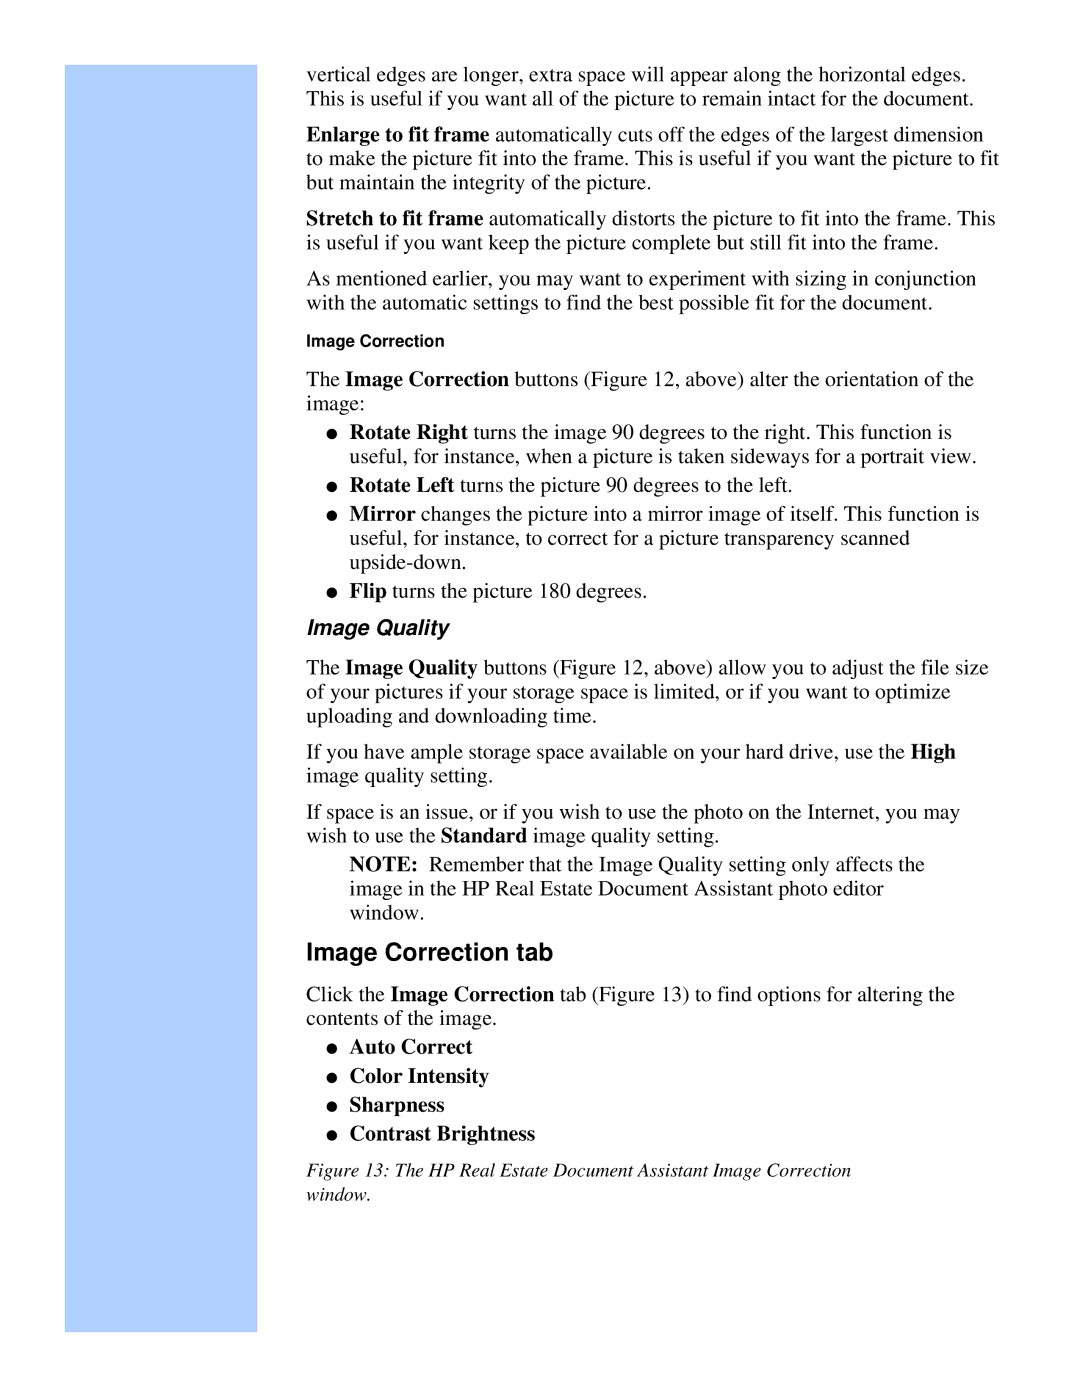
Image Correction tab
Click the Image Correction tab (Figure 13) to find options for altering the contents of the image.