
DUAL-FUEL SLIDE-IN RANGE specifications
The Jenn-Air DUAL-FUEL SLIDE-IN RANGE represents a pinnacle in cooking technology, combining the precision of gas cooking with the consistent heat of electric ovens. Designed for the modern culinary enthusiast, this range elevates kitchen aesthetics while delivering powerful performance.One of the standout features of this range is its dual-fuel system, which utilizes a gas cooktop and an electric oven. This combination allows for superior control over cooking temperatures on the stovetop, ideal for techniques such as sautéing, simmering, and searing. The gas burners are designed with varying BTU outputs, providing flexibility that caters to every cooking style, from gentle delicate adjustments to rapidly boiling water.
The electric oven, on the other hand, ensures even baking and roasting, thanks to advanced technologies such as convection cooking. This feature circulates heated air throughout the oven, producing even results and significantly reducing cooking times. The oven also boasts a self-cleaning function, saving users from the tedious chore of manual cleaning.
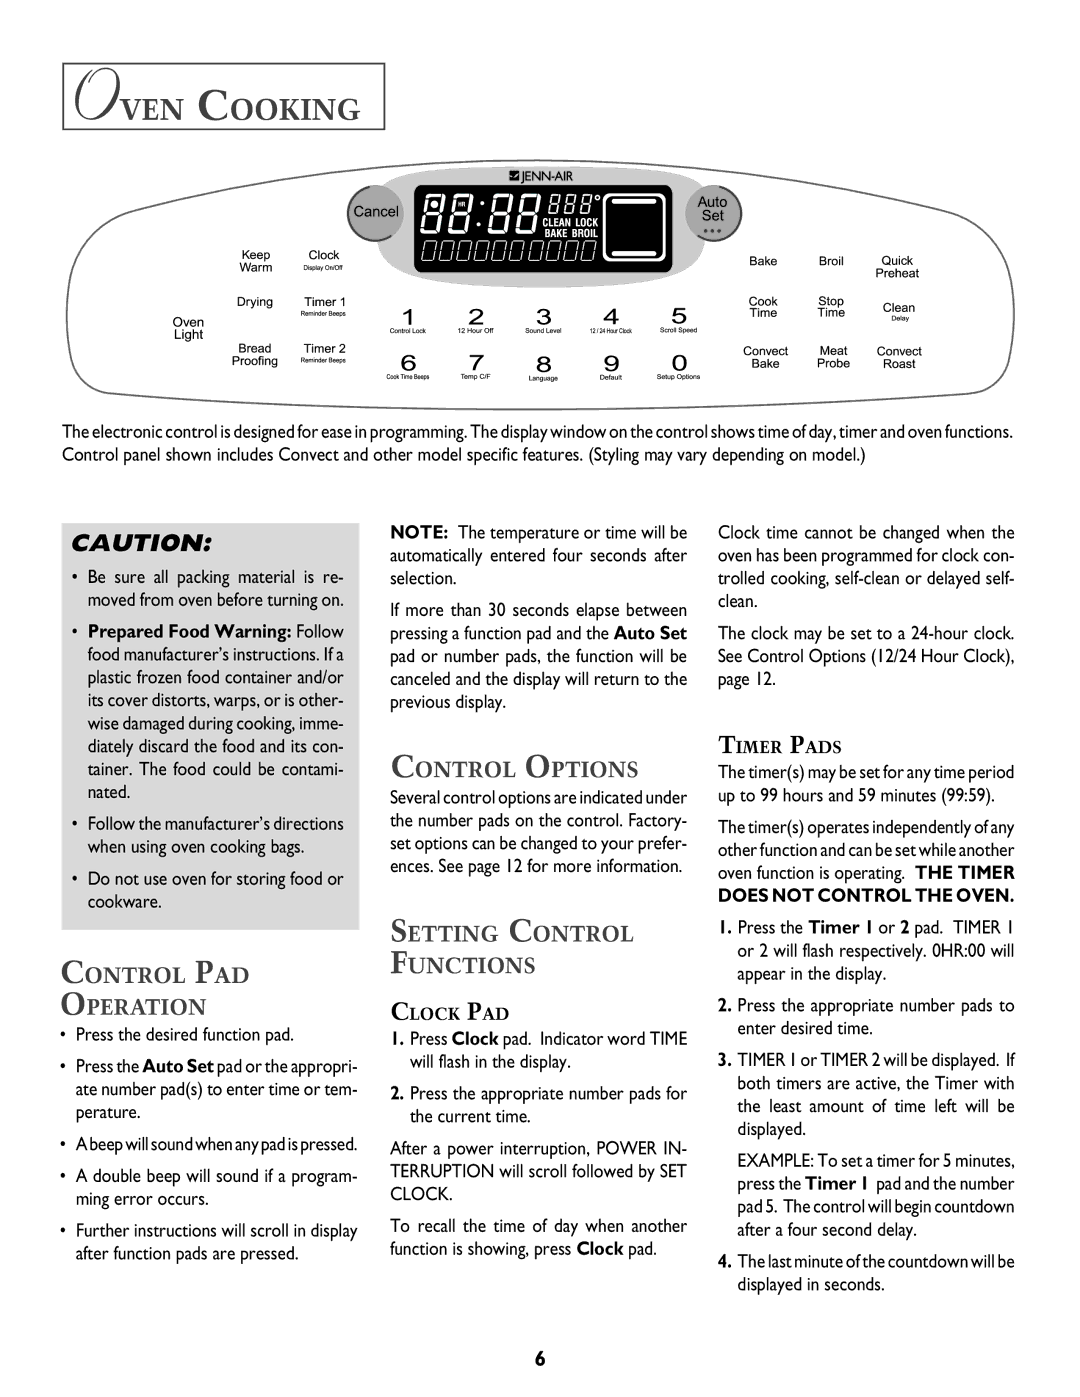
Another key characteristic of the Jenn-Air DUAL-FUEL SLIDE-IN RANGE is its sleek, integrated design. With a seamless built-in appearance, it allows for a sophisticated look that enhances any kitchen decor. The control panel is equipped with intuitive touch controls and a digital display, making it easy to select cooking settings and monitor temperatures.
Moreover, this range offers advanced safety features, including a flame sensing technology that ensures burners are lit correctly, reducing the risk of gas leaks. Additionally, the oven comes with a locking safety feature, providing peace of mind when children are present.
In terms of customization, this Jenn-Air range offers various burner configurations and stovetop layouts, allowing users to tailor their cooking experience. The high-quality materials used in construction guarantee durability and ease of cleaning, with stainless steel finishes that resist stains and scratches, ensuring that the appliance looks as good as it performs.
In summary, the Jenn-Air DUAL-FUEL SLIDE-IN RANGE combines innovative technology, stylish design, and versatile cooking options, making it an exceptional choice for both amateur cooks and seasoned chefs alike. With its blend of gas and electric features, intuitive controls, and enhanced safety mechanisms, it is a perfect addition to any modern kitchen.