14EN | BASIC OPERATION |
Lens Adjustment | Shutter Release Button |
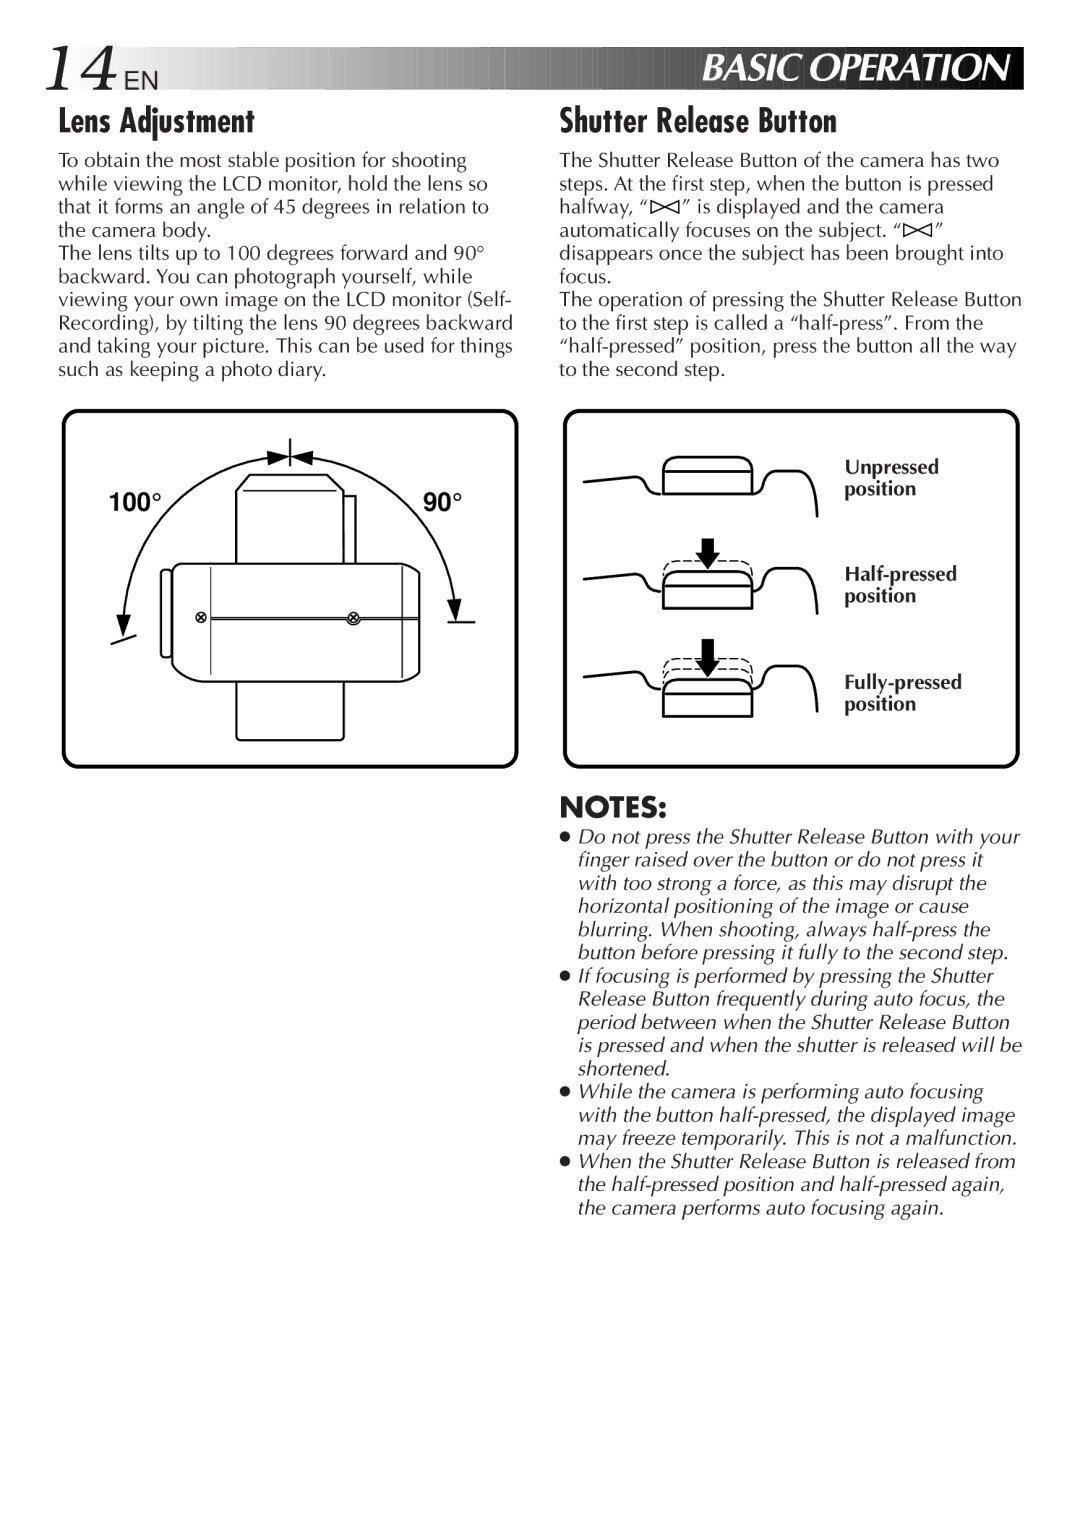
To obtain the most stable position for shooting while viewing the LCD monitor, hold the lens so that it forms an angle of 45 degrees in relation to the camera body.
The lens tilts up to 100 degrees forward and 90° backward. You can photograph yourself, while viewing your own image on the LCD monitor (Self- Recording), by tilting the lens 90 degrees backward and taking your picture. This can be used for things such as keeping a photo diary.
The Shutter Release Button of the camera has two steps. At the first step, when the button is pressed halfway, “![]() ” is displayed and the camera automatically focuses on the subject. “
” is displayed and the camera automatically focuses on the subject. “![]() ” disappears once the subject has been brought into focus.
” disappears once the subject has been brought into focus.
The operation of pressing the Shutter Release Button to the first step is called a
100°90°
NOTES:
Unpressed position
Half-pressed position
●Do not press the Shutter Release Button with your finger raised over the button or do not press it with too strong a force, as this may disrupt the horizontal positioning of the image or cause blurring. When shooting, always
●If focusing is performed by pressing the Shutter Release Button frequently during auto focus, the period between when the Shutter Release Button is pressed and when the shutter is released will be shortened.
●While the camera is performing auto focusing with the button
●When the Shutter Release Button is released from the