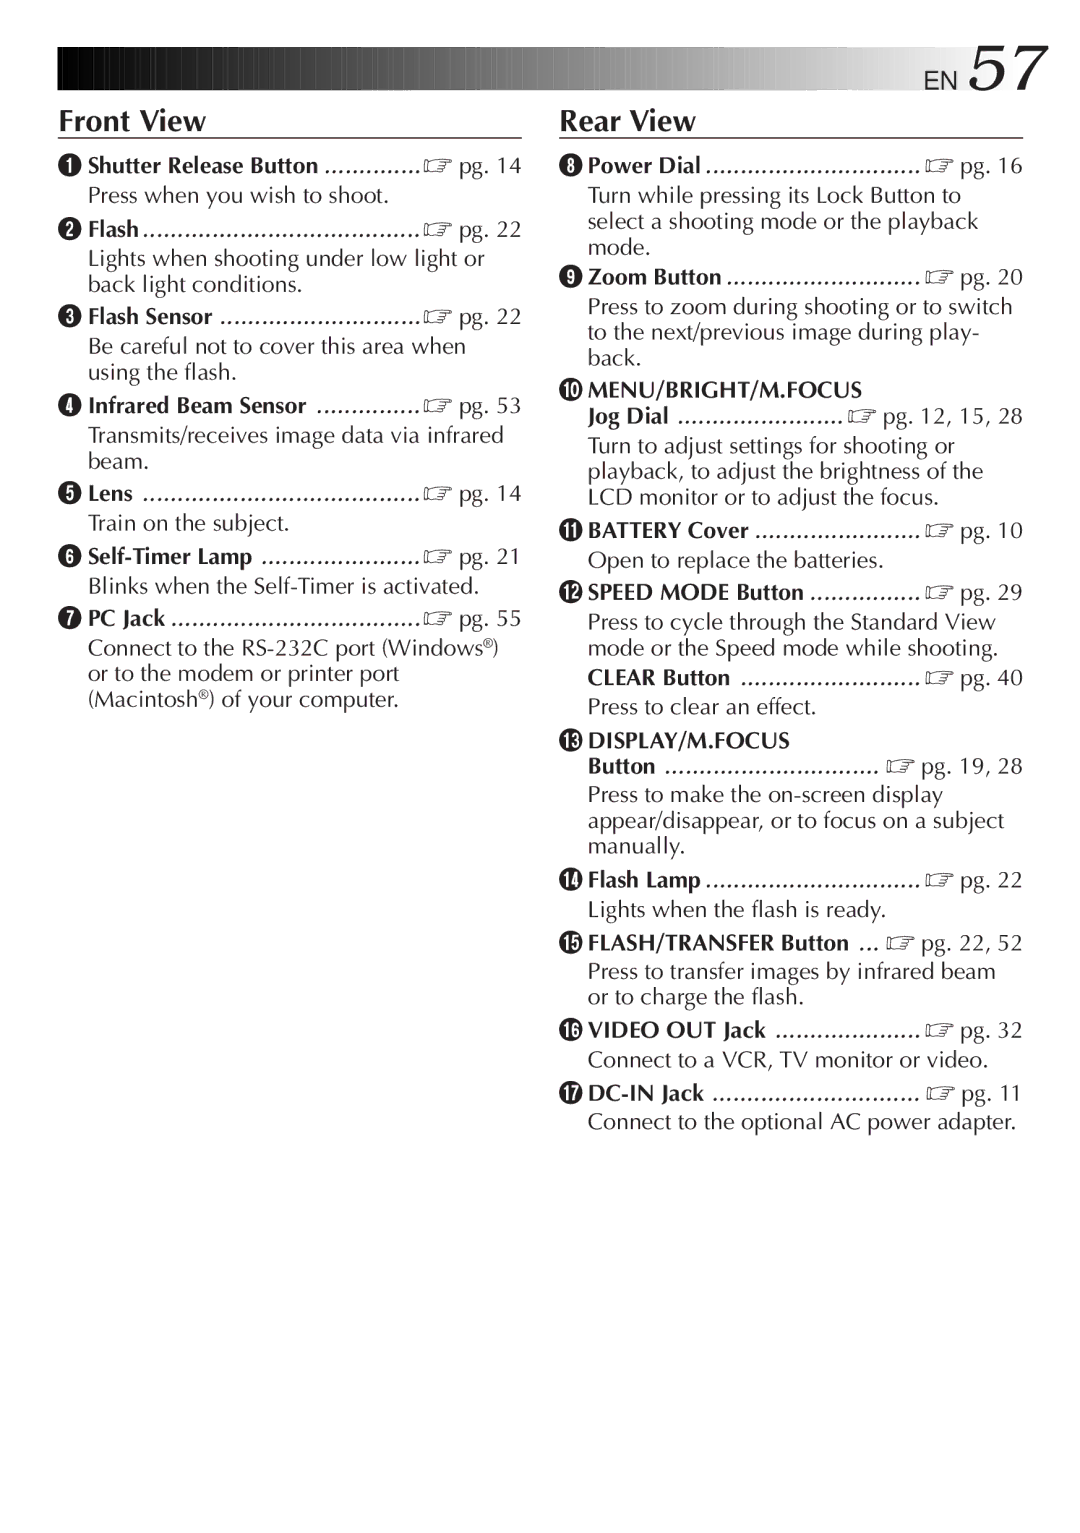
Front View
1 Shutter Release Button | ☞ pg. 14 |
Press when you wish to shoot. |
|
2 Flash | ☞ pg. 22 |
Lights when shooting under low light or back light conditions.
3 Flash Sensor | ☞ pg. 22 |
Be careful not to cover this area when | |
using the flash. |
|
4 Infrared Beam Sensor | ☞ pg. 53 |
Transmits/receives image data via infrared beam.
5 Lens | ☞ pg. 14 |
Train on the subject. |
|
6 | ☞ pg. 21 |
Blinks when the
7 PC Jack | ☞ pg. 55 |
Connect to the
Rear View | EN 57 |
| |
8 Power Dial | ☞ pg. 16 |
Turn while pressing its Lock Button to select a shooting mode or the playback mode.
9 Zoom Button | ☞ pg. 20 |
Press to zoom during shooting or to switch to the next/previous image during play- back.
0MENU/BRIGHT/M.FOCUS
Jog Dial | ☞ pg. 12, 15, 28 |
Turn to adjust settings for shooting or playback, to adjust the brightness of the LCD monitor or to adjust the focus.
! BATTERY Cover | ☞ pg. 10 |
Open to replace the batteries. |
|
@ SPEED MODE Button | ☞ pg. 29 |
Press to cycle through the Standard View mode or the Speed mode while shooting.
CLEAR Button | ☞ pg. 40 |
Press to clear an effect. |
|
#DISPLAY/M.FOCUS
Button | ☞ pg. 19, 28 |
Press to make the
$ Flash Lamp | ☞ pg. 22 |
Lights when the flash is ready. |
|
% FLASH/TRANSFER Button ... ☞ pg. 22, 52
Press to transfer images by infrared beam or to charge the flash.
^ VIDEO OUT Jack | ☞ pg. 32 |
Connect to a VCR, TV monitor or video.
& | ☞ pg. 11 |
Connect to the optional AC power adapter.
