"MANAGE"
Configure the settings for the administrator and hardware on "MANAGE". Categorized into "COMMON SETTINGS", "MEDIA MANAGEMENT" and "TURN OFF CAMERA".
Information
46
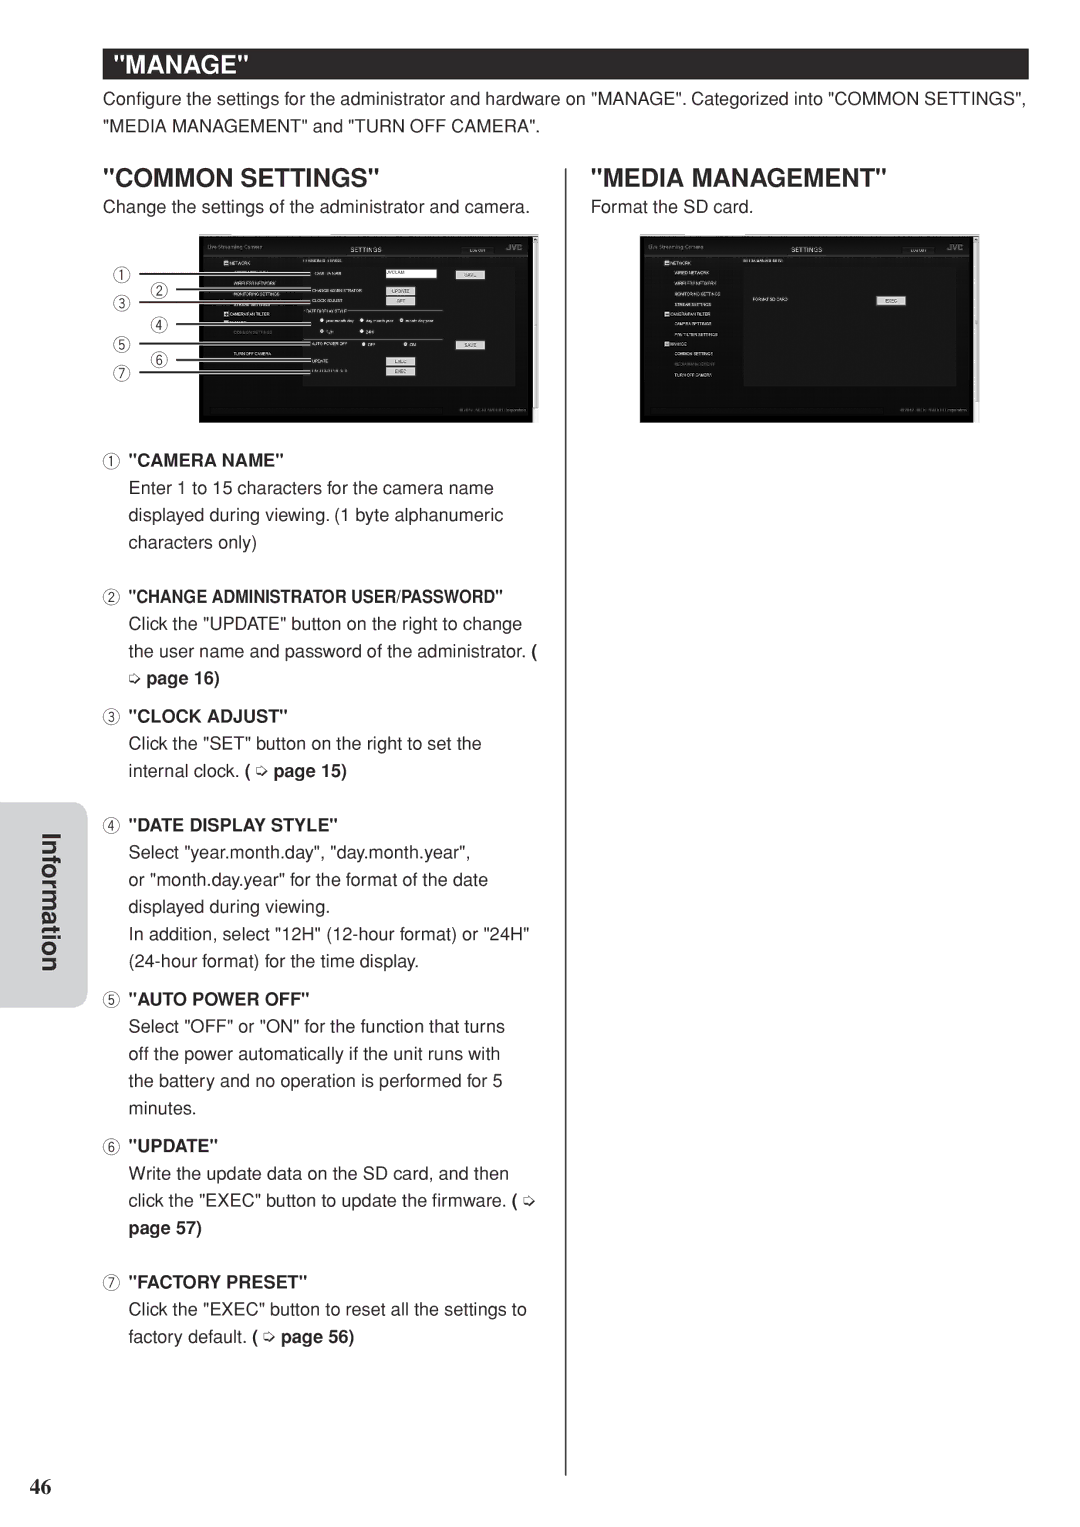
"COMMON SETTINGS"
Change the settings of the administrator and camera.
1
32
4
5
76
1 "CAMERA NAME"
Enter 1 to 15 characters for the camera name displayed during viewing. (1 byte alphanumeric characters only)
2"CHANGE ADMINISTRATOR USER/PASSWORD" Click the "UPDATE" button on the right to change the user name and password of the administrator. (
➭ page 16)
3"CLOCK ADJUST"
Click the "SET" button on the right to set the internal clock. ( ➭ page 15)
4"DATE DISPLAY STYLE"
Select "year.month.day", "day.month.year", or "month.day.year" for the format of the date displayed during viewing.
In addition, select "12H"
5"AUTO POWER OFF"
Select "OFF" or "ON" for the function that turns off the power automatically if the unit runs with the battery and no operation is performed for 5 minutes.
6"UPDATE"
Write the update data on the SD card, and then click the "EXEC" button to update the firmware. ( ➭ page 57)
7"FACTORY PRESET"
Click the "EXEC" button to reset all the settings to factory default. ( ➭ page 56)
"MEDIA MANAGEMENT"
Format the SD card.