| 1 | 2 | 3 |
| |
NUMBER | 4 | 5 | 6 |
| |
|
|
|
| NUMBER "9" | |
| 7 | 8 | 9 | ||
|
| ||||
|
|
| 0 |
| TIMER |
|
|
|
|
| |
| NUMBER | "8" |
|
| CH |
|
|
|
| ||
|
|
|
|
| |
| SP/EP |
|
|
|
|
MENU |
|
|
| OK | |
|
|
|
| ||
![]()
![]() TIME SCAN
TIME SCAN
![]()
![]()
![]()
![]()
![]()
![]()
![]()
![]()
![]()
![]()
![]()
![]()
![]() E
E![]() N
N![]()
![]() 47
47![]()
CHECK INPUT DATA
|
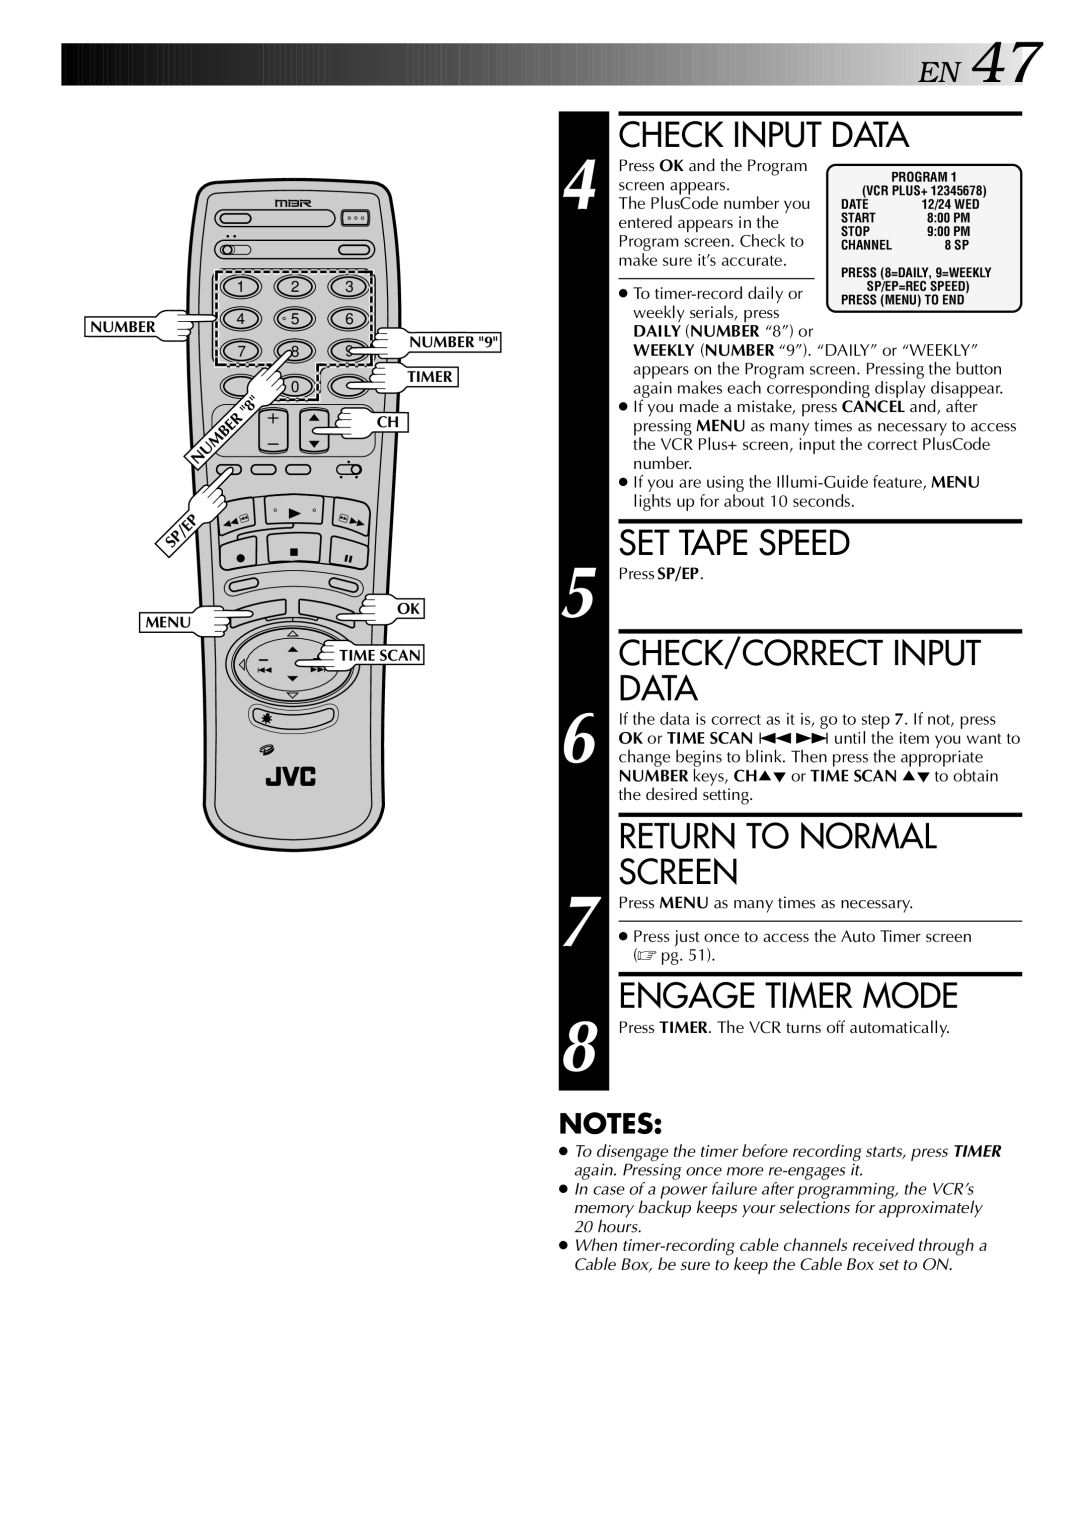
| Press OK and the Program | PROGRAM 1 | |
|
| screen appears. | ||
|
| (VCR PLUS+ 12345678) | ||
4 The PlusCode number you | DATE | 12/24 WED | ||
START | 8:00 PM | |||
|
| entered appears in the | STOP | 9:00 PM |
|
| Program screen. Check to | ||
|
| CHANNEL | 8 SP | |
|
| make sure it’s accurate. | PRESS (8=DAILY, 9=WEEKLY | |
|
|
| ||
|
| ● To | SP/EP=REC SPEED) | |
|
| PRESS (MENU) TO END | ||
|
| weekly serials, press |
|
|
|
| DAILY (NUMBER “8”) or |
|
|
|
| WEEKLY (NUMBER “9”). “DAILY” or “WEEKLY” | ||
|
| appears on the Program screen. Pressing the button | ||
|
| again makes each corresponding display disappear. | ||
|
| ● If you made a mistake, press CANCEL and, after | ||
|
| pressing MENU as many times as necessary to access | ||
|
| the VCR Plus+ screen, input the correct PlusCode | ||
|
| number. |
|
|
|
| ● If you are using the | ||
|
| lights up for about 10 seconds. |
| |
|
|
|
| |
|
| SET TAPE SPEED |
| |
5 Press SP/EP. |
|
| ||
|
| CHECK/CORRECT INPUT | ||
|
| DATA |
|
|
|
| If the data is correct as it is, go to step 7. If not, press | ||
|
| OK or TIME SCAN ª£ until the item you want to | ||
6 change begins to blink. Then press the appropriate | ||||
| NUMBER keys, CH5° or TIME SCAN 5° to obtain | |||
| the desired setting. |
|
| |
|
|
| ||
|
| RETURN TO NORMAL | ||
7 |
| SCREEN |
|
|
| Press MENU as many times as necessary. |
| ||
|
| |||
| ● Press just once to access the Auto Timer screen | |||
| (☞ pg. 51). |
|
| |
|
|
| ||
|
| ENGAGE TIMER MODE | ||
8 Press TIMER. The VCR turns off automatically. | ||||
NOTES:
●To disengage the timer before recording starts, press TIMER again. Pressing once more
●In case of a power failure after programming, the VCR’s memory backup keeps your selections for approximately 20 hours.
●When
