Installation Menu
DiSEqC-setting
The precondition for this setting is that you have made no changes in the DiSEqC (UFO) setup, refer to the section "DiSEqC (UFO) Setup".
When you are in the LNB configuration menu (see above), press the ou
buttons to move the coloured bar to the "HotBird" position, press the
and by pressing Oconfirm that you wish to add a satellite. The transponder data are now stored and a tick appears after "HotBird" to confirm the setting. You can now set the DiSEqC signal. It serves the purpose of switching between the two
aligned satellites. Press the oubuttons to go to the
Set #1 for ASTRA and #2 for HotBird. Both positions are already preprogrammed. Cascade switches can be set under DiSEqC 2. Refer to the instructions for your receiving system. Factory setting:
Press L4 times to exit the menu. At the same time, the receiver will confirm that the set parameters have been saved.
If a setting is incorrect, you will see the following message on the screen: "Bad or no signal".
Antenna settings
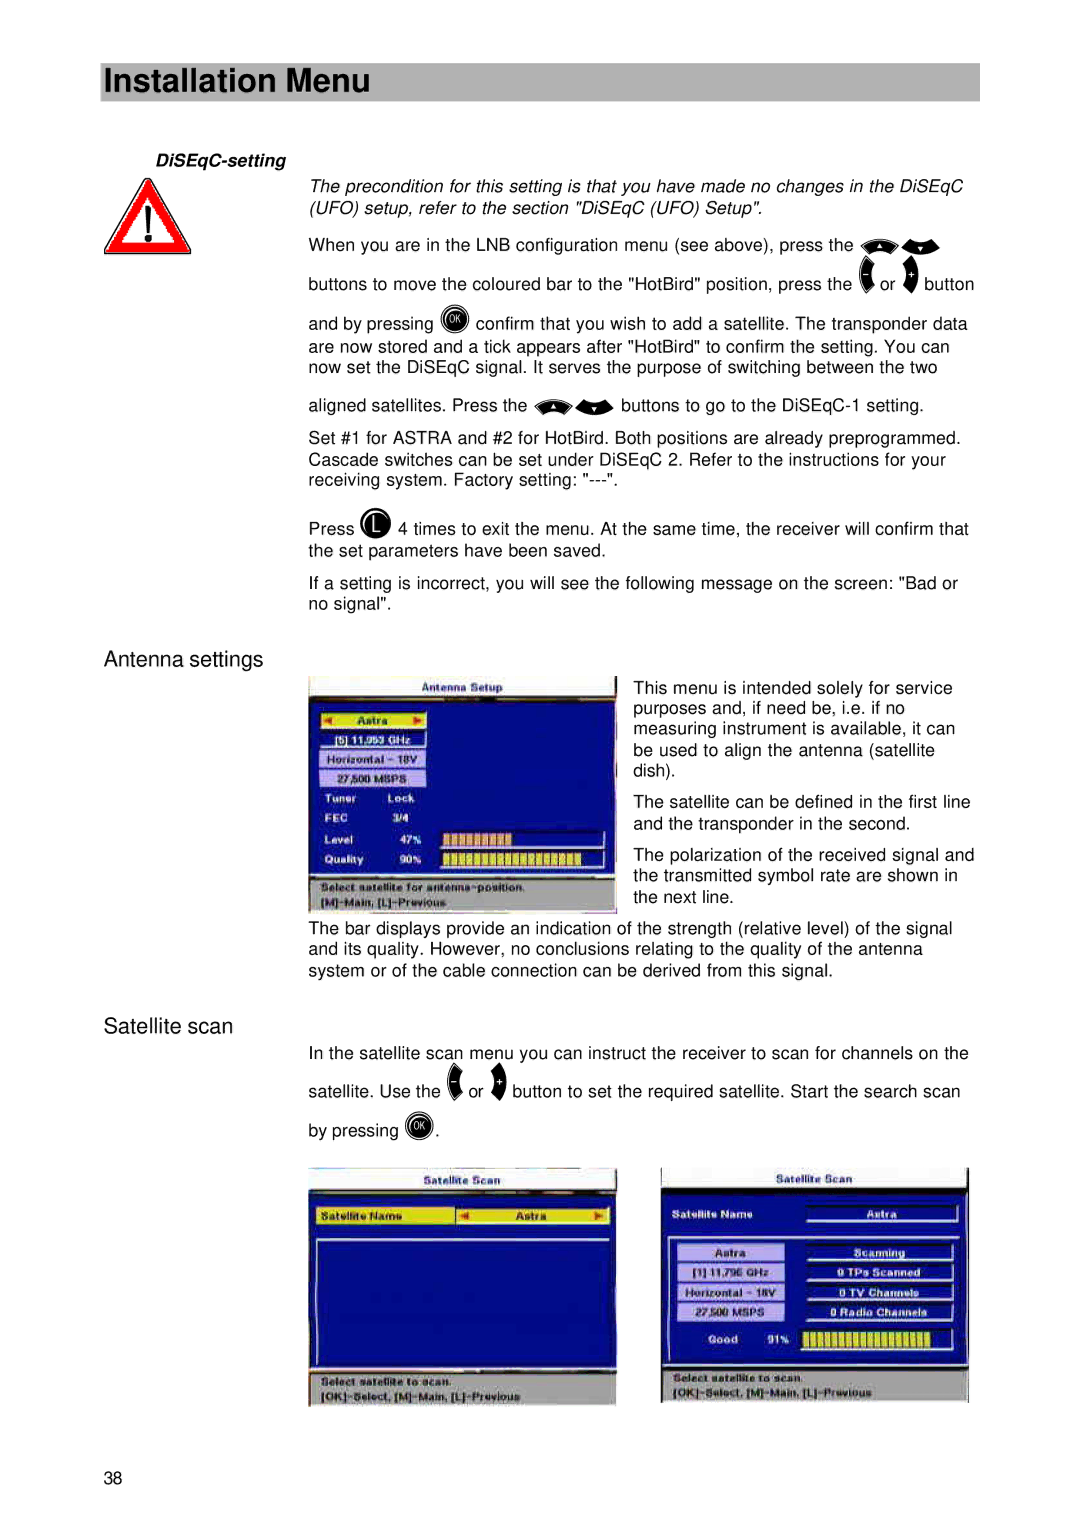
This menu is intended solely for service purposes and, if need be, i.e. if no measuring instrument is available, it can be used to align the antenna (satellite dish).
The satellite can be defined in the first line and the transponder in the second.
The polarization of the received signal and the transmitted symbol rate are shown in the next line.
The bar displays provide an indication of the strength (relative level) of the signal and its quality. However, no conclusions relating to the quality of the antenna system or of the cable connection can be derived from this signal.
Satellite scan
In the satellite scan menu you can instruct the receiver to scan for channels on the satellite. Use the
by pressing O.
38
