KDRP407H specifications
The KitchenAid KDRP407H is a standout addition to any modern kitchen, combining elegance with culinary functionality. This freestanding dual fuel range features a sophisticated design coupled with advanced technology, making it an ideal choice for both amateur cooks and seasoned chefs alike.One of the key features of the KDRP407H is its dual-fuel capability, which combines the best of both worlds: a gas cooktop and an electric oven. This unique configuration allows for precise temperature control and better heat distribution while cooking on the stovetop, while the electric oven ensures even baking results. With a total capacity of 6.7 cubic feet, the oven is spacious enough to accommodate large meals, perfect for hosting family gatherings or weekend dinner parties.
The cooktop boasts five powerful burners, including a high-output burner that can generate up to 20,000 BTU, ideal for searing meats or boiling water rapidly. The burners come with various power options, giving users versatile cooking choices, from simmering delicate sauces to achieving a quick boil.
Another standout technology incorporated into the KDRP407H is the Even-Heat True Convection. This system enhances airflow within the oven to ensure consistent cooking temperatures and even baking results. Ideal for baking multiple trays of cookies or pastries, this convection feature significantly reduces the chances of uneven cooking.
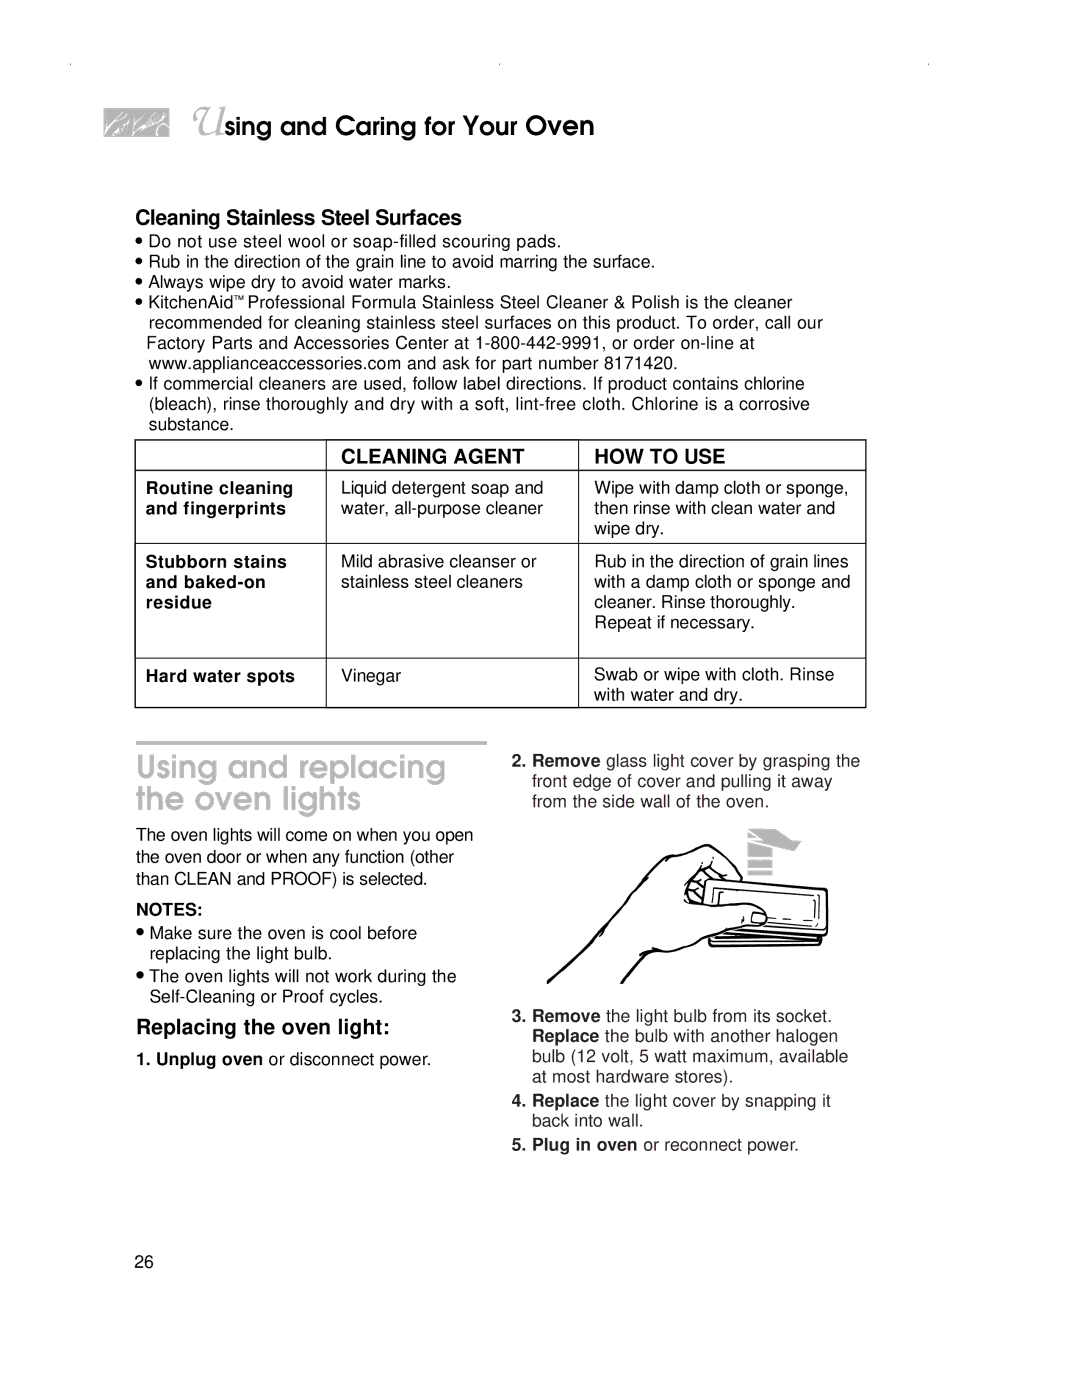
The KitchenAid KDRP407H also emphasizes ease of use and cleaning. The oven includes a self-cleaning feature, which utilizes high-temperature steam to break down food deposits, making maintenance a breeze. The durable stainless steel construction not only provides a sleek look but is designed to resist smudges and fingerprints, keeping your kitchen looking pristine.
Additional characteristics include a 7-inch LCD display that provides intuitive controls for setting timers, adjusting temperatures, and selecting cooking modes. The range is equipped with a powerful grill function, allowing users to achieve a char-grilled flavor in the comfort of their kitchen.
With its combination of innovative features, high performance, and stylish design, the KitchenAid KDRP407H dual fuel range is an exceptional choice that elevates both cooking efficiency and kitchen aesthetics. Whether you're roasting, baking, or simmering, this range provides the tools and technology necessary to achieve culinary excellence.

