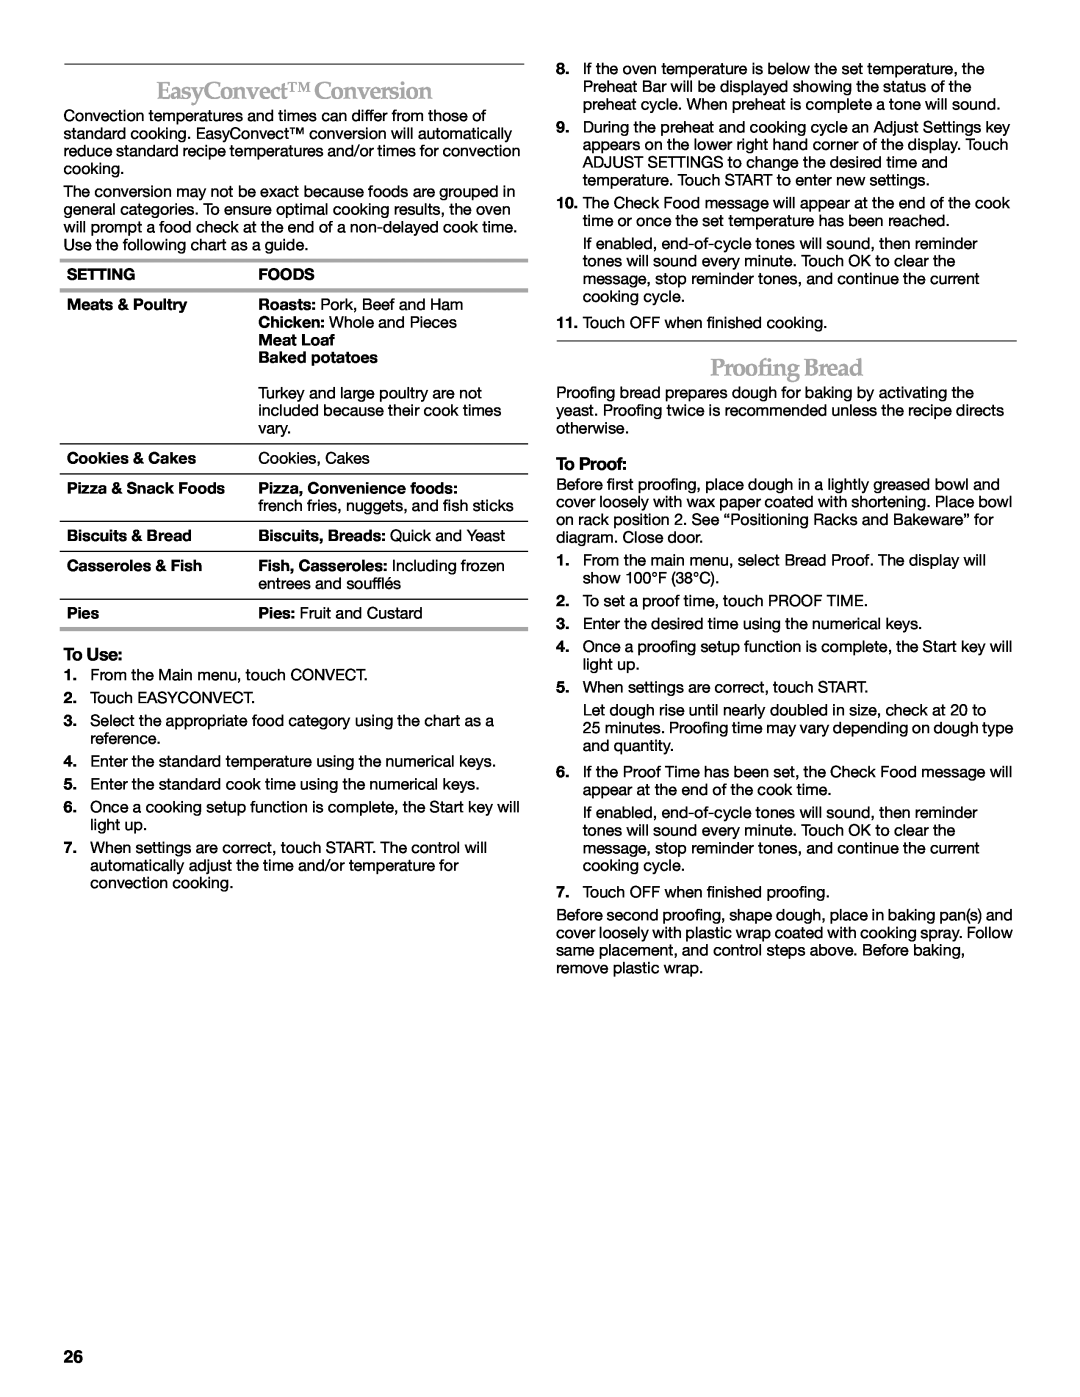
EasyConvect™ Conversion
Convection temperatures and times can differ from those of standard cooking. EasyConvect™ conversion will automatically reduce standard recipe temperatures and/or times for convection cooking.
The conversion may not be exact because foods are grouped in general categories. To ensure optimal cooking results, the oven will prompt a food check at the end of a
SETTING | FOODS |
Meats & Poultry | Roasts: Pork, Beef and Ham |
| Chicken: Whole and Pieces |
| Meat Loaf |
| Baked potatoes |
| Turkey and large poultry are not |
| included because their cook times |
| vary. |
|
|
Cookies & Cakes | Cookies, Cakes |
|
|
Pizza & Snack Foods | Pizza, Convenience foods: |
| french fries, nuggets, and fish sticks |
|
|
Biscuits & Bread | Biscuits, Breads: Quick and Yeast |
|
|
Casseroles & Fish | Fish, Casseroles: Including frozen |
| entrees and soufflés |
|
|
Pies | Pies: Fruit and Custard |
|
|
To Use:
1.From the Main menu, touch CONVECT.
2.Touch EASYCONVECT.
3.Select the appropriate food category using the chart as a reference.
4.Enter the standard temperature using the numerical keys.
5.Enter the standard cook time using the numerical keys.
6.Once a cooking setup function is complete, the Start key will light up.
7.When settings are correct, touch START. The control will automatically adjust the time and/or temperature for convection cooking.
8.If the oven temperature is below the set temperature, the Preheat Bar will be displayed showing the status of the preheat cycle. When preheat is complete a tone will sound.
9.During the preheat and cooking cycle an Adjust Settings key appears on the lower right hand corner of the display. Touch ADJUST SETTINGS to change the desired time and temperature. Touch START to enter new settings.
10.The Check Food message will appear at the end of the cook time or once the set temperature has been reached.
If enabled,
11.Touch OFF when finished cooking.
Proofing Bread
Proofing bread prepares dough for baking by activating the yeast. Proofing twice is recommended unless the recipe directs otherwise.
To Proof:
Before first proofing, place dough in a lightly greased bowl and cover loosely with wax paper coated with shortening. Place bowl on rack position 2. See “Positioning Racks and Bakeware” for diagram. Close door.
1.From the main menu, select Bread Proof. The display will show 100°F (38°C).
2.To set a proof time, touch PROOF TIME.
3.Enter the desired time using the numerical keys.
4.Once a proofing setup function is complete, the Start key will light up.
5.When settings are correct, touch START.
Let dough rise until nearly doubled in size, check at 20 to
25 minutes. Proofing time may vary depending on dough type and quantity.
6.If the Proof Time has been set, the Check Food message will appear at the end of the cook time.
If enabled,
7.Touch OFF when finished proofing.
Before second proofing, shape dough, place in baking pan(s) and cover loosely with plastic wrap coated with cooking spray. Follow same placement, and control steps above. Before baking, remove plastic wrap.
26
