Oven Vent
A
A. Oven vent
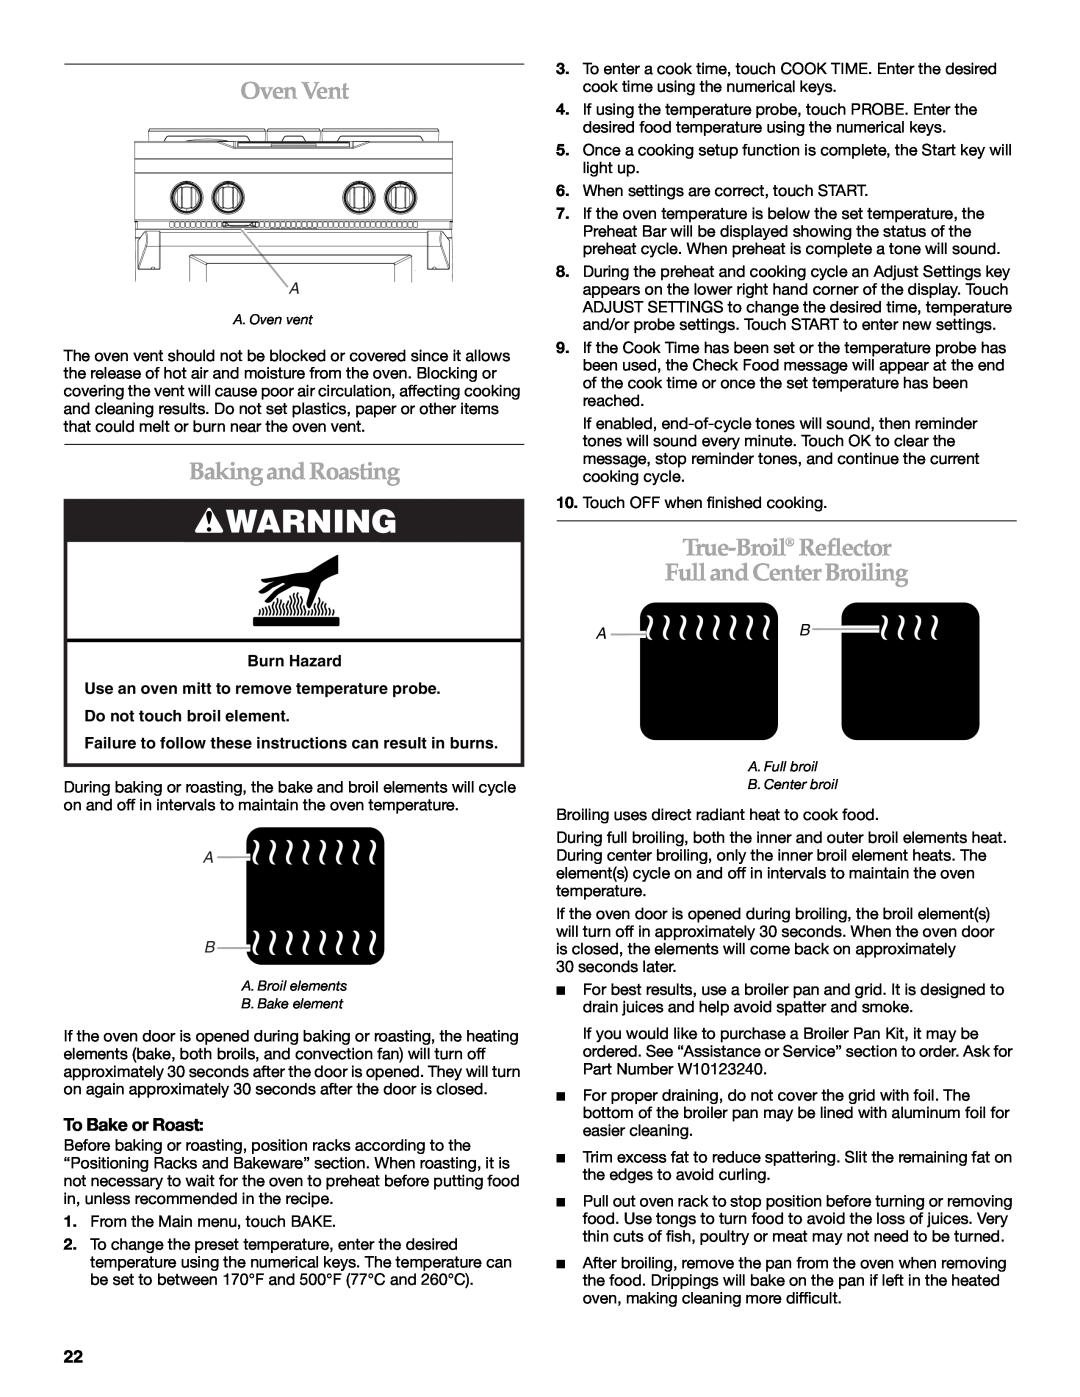
The oven vent should not be blocked or covered since it allows the release of hot air and moisture from the oven. Blocking or covering the vent will cause poor air circulation, affecting cooking and cleaning results. Do not set plastics, paper or other items that could melt or burn near the oven vent.
Bakingand Roasting
![]() WARNING
WARNING
Burn Hazard
Use an oven mitt to remove temperature probe. Do not touch broil element.
Failure to follow these instructions can result in burns.
During baking or roasting, the bake and broil elements will cycle on and off in intervals to maintain the oven temperature.
A ![]()
![]()
![]()
![]()
![]()
![]()
![]()
![]()
![]()
B ![]()
![]()
![]()
![]()
![]()
![]()
![]()
![]()
![]()
A. Broil elements
B. Bake element
If the oven door is opened during baking or roasting, the heating elements (bake, both broils, and convection fan) will turn off approximately 30 seconds after the door is opened. They will turn on again approximately 30 seconds after the door is closed.
To Bake or Roast:
Before baking or roasting, position racks according to the “Positioning Racks and Bakeware” section. When roasting, it is not necessary to wait for the oven to preheat before putting food in, unless recommended in the recipe.
1.From the Main menu, touch BAKE.
2.To change the preset temperature, enter the desired temperature using the numerical keys. The temperature can be set to between 170°F and 500°F (77°C and 260°C).
3.To enter a cook time, touch COOK TIME. Enter the desired cook time using the numerical keys.
4.If using the temperature probe, touch PROBE. Enter the desired food temperature using the numerical keys.
5.Once a cooking setup function is complete, the Start key will light up.
6.When settings are correct, touch START.
7.If the oven temperature is below the set temperature, the Preheat Bar will be displayed showing the status of the preheat cycle. When preheat is complete a tone will sound.
8.During the preheat and cooking cycle an Adjust Settings key appears on the lower right hand corner of the display. Touch ADJUST SETTINGS to change the desired time, temperature and/or probe settings. Touch START to enter new settings.
9.If the Cook Time has been set or the temperature probe has been used, the Check Food message will appear at the end of the cook time or once the set temperature has been reached.
If enabled,
10.Touch OFF when finished cooking.
True-Broil® Reflector
Full and CenterBroiling
A 


 B
B 


A. Full broil
B. Center broil
Broiling uses direct radiant heat to cook food.
During full broiling, both the inner and outer broil elements heat. During center broiling, only the inner broil element heats. The element(s) cycle on and off in intervals to maintain the oven temperature.
If the oven door is opened during broiling, the broil element(s) will turn off in approximately 30 seconds. When the oven door is closed, the elements will come back on approximately
30 seconds later.
■For best results, use a broiler pan and grid. It is designed to drain juices and help avoid spatter and smoke.
If you would like to purchase a Broiler Pan Kit, it may be ordered. See “Assistance or Service” section to order. Ask for Part Number W10123240.
■For proper draining, do not cover the grid with foil. The bottom of the broiler pan may be lined with aluminum foil for easier cleaning.
■Trim excess fat to reduce spattering. Slit the remaining fat on the edges to avoid curling.
■Pull out oven rack to stop position before turning or removing food. Use tongs to turn food to avoid the loss of juices. Very thin cuts of fish, poultry or meat may not need to be turned.
■After broiling, remove the pan from the oven when removing the food. Drippings will bake on the pan if left in the heated oven, making cleaning more difficult.
22
