7 Configuring and Controlling the VP-725NA
This section describes how to configure and control the
•OSD menu (see Section 7.1)
•LCD display (see Section 7.2)
•Infrared remote control transmitter (see Section 7.4)
You can also control the
7.1Configuring the VP-725NA via the OSD MENU Screens
The OSD superimposes a menu on the screen from which you can configure and control each input signal on your
To use the OSD menus:
1.Select the desired input signal.
2.Use the menu buttons as follows:
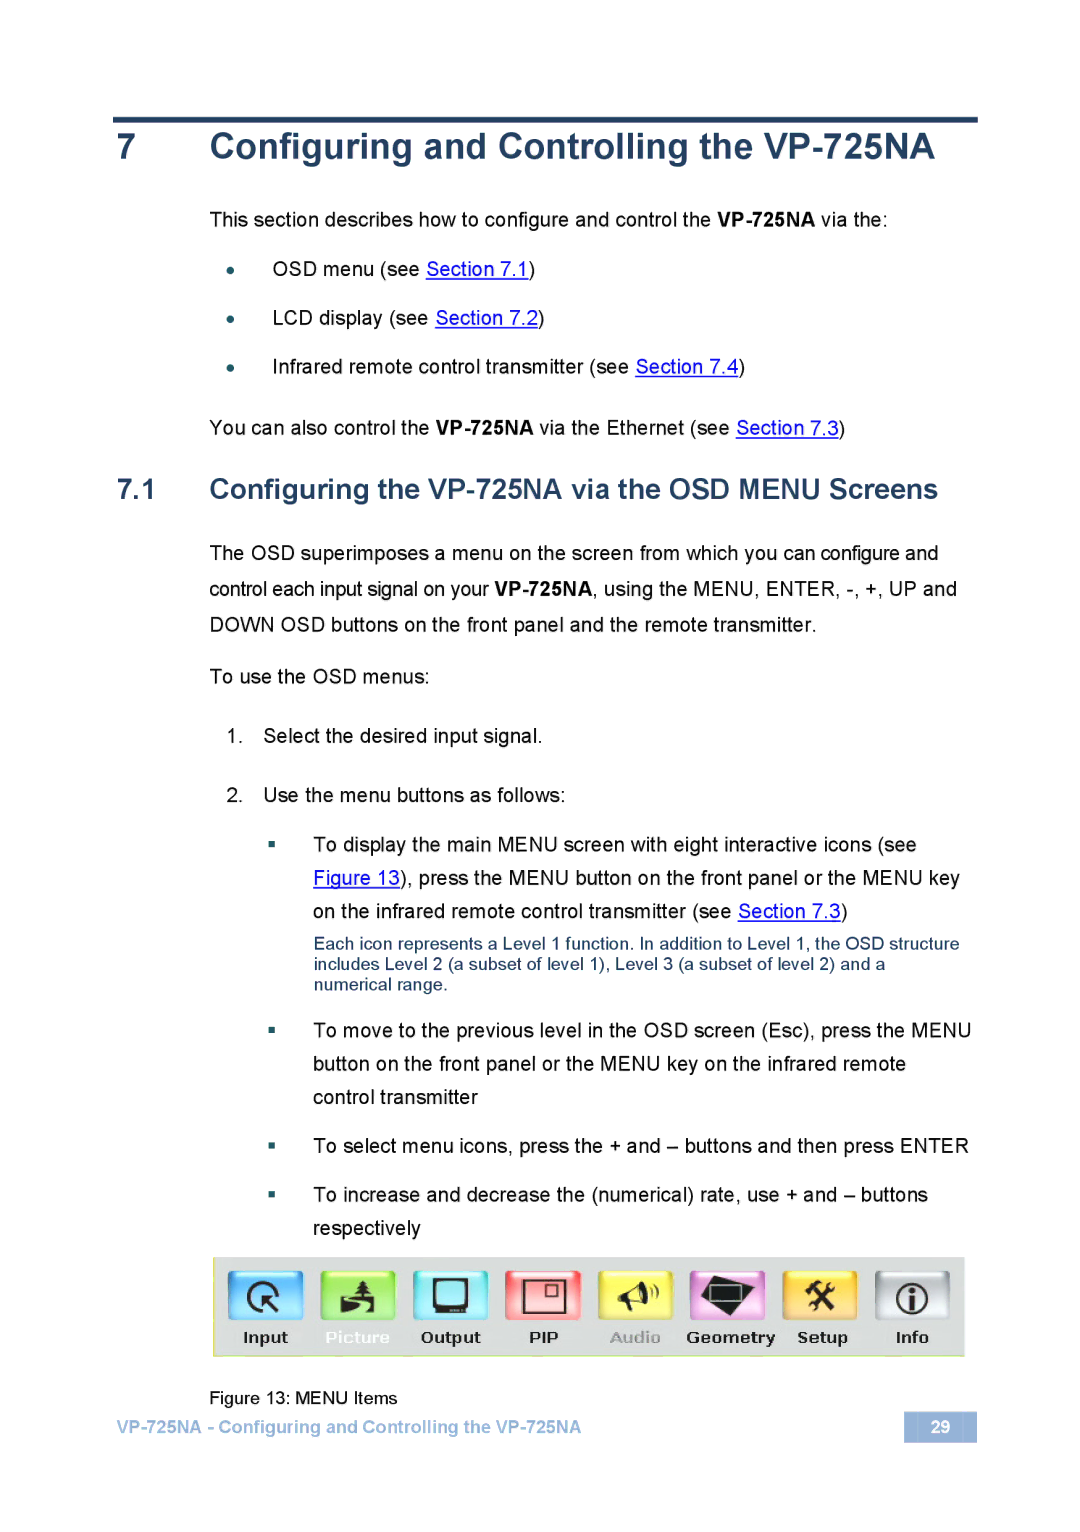
To display the main MENU screen with eight interactive icons (see Figure 13), press the MENU button on the front panel or the MENU key on the infrared remote control transmitter (see Section 7.3)
Each icon represents a Level 1 function. In addition to Level 1, the OSD structure includes Level 2 (a subset of level 1), Level 3 (a subset of level 2) and a numerical range.
To move to the previous level in the OSD screen (Esc), press the MENU button on the front panel or the MENU key on the infrared remote control transmitter
To select menu icons, press the + and – buttons and then press ENTER
To increase and decrease the (numerical) rate, use + and – buttons respectively
Figure 13: MENU Items |
|
| 29 |