The other most common method uses the
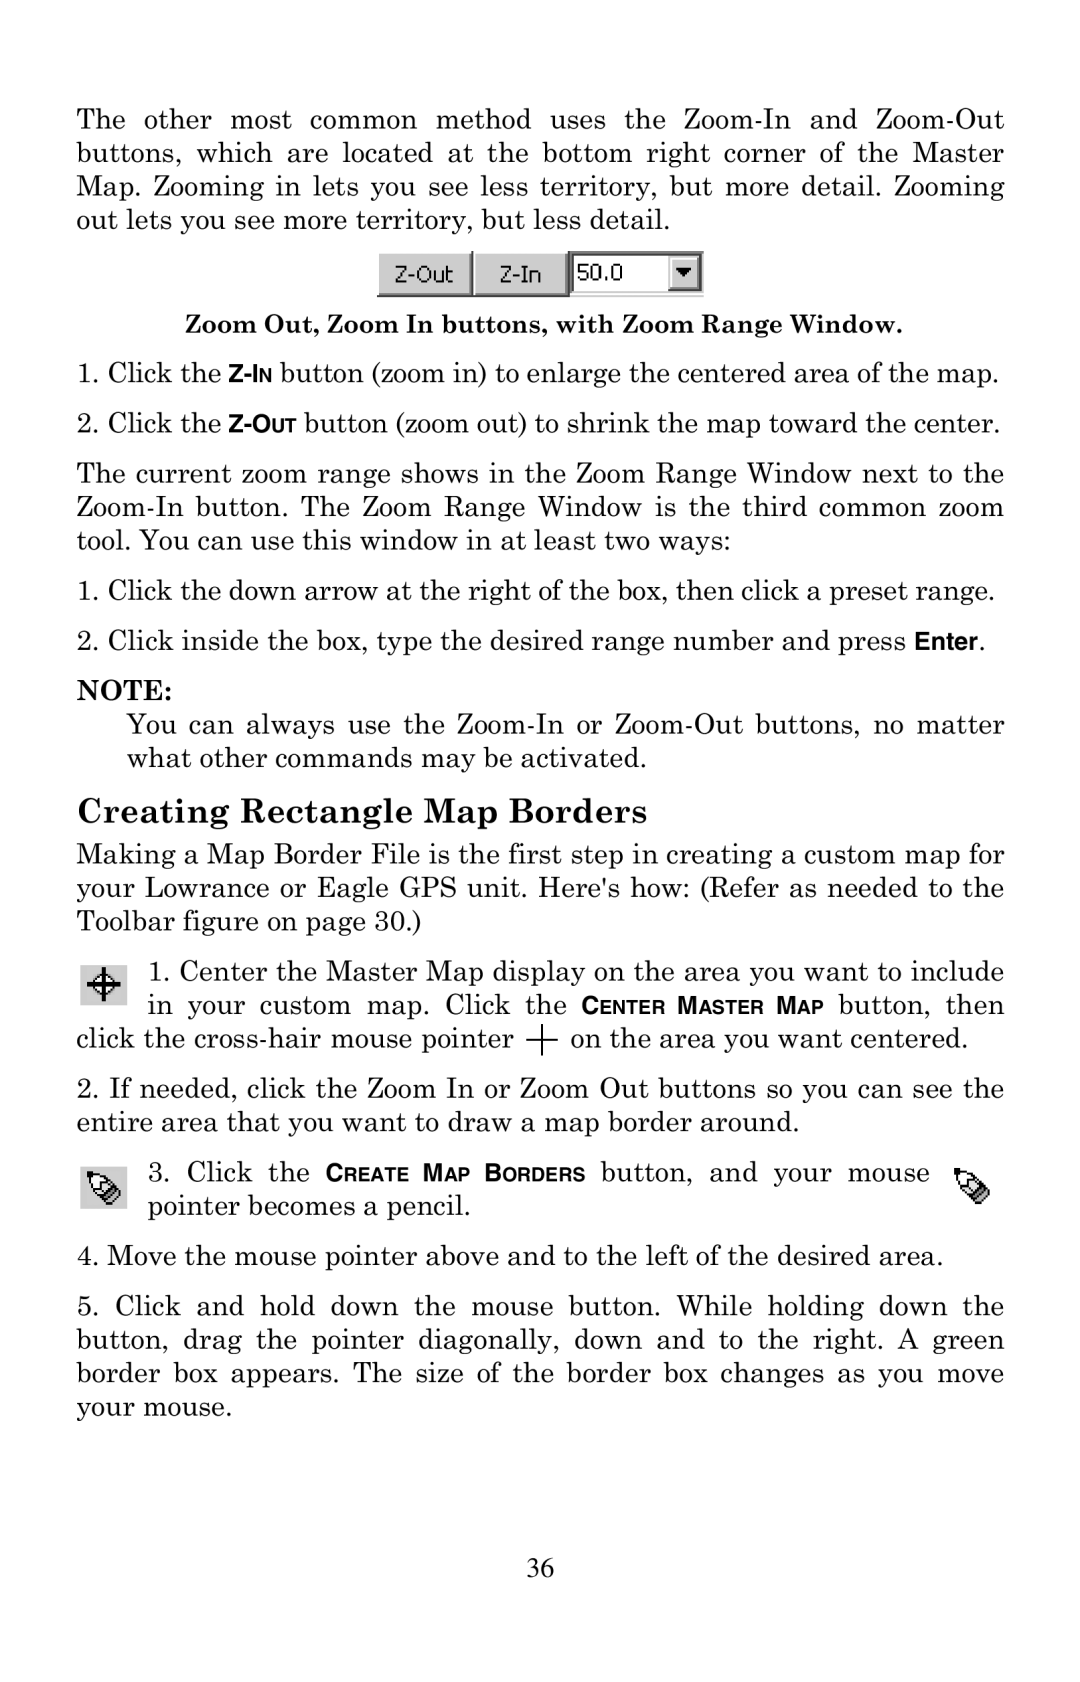
Zoom Out, Zoom In buttons, with Zoom Range Window.
1.Click the
2.Click the
The current zoom range shows in the Zoom Range Window next to the
1.Click the down arrow at the right of the box, then click a preset range.
2.Click inside the box, type the desired range number and press Enter.
NOTE:
You can always use the
Creating Rectangle Map Borders
Making a Map Border File is the first step in creating a custom map for your Lowrance or Eagle GPS unit. Here's how: (Refer as needed to the Toolbar figure on page 30.)
1.Center the Master Map display on the area you want to include in your custom map. Click the CENTER MASTER MAP button, then
click the ![]() on the area you want centered.
on the area you want centered.
2.If needed, click the Zoom In or Zoom Out buttons so you can see the entire area that you want to draw a map border around.
3.Click the CREATE MAP BORDERS button, and your mouse pointer becomes a pencil.
4.Move the mouse pointer above and to the left of the desired area.
5.Click and hold down the mouse button. While holding down the button, drag the pointer diagonally, down and to the right. A green border box appears. The size of the border box changes as you move your mouse.
36