10/100/1000 4-Port VPN Router
VPN Tab - Gateway to Gateway
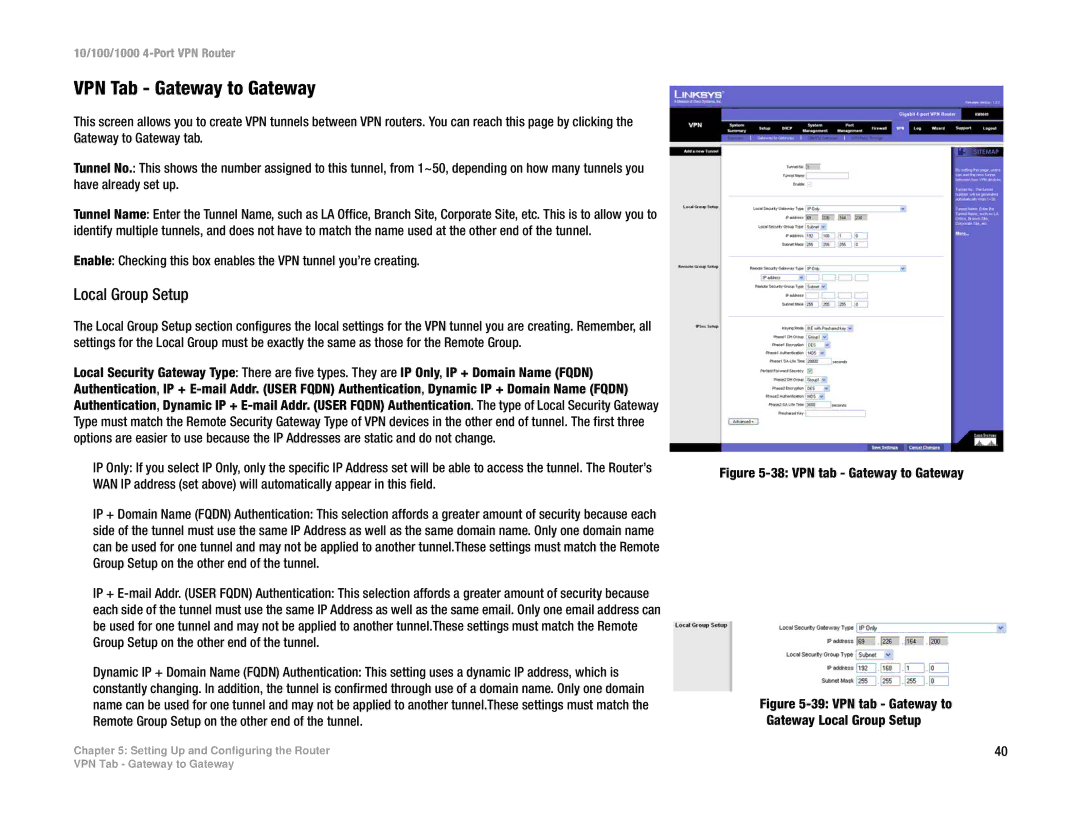
This screen allows you to create VPN tunnels between VPN routers. You can reach this page by clicking the Gateway to Gateway tab.
Tunnel No.: This shows the number assigned to this tunnel, from 1~50, depending on how many tunnels you have already set up.
Tunnel Name: Enter the Tunnel Name, such as LA Office, Branch Site, Corporate Site, etc. This is to allow you to identify multiple tunnels, and does not have to match the name used at the other end of the tunnel.
Enable: Checking this box enables the VPN tunnel you’re creating.
Local Group Setup
The Local Group Setup section configures the local settings for the VPN tunnel you are creating. Remember, all settings for the Local Group must be exactly the same as those for the Remote Group.
Local Security Gateway Type: There are five types. They are IP Only, IP + Domain Name (FQDN) Authentication, IP +
IP Only: If you select IP Only, only the specific IP Address set will be able to access the tunnel. The Router’s WAN IP address (set above) will automatically appear in this field.
IP + Domain Name (FQDN) Authentication: This selection affords a greater amount of security because each side of the tunnel must use the same IP Address as well as the same domain name. Only one domain name can be used for one tunnel and may not be applied to another tunnel.These settings must match the Remote Group Setup on the other end of the tunnel.
IP +
Dynamic IP + Domain Name (FQDN) Authentication: This setting uses a dynamic IP address, which is constantly changing. In addition, the tunnel is confirmed through use of a domain name. Only one domain name can be used for one tunnel and may not be applied to another tunnel.These settings must match the Remote Group Setup on the other end of the tunnel.
Chapter 5: Setting Up and Configuring the Router
Figure 5-38: VPN tab - Gateway to Gateway
Figure 5-39: VPN tab - Gateway to
Gateway Local Group Setup
40
VPN Tab - Gateway to Gateway
