10/100/1000 4-Port VPN Router
DHCP Tab - Status
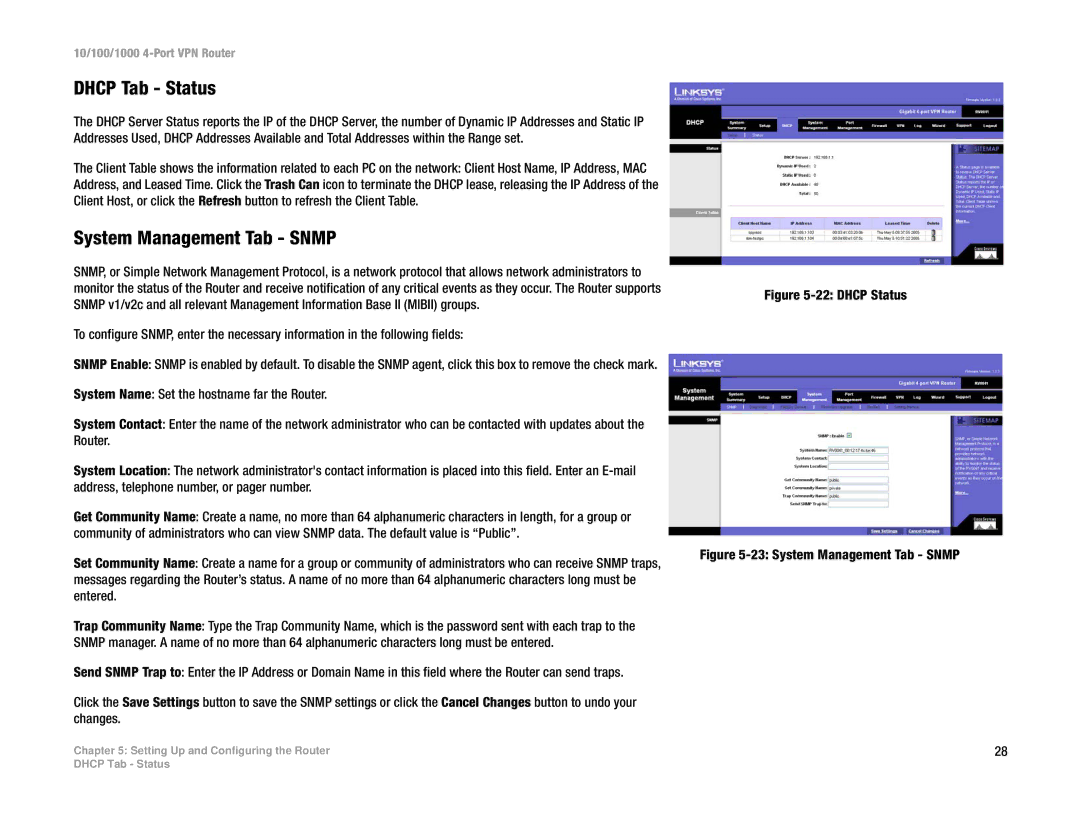
The DHCP Server Status reports the IP of the DHCP Server, the number of Dynamic IP Addresses and Static IP Addresses Used, DHCP Addresses Available and Total Addresses within the Range set.
The Client Table shows the information related to each PC on the network: Client Host Name, IP Address, MAC Address, and Leased Time. Click the Trash Can icon to terminate the DHCP lease, releasing the IP Address of the Client Host, or click the Refresh button to refresh the Client Table.
System Management Tab - SNMP
SNMP, or Simple Network Management Protocol, is a network protocol that allows network administrators to monitor the status of the Router and receive notification of any critical events as they occur. The Router supports SNMP v1/v2c and all relevant Management Information Base II (MIBII) groups.
To configure SNMP, enter the necessary information in the following fields:
SNMP Enable: SNMP is enabled by default. To disable the SNMP agent, click this box to remove the check mark.
System Name: Set the hostname far the Router.
System Contact: Enter the name of the network administrator who can be contacted with updates about the Router.
System Location: The network administrator's contact information is placed into this field. Enter an
Get Community Name: Create a name, no more than 64 alphanumeric characters in length, for a group or community of administrators who can view SNMP data. The default value is “Public”.
Set Community Name: Create a name for a group or community of administrators who can receive SNMP traps, messages regarding the Router’s status. A name of no more than 64 alphanumeric characters long must be entered.
Trap Community Name: Type the Trap Community Name, which is the password sent with each trap to the SNMP manager. A name of no more than 64 alphanumeric characters long must be entered.
Send SNMP Trap to: Enter the IP Address or Domain Name in this field where the Router can send traps.
Click the Save Settings button to save the SNMP settings or click the Cancel Changes button to undo your changes.
Chapter 5: Setting Up and Configuring the Router
Figure 5-22: DHCP Status
Figure 5-23: System Management Tab - SNMP
28
DHCP Tab - Status
