Chapter 2
2.1b.1 Installing the Power Cables (Top Entry)
Perform the following steps to route the power cables from the top of the system.
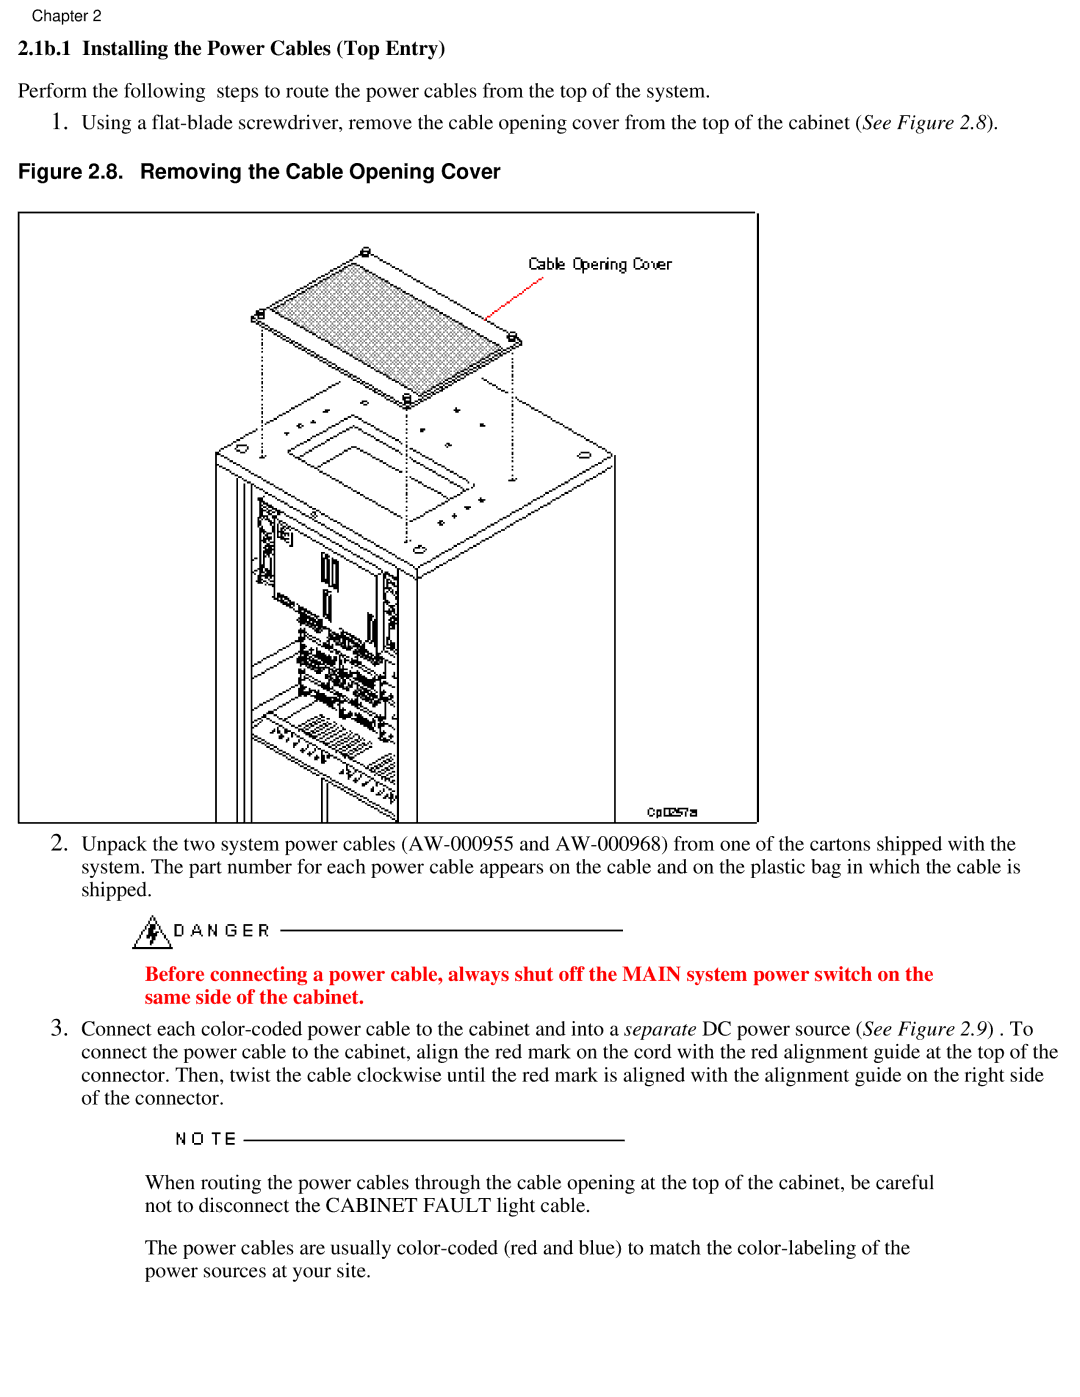
1.Using a flat-blade screwdriver, remove the cable opening cover from the top of the cabinet (See Figure 2.8).
Figure 2.8. Removing the Cable Opening Cover
2.Unpack the two system power cables (AW-000955 and AW-000968) from one of the cartons shipped with the system. The part number for each power cable appears on the cable and on the plastic bag in which the cable is shipped.
Before connecting a power cable, always shut off the MAIN system power switch on the same side of the cabinet.
3.Connect each color-coded power cable to the cabinet and into a separate DC power source (See Figure 2.9) . To connect the power cable to the cabinet, align the red mark on the cord with the red alignment guide at the top of the connector. Then, twist the cable clockwise until the red mark is aligned with the alignment guide on the right side of the connector.
When routing the power cables through the cable opening at the top of the cabinet, be careful not to disconnect the CABINET FAULT light cable.
The power cables are usually color-coded (red and blue) to match the color-labeling of the power sources at your site.

