INITIAL SETTING
Activating the Power
1.Connect the included AC power cable. (☞ pg. 15)
2.Set the ON/OFF switch on the projector rear in the on position. The STANDBY indicator on the projector will light up.
3.Press the POWER ON button on the remote controller or the POWER button on the projector. The POWER ON indicator on the projector will light up.
|
| STANDBY | POWER ON |
|
|
| PATTERN |
|
|
| PATT. |
ON | POWER | MENU | |
| STANDBY | ||
| MENU | INPUT |
|
|
| PATTERN |
|
|
| ENTER |
|
|
|
| ENTER |
Focusing and Zooming
You can adjust the focus and projected image size using the focus pattern.
1.Press the PATTERN button to project the focus pattern on the screen.
STANDBY | POWER ON |
PATTERN
PATT.
MENU
ON | POWER |
|
| STANDBY |
|
| MENU | INPUT |
|
| |
|
| PATTERN |
ENTER
ENTER
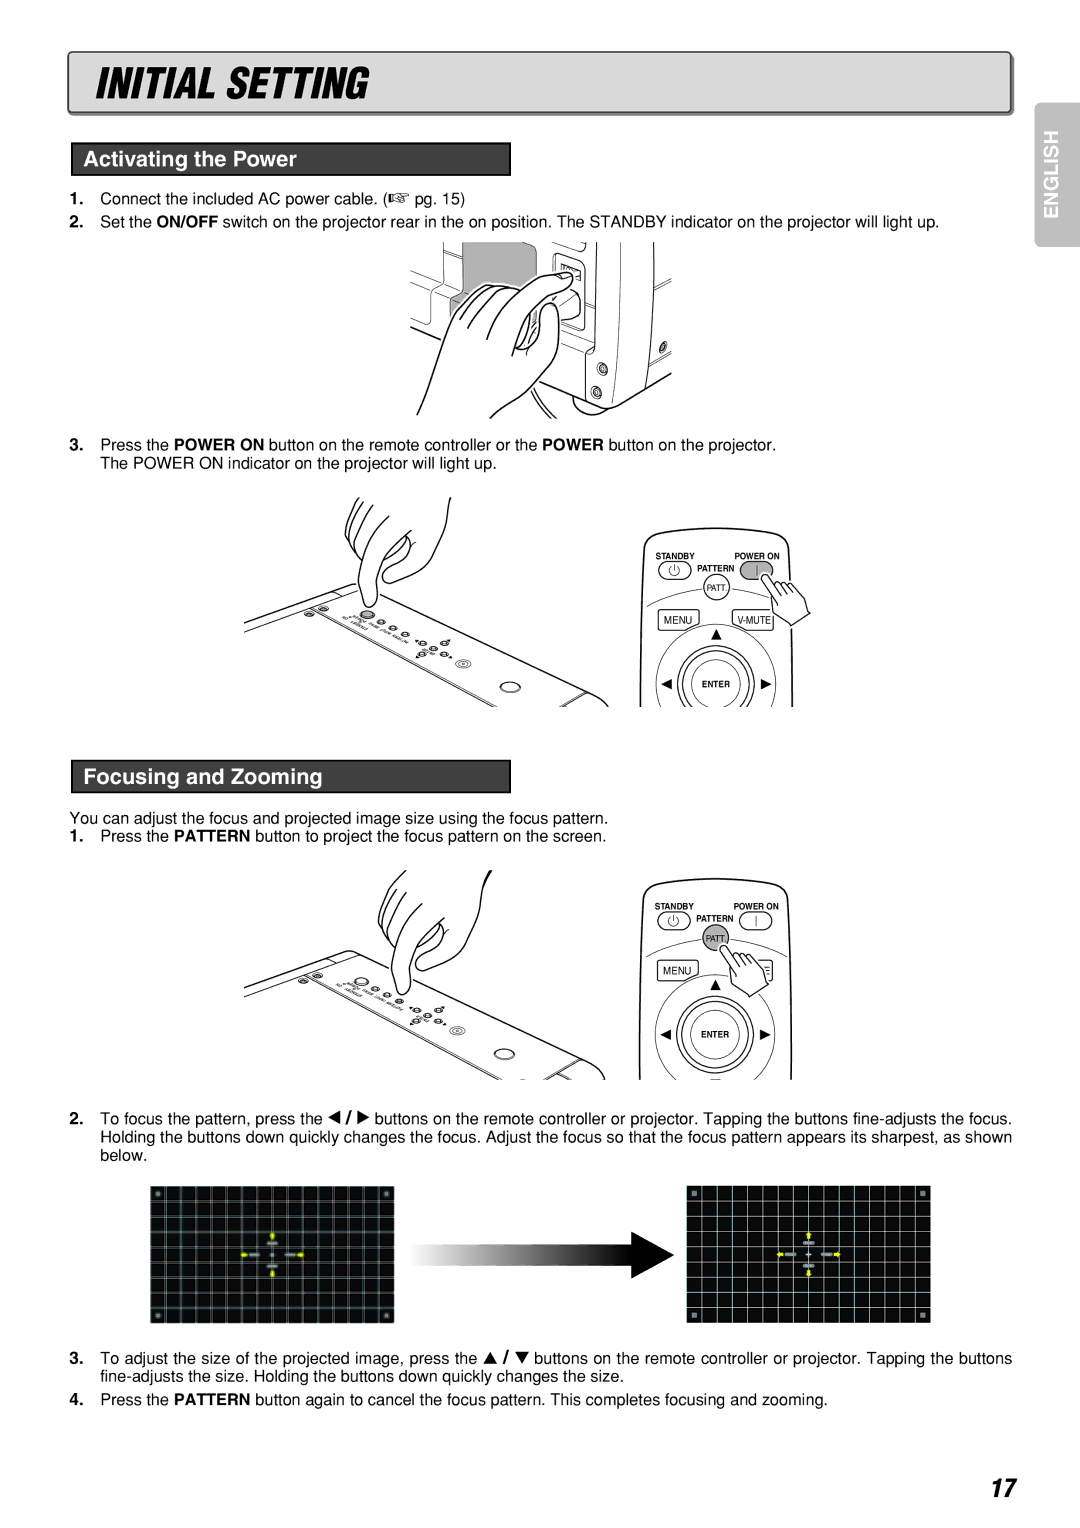
2.To focus the pattern, press the 1 / 2 buttons on the remote controller or projector. Tapping the buttons
3.To adjust the size of the projected image, press the 3 / 4 buttons on the remote controller or projector. Tapping the buttons
4.Press the PATTERN button again to cancel the focus pattern. This completes focusing and zooming.
ENGLISH
17