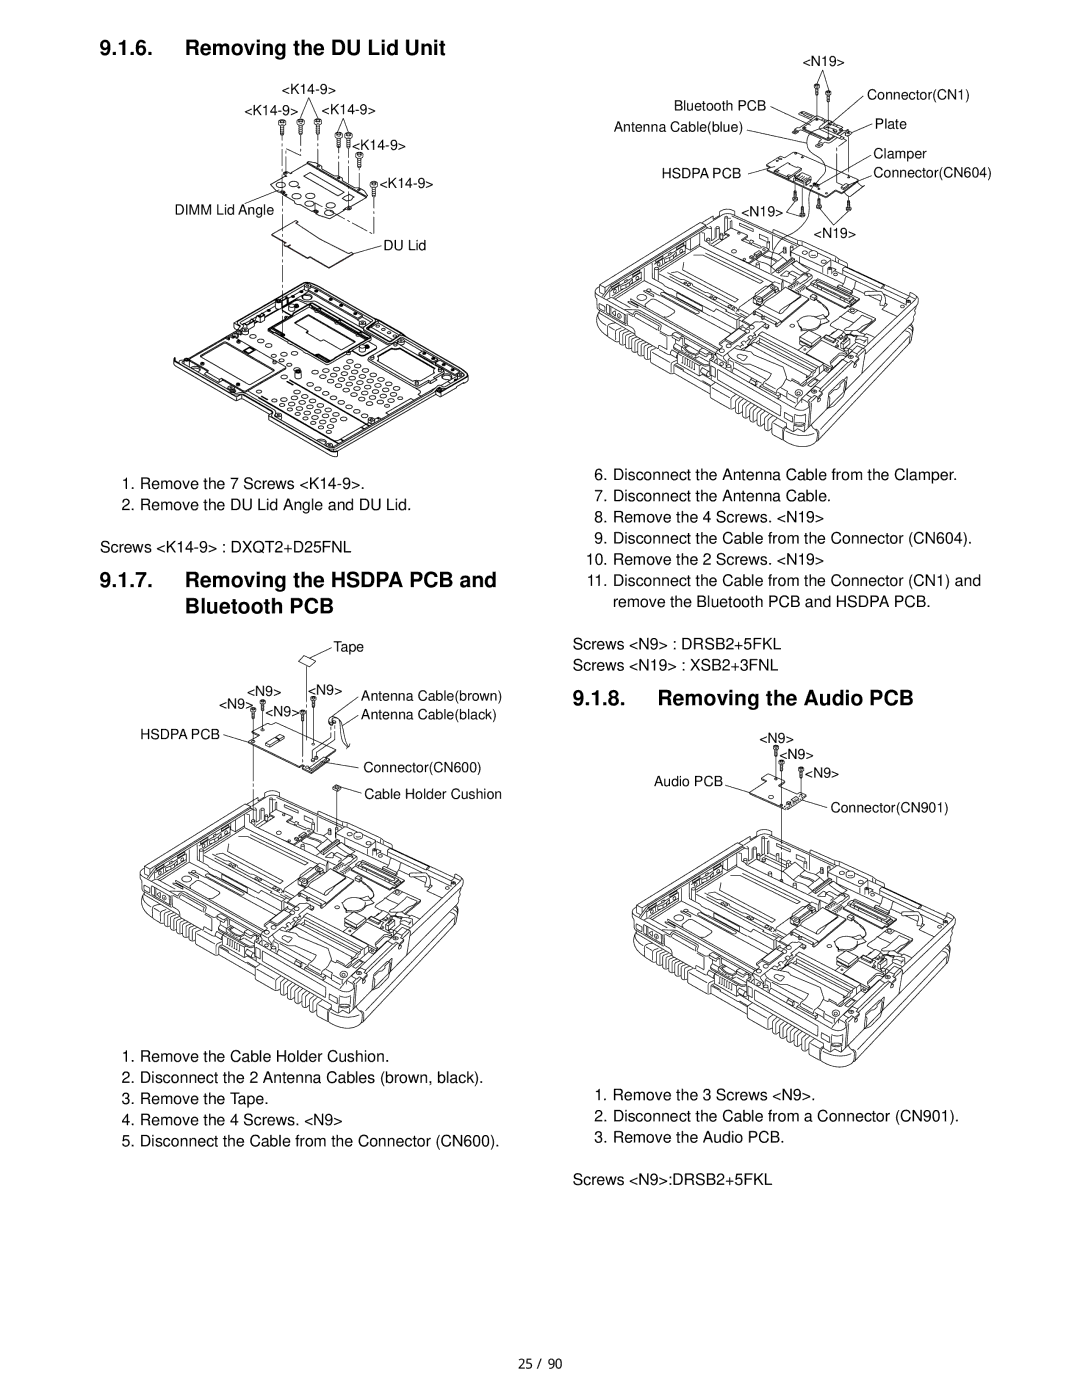
9.1.6.Removing the DU Lid Unit
![]() <K14-9>
<K14-9>
![]()
![]() <K14-9>
<K14-9>
DIMM Lid Angle
![]() DU Lid
DU Lid
1.Remove the 7 Screws
2.Remove the DU Lid Angle and DU Lid.
Screws
9.1.7.Removing the HSDPA PCB and Bluetooth PCB
| Tape |
<N9> | <N9> Antenna Cable(brown) |
<N9> <N9> | Antenna Cable(black) |
HSDPA PCB
![]() Connector(CN600)
Connector(CN600)
Cable Holder Cushion
1.Remove the Cable Holder Cushion.
2.Disconnect the 2 Antenna Cables (brown, black).
3.Remove the Tape.
4.Remove the 4 Screws. <N9>
5.Disconnect the Cable from the Connector (CN600).
| <N19> | |
Bluetooth PCB | Connector(CN1) | |
Plate | ||
Antenna Cable(blue) | ||
| Clamper | |
HSDPA PCB | Connector(CN604) | |
<N19> |
| |
| <N19> |
6.Disconnect the Antenna Cable from the Clamper.
7.Disconnect the Antenna Cable.
8.Remove the 4 Screws. <N19>
9.Disconnect the Cable from the Connector (CN604).
10.Remove the 2 Screws. <N19>
11.Disconnect the Cable from the Connector (CN1) and remove the Bluetooth PCB and HSDPA PCB.
Screws <N9> : DRSB2+5FKL
Screws <N19> : XSB2+3FNL
9.1.8.Removing the Audio PCB
<N9>
| <N9> |
Audio PCB | <N9> |
| |
| Connector(CN901) |
1.Remove the 3 Screws <N9>.
2.Disconnect the Cable from a Connector (CN901).
3.Remove the Audio PCB.
Screws <N9>:DRSB2+5FKL
25 / 90