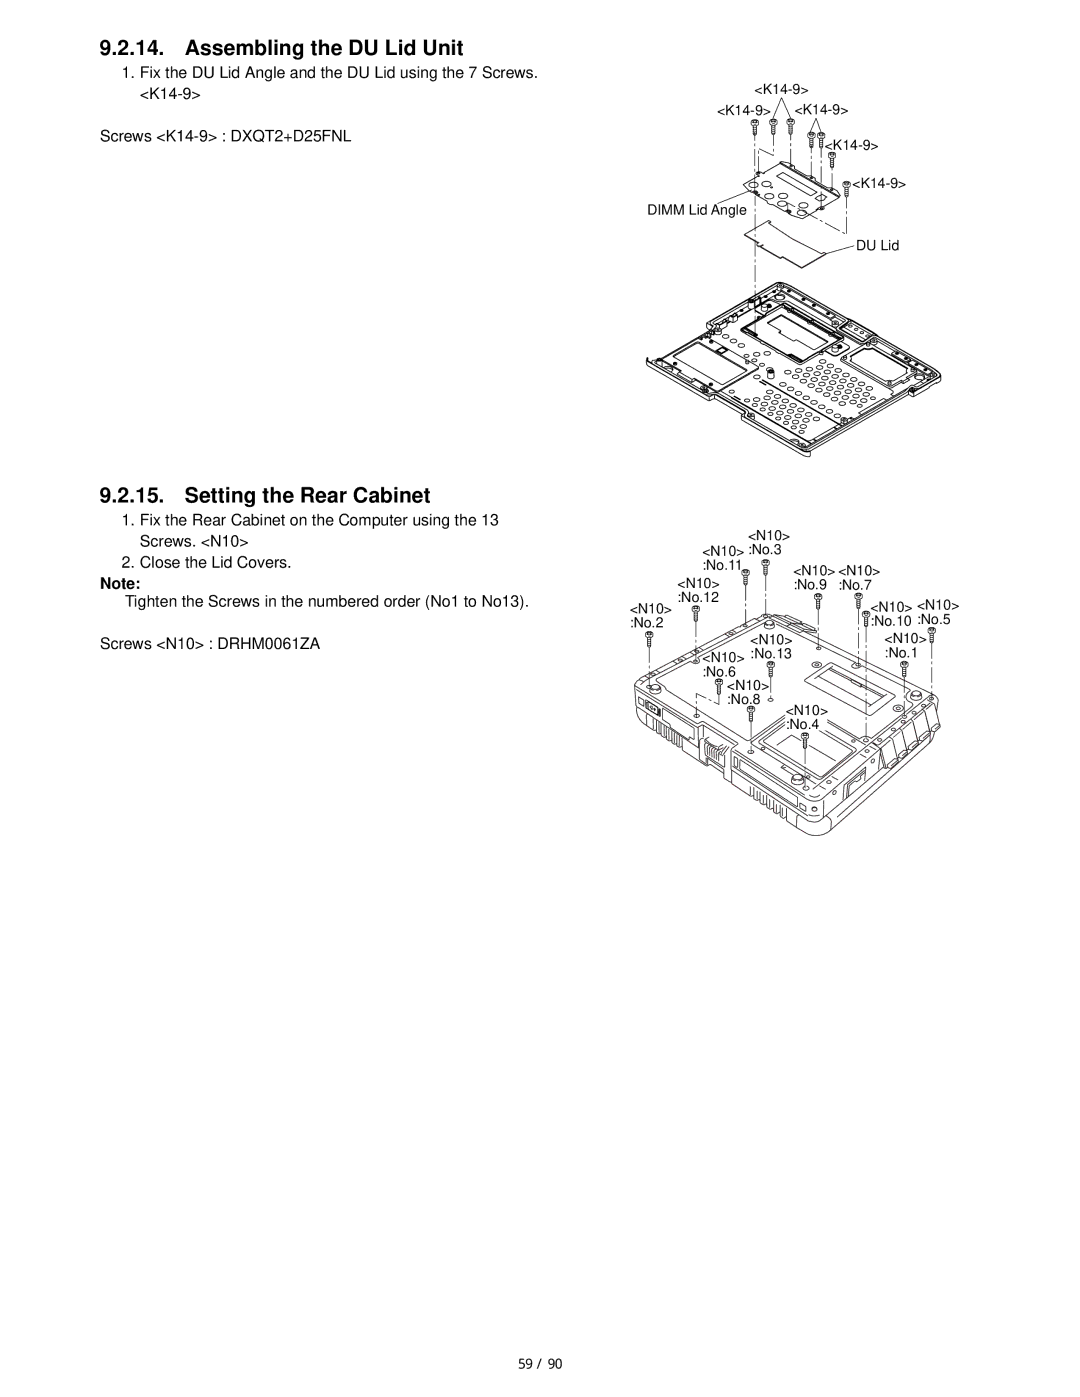
9.2.14. Assembling the DU Lid Unit
1.Fix the DU Lid Angle and the DU Lid using the 7 Screws.
Screws
9.2.15. Setting the Rear Cabinet
1.Fix the Rear Cabinet on the Computer using the 13 Screws. <N10>
2.Close the Lid Covers.
Note:
Tighten the Screws in the numbered order (No1 to No13).
Screws <N10> : DRHM0061ZA
![]() <K14-9>
<K14-9>
![]()
![]() <K14-9>
<K14-9>
DIMM Lid Angle
![]() DU Lid
DU Lid
<N10> |
|
|
| |
<N10> :No.3 |
|
|
|
|
:No.11 |
| <N10> | <N10> |
|
<N10> |
| :No.9 | :No.7 |
|
<N10> :No.12 |
|
| <N10> | <N10> |
:No.2 |
|
| :No.10 | :No.5 |
<N10> |
| <N10> | ||
<N10> :No.13 |
| :No.1 | ||
:No.6 |
|
|
|
|
<N10> |
|
|
|
|
:No.8 | <N10> |
|
| |
|
|
| ||
| :No.4 |
|
| |
59 / 90