Manuals
/
MicroNet Technology
/
Computer Equipment
/
Switch
MicroNet Technology
SP1659P
user manual
Installation without the Rack, Rack-mount Installation
Models:
SP1659P
1
6
123
123
Download
123 pages
31.25 Kb
3
4
5
6
7
8
9
10
Specification
Install
Alarm
set timer
y Edit Administrative Control
Maintenance
IP Configuration
Diagnostics
y Access Type
Setup the Connection
Page 6
Image 6
Page 5
Page 7
Page 6
Image 6
Page 5
Page 7
Contents
PoE Management Switch
User’s Manual
Model No. SP1659P
WEB-BASED USER INTERFACE
INSTALLATION
INTRODUCTION
Table of Content
SPECIFICATION
TEXT-BASED USER INTERFACE
1.1 Package Content
1.2 Key Features
1. Introduction
Operation
1.3 Physical Description
Status
10/100M Port #1 - #24
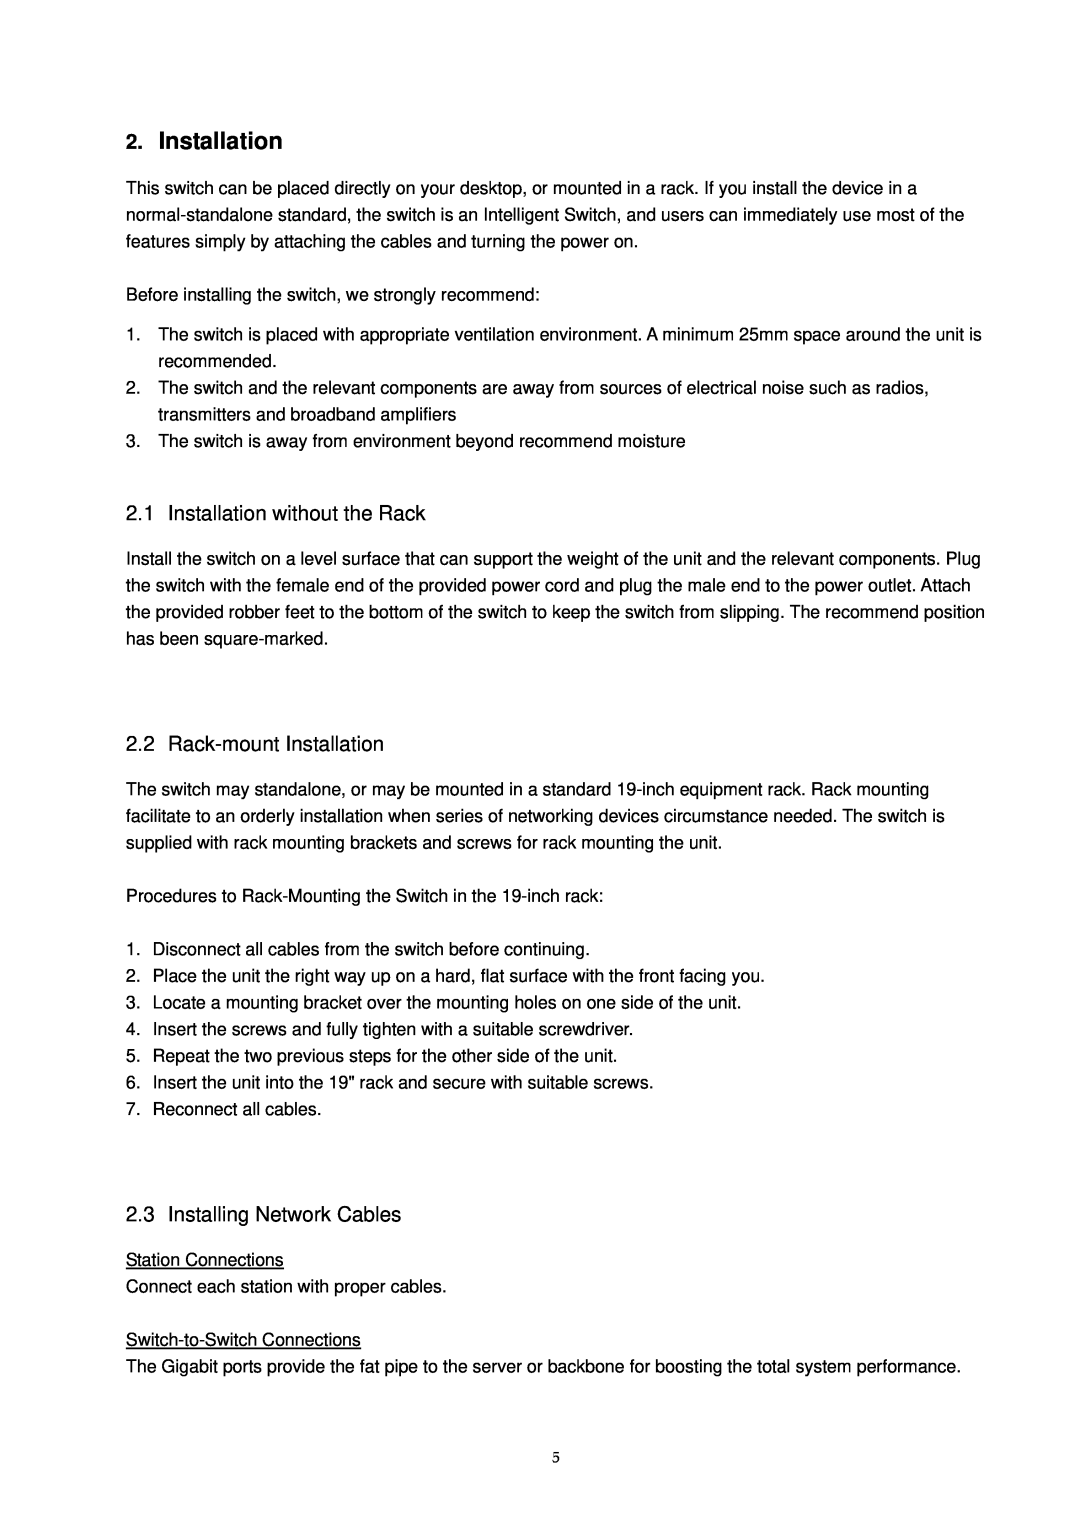
2.2 Rack-mount Installation
2. Installation
2.1 Installation without the Rack
2.3 Installing Network Cables
2.4 Installation of mini-GBIC module
2.5 Power Supply over Ethernet cable
3.1 Setting up Connection
3. Web-based User Interface
3.2 Web Management Overview
3.3 System
3.3.1 System Information
3.3.2 IP Configuration
y DHCP Setting
y IP address
3.3.3 Time Configuration
y Subnet mask y Default gateway
y DNS
y Manual
y NTP
y Daylight Saving
3.3.4 Account Configuration
3.3.5 Management Policy
y VID
y Access Type
3.3.6 Virtual Stack
y IP Range
3.4 Port Configuration
3.4.1 Status
y Link
y Port No
y Media
y State
Tx Pause
Connector Type
Rx Pause
Fiber Type
Vendor OUI
3.4.2 Configuration
Baud Rate
Vendor Name
Media type
3.4.3 Simple Counter
y Flow Control
NWay
3.4.4 Detailed Counter
3.5 PoE
3.5.1 PoE Status
Tx Broadcast Packets
3.5.2 PoE Configuration
3.6 SNMP
y Get/Set/Trap Community
3.7 DHCP Boot
y SNMP
y Trap
3.8 IGMP Snooping
y IGMP snooping mode selection
y IP Address
3.9 VLAN
3.9.1 VLAN Mode
y VLAN ID
y SVL
3.9.2 Tag-based Group
y Symmetric Vlan
y Double Tag
y VLAN Name
y Default Priority
3.9.3 PVID
y Member
3.9.4 Port-based Group
y Drop Untag
3.10.2 Maintenance
3.10 MAC
3.10.1 Information
y Learning Limit
3.10.3 Static
y Aging Time
y MAC
y Forwarding RuleDrop Policy
3.10.4 MAC Alias
y Queue Priority
y Port
3.11 GVRP
3.11.1 Config
y GVRP State Setting
address and alias name directly
3.11.2 GVRP Counter
y Default Applicant Mode
y Default Registrar Mode
y Normal
3.11.3 Group
y Received
y Transmitted
3.12.1 Status
y Edit Administrative Control
3.12 STP
y Refresh
y Root Path Cost
3.12.2 STP Configuration
y Root Port
y Current Max. Age
y Forward Delay
y Spanning Tree Protocol
y Max. Age
y Force Version
y Port Status
3.12.3 STP Port Configuration
y Configured Path Cost
y Path Cost Status
3.13 Trunk
y Admin Edge Port
y Admin Point To Point
y Priority
3.13.1 Trunk Port Setting / Status
LACP
y Method
None
Static
y Member Ports
3.13.2 Aggregator View
y Aggregator
y Ready Ports
y Key
3.14 802.1x Configuration
3.13.3 LACP System Config
y Trunk Status
Authenticator
Authentication server
Supplicant
Page
y Port Number
3.14.1 State
y Radius Server
y Secret Key
3.14.3 Security
y Disable Mode
3.14.2 Mode
y 802.1x Mode
y Port Control
y reAuthEnabled
y 802.1x with Multihost mode
y reAuthMax1-10
y serverTimeout1-65535 s
3.15 Alarm
y suppTimeout1-65535 s
3.15.1 Event
3.15.2 Email/SMS
y Email
3.16 Configuration
3.16.1 Save/Restore
y SMS
3.17.1 Mirror
3.16.2 Config File
3.17 Security
y Export File Path
3.17.2 Isolated Group
3.17.3 Restricted Group
3.18 Bandwidth
3.18.1 Ingress
3.18.2 Egress
y Storm Type
3.19 QoS
3.18.3 Storm
y Storm Rate
3.19.1 Global
3.19.2 VIP
3.19.3 802.1p
3.19.4 D/T/R/M - Type ToS
3.19.5 DSCP
3.20.2 Loopback Test
3.20 Diagnostics
3.20.1 Diagnostics
3.20.3 Ping
3.21 TFTP Server
3.22 Log
3.23 Firmware Upgrade
3.24 Reboot
3.25 Logout
4.1 Setup the Connection
4. Text-based User Interface
4.2.2 exit
4.2 Global Command
4.2.1 end
None
Syntax help
4.2.3 help
4.2.4 history
Example
Description
4.2.5 restore default
4.2.6 restore user
Possible value None Example
4.2.8 save user
4.3 Local Command
4.3.1
set max-request
set quiet-period
set reAuthEnabled
set port-control
Syntax
set serverTimeout
set reAuthPeriod
set state
show mode
set suppTimeout
set txPeriod
show parameter
show security
show state
show
4.3.2 account
modify
Syntax show
del mail-address
4.3.3 alarm
email
Possible value # 1 to Example
events
set Syntax
show Syntax show
4.3.4 autologout
4.3.5 bandwidth
autologout
set ingress-rate
set storm-rate
export user-conf
4.3.6 config-file
export start
import start
set export-path
4.3.7 dhcp-boot
set dhcp-boot
set import-path
4.3.9 firmware
set upgrade-path
4.3.8 diag
diag
enable
upgrade
disable
4.3.10 gvrp
Syntax set applicant range normalnon-participant
set applicant
Description To set default applicant mode for each port. Argument
range port range, syntax 1,5-7, available from 1 to
set registrar
set restricted
Argument none Possible value none Example
set timer
show config
show counter
show group
4.3.11 hostname
4.3.12 igmp-snooping
hostname
4.3.13 ip
disable dhcp
enable dhcp
set dns
4.3.14 log
disable auto-upload
enable auto-upload
Syntax show Description
Syntax Upload
4.3.15 mac-table
upload
alias
Syntax Show
information
search
set aging
set learning
4.3.16 Management
static-mac
Possible value vid 1 to 4094 queue 0 to 3 rule 0 to 2 port 1 to
Possible value none Example
delete
Syntax delete #
edit
4.3.17 poe
set priority
Example
4.3.18 port
disable state
enable state
clear counter
show conf
set speed-duplex
Possible value range 1 to
show detail-counter
4.3.19 qos
disable 1q
disable dscp
show simple-counter
enable 1q
disable qos
disable tos
enable dscp
set pri-tag
enable tos
set dscp
set sche
set vip
DiffServ Queue DiffServ Queue DiffServ Queue DiffServ Queue
Syntax reboot
4.3.20 reboot
reboot
4.3.21 security
Mirror
4.3.22 snmp
Restricted Group
Possible value port0 to
4.3.23 stp
MCheck
Possible value range 1 to Example
set config
set port
set version
show config
Description To display the configuration of STP
Possible value None
set device-name
4.3.24 system
set contact
set location
set server
4.3.25 tftp
4.3.26 time
set daylightsaving
Possible value hr -5 to +5
set manual
set ntp
set hash
4.3.27 trunk
del trunk
Possible value method 0~2 Example
show aggtr-view
show lacp-config
set trunk
show lacp-detail
4.3.28 vlan
del port-group name
del tag-group vid
disable svl
disable double-tag
disable drop-untag
disable symmetric
set port-group
enable svl
enable symmetric
set pvid
set tag-group
4.3.29 vs
Syntax disable
Syntax enable
show pvid
set gid
set role
Description To set role
5. Specification
Key Features
Top
Page
Image
Contents